This article was co-authored by wikiHow staff writer, Jack Lloyd. Jack Lloyd is a Technology Writer and Editor for wikiHow. He has over two years of experience writing and editing technology-related articles. He is technology enthusiast and an English teacher.
The wikiHow Tech Team also followed the article's instructions and verified that they work.
This article has been viewed 682,687 times.
Learn more...
This wikiHow teaches you how to receive Gmail emails in your Outlook 2016 desktop app on a Windows or Mac computer. If you don't have Outlook installed on your computer, you must first purchase and install Microsoft Office 365 on your computer.
Steps
Enabling IMAP in Gmail
-
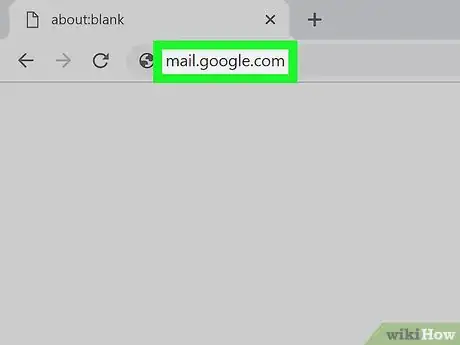
1Open Gmail. Go to https://www.gmail.com/ in your computer's web browser.
- If you aren't logged into your Gmail account, enter your email address and password before proceeding.
- If you're logged into the wrong account, you can switch to a different Gmail account by clicking the account's profile picture in the upper-right corner of the page, clicking Add account, and entering the account's email address and password.
-
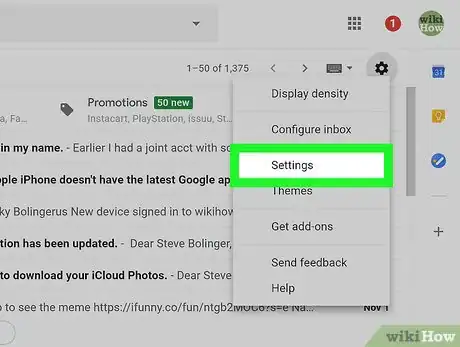
2Click the "Settings" gear . You'll find this option in the upper-right side of the page. Clicking it prompts a drop-down menu to appear.Advertisement
-
3Click Settings. This is in the middle of the drop-down menu. Doing so opens the Settings page.
-
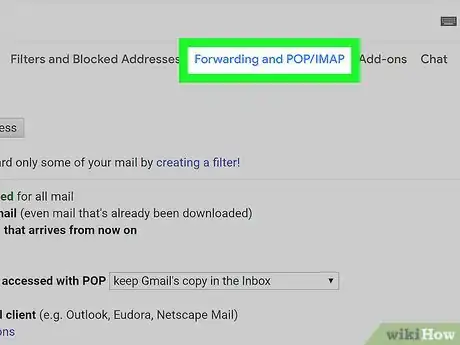
4Click the Forwarding and POP/IMAP tab. It's at the top of the Settings page.
-
5Check the "Enable IMAP" box. This box is in the "IMAP Access" section of the Settings page.
- This box may already be checked. If so, skip to the enabling two-step verification part of this article.
-
6Click Save Changes. It's a grey button at the bottom of the page. Doing so enables IMAP for your Gmail inbox, which will allow your inbox's emails to appear in Outlook later.
Enabling Two-Step Verification for Gmail
-
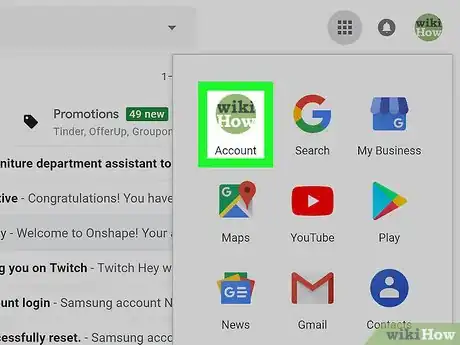
1Click the "Google Apps" icon. It's the ⋮⋮⋮ icon in the upper-right side of the Gmail page. A drop-down menu will appear.
-
2Click My Account. This shield-shaped icon is in the drop-down menu. Clicking it opens your Google Account's page.
-
3Click Sign-in and security. It's a heading on the far-left side of the page.
-
4Scroll down and click 2-Step Verification. You'll find this option on the right side of the page, near the bottom.
-
5Click GET STARTED. It's a blue button in the bottom-right corner of the page.
- You may have to scroll down slightly to see this button.
-
6Enter your password when prompted. Type in the password that you use to log into your email address.
-
7Click NEXT. It's at the bottom of the page.
-
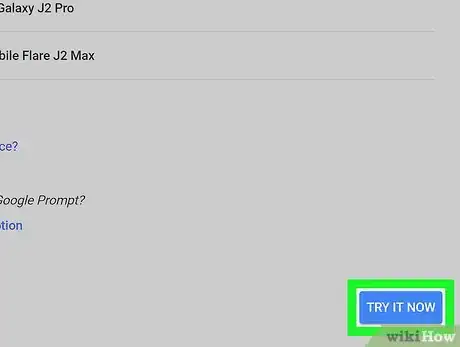
8Click TRY IT NOW. This blue button is in the bottom-right side of the page. Doing so will send a notification to your phone number.
- If you don't see a phone listed on this page, you'll need to sign into your Gmail account in your Google app (iPhone) or sign into your Google account in your phone's Settings (Android).
- On an iPhone, you will need to have downloaded the Google app. It's available for free in the App Store.
-
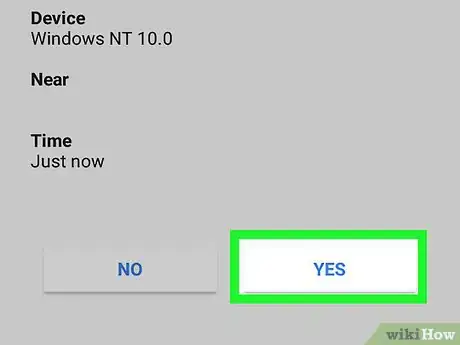
9Follow the prompt instructions. Open the prompt on your phone by swiping it right if your phone is locked or tapping it if your phone is unlocked, then tap YES or ALLOW.
-
10Make sure that your phone number is correct. Review the phone number at the top of the page; if it matches your preferred recovery phone number, you can proceed.
- If the phone number here is incorrect, change it before proceeding.
-
11Click SEND. It's a blue button in the lower-right side of the page. Google will send a confirmation code to your provided number.
-
12Enter your verification code. Retrieve the code from your phone's text message app, then type it into the text field in the middle of the page.
-
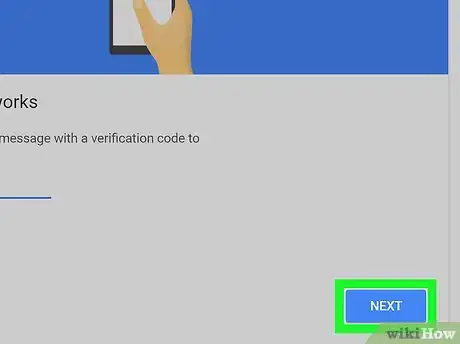
13Click NEXT. It's a blue button at the bottom of the page.
-
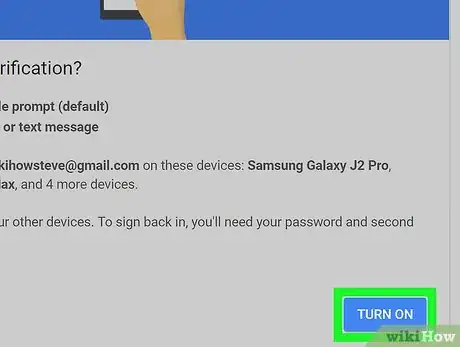
14Click TURN ON. This blue button is on the right side of the page. Doing so will enable 2-Step Verification for your Gmail account. Now that 2-Step Verification is set up, you'll need to create an app password for your Gmail account.
Creating an App Password for Gmail
-
1Click the "Google Apps" ⋮⋮⋮ icon again. It's in the top-right side of the Gmail page. A drop-down menu will appear.
-
2Click My Account. This is the shield-shaped icon in the drop-down menu. Doing so opens your Google Account page.
-
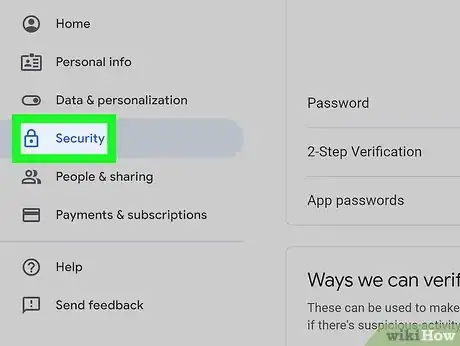
3Click Sign-in and security. It's on the left side of the page.
-
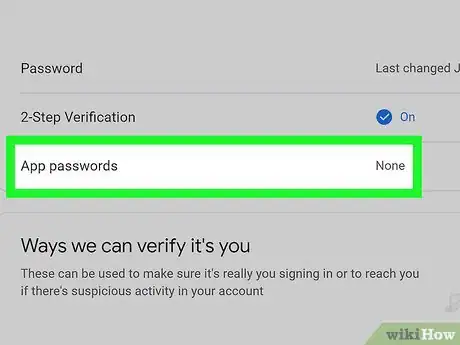
4Scroll down and click App passwords. You'll find this option on the right side of the page, above the section where you enabled 2-Step Verification.
-
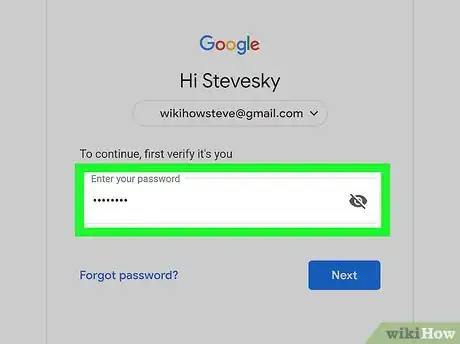
5Enter your account password when prompted. Type in the password that you use to log into your Gmail account.
-
6Click NEXT. It's below the password text field.
-
7Click Select app. This grey text box is on the left side of the page. Clicking it prompts a drop-down menu.
-
8Click Other (Custom name). It's at the bottom of the drop-down menu. A text field will appear.
-
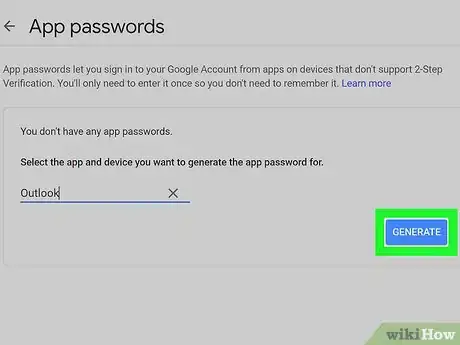
9Enter a name. Type Outlook (or something similar) into the text box.
-
10Click GENERATE. It's a blue button on the right side of the page. Doing so will create a 12-letter code on the right side of the page; you can use this code to sign into Outlook.
-
11Copy your app password. Click and drag your mouse cursor across the whole code on the yellow background, then press Ctrl+C (Windows) or ⌘ Command+C (Mac) to copy the code.
- You can also right-click the selected code and click Copy.
Adding Your Gmail Account to Outlook
-
1Open the Outlook app on your computer. The Outlook app icon resembles a blue box with a white "o" on it and a white envelope behind it.
- If you aren't signed into Outlook, enter your primary Microsoft email address, enter your password if prompted, and follow any additional instructions.
- The Outlook app is different than the Outlook website.
-
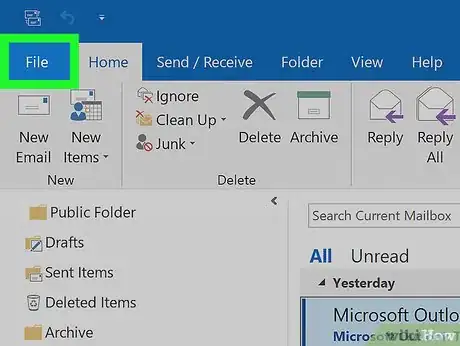
2Click File. It's in the upper-left side of the Outlook app window. A pop-out menu will appear.[1]
- If you don't have a File option in the upper-left corner of the Outlook window, you're either on the Outlook website or not using a version of Outlook that allows you to add accounts.
- On a Mac, you'll instead click Tools at the top of the screen.[2]
-
3Click Add Account. This option is in the upper-left side of the Outlook File page. A pop-up window will appear.
- On a Mac, you'll instead click Accounts... in the Tools drop-down menu.
-
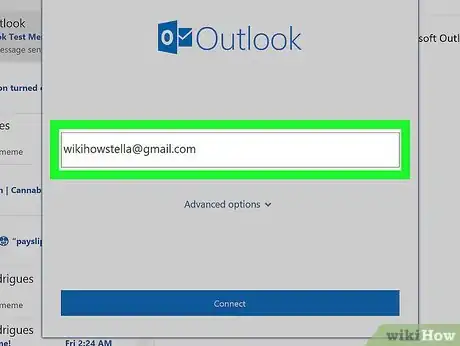
4Enter your Gmail email address. Type in the email address of the Gmail account that you want to synchronize with Outlook.
-
5Click Connect. It's below the text field into which you entered your email address.
-
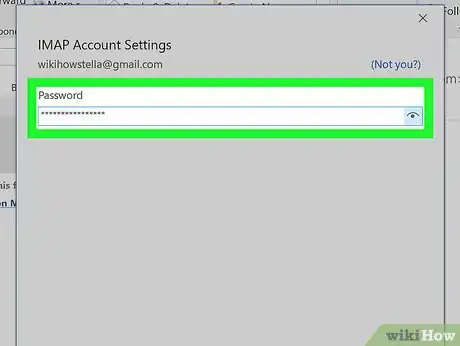
6Enter your app password. Click the "Password" text field, then press Ctrl+V (Windows) or ⌘ Command+V (Mac) to enter the app password that you copied earlier.
- You can also right-click the "Password" text field and then click Paste in the resulting drop-down menu to do this.
-
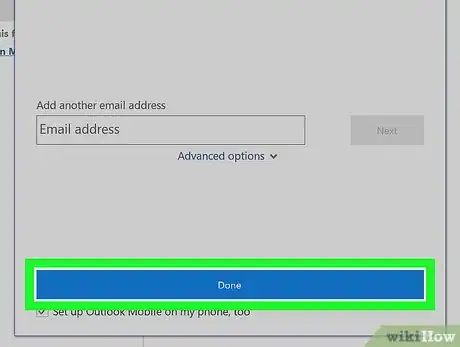
7Click Connect. It's at the bottom of the window. Your Gmail account will begin integrating into your Outlook app.
-
8Click OK when prompted. This signifies that your Gmail account is now connected to your Outlook app. You should see your Gmail account's name on the left side of the Outlook window.
- You may first want to uncheck the "Also set up Outlook on my phone" box.
Importing Your Google Contacts
-
1Download your Gmail contacts. Go to https://www.google.com/contacts/ in your web browser, log in with your Gmail address and password if prompted, and do the following:
- Click the checkbox in the upper-left corner of the page to select all contacts.
- Click the More drop-down box.
- Click Export... in the resulting drop-down menu.
- Check the "All contacts" box.
- Check the "Outlook CSV format" box. If you're using a Mac, check the "vCard format" box instead.
- Click Export at the bottom of the window.
-
2Open the Outlook window. You'll need to have Outlook open in order to import contacts into it.
- On a Mac, you'll instead click the downloaded vCard file, click File in the upper-left corner of the screen, select Open With, click the Outlook option, and follow any on-screen instructions. This will import your Gmail contacts.
- If you closed the Outlook app, re-open it before proceeding.
-
3Click File. It's in the upper-left corner of the Outlook window. The File menu will open.
-
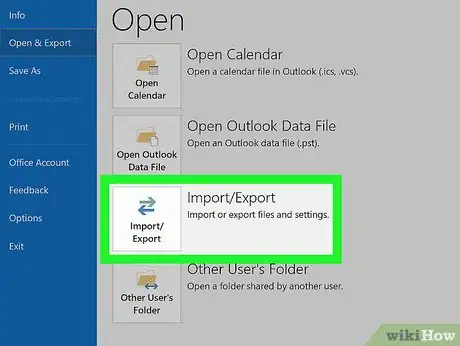
4Click Open & Export. You'll find this option in the File menu. Doing so opens the Import/Export page.
-
5Click Import/Export. It's in the middle of the page. Doing so opens the Import/Export wizard.
-
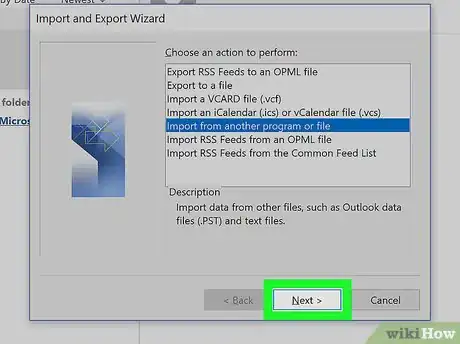
6Click Import from another program or file. This option is in the middle of the window.
-
7Click Next. It's in the bottom-right corner of the window.
-
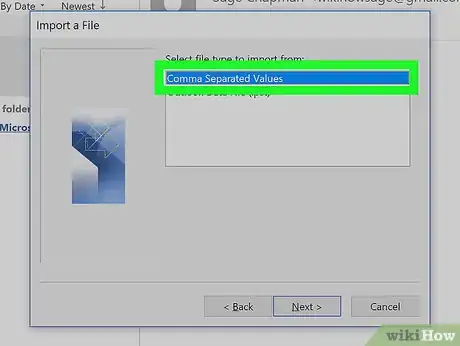
8Click Comma Separated Value. This option is near the top of the window.
-
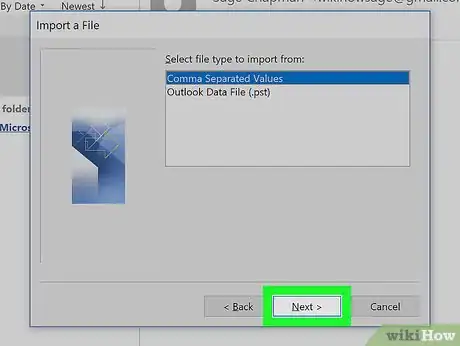
9Click Next.
-
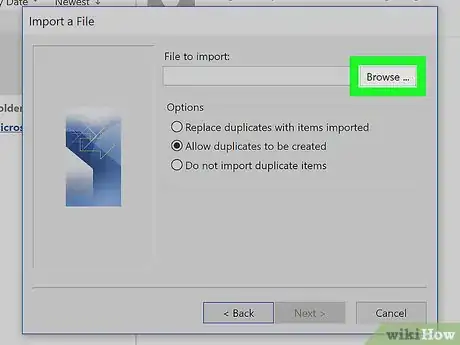
10Click Browse …. It's in the upper-right side of the window.
-
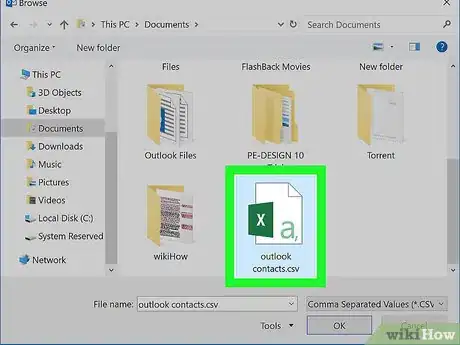
11Select the downloaded contacts file. Go to the location of the contacts file that you downloaded, then click the contacts file to select it.
-
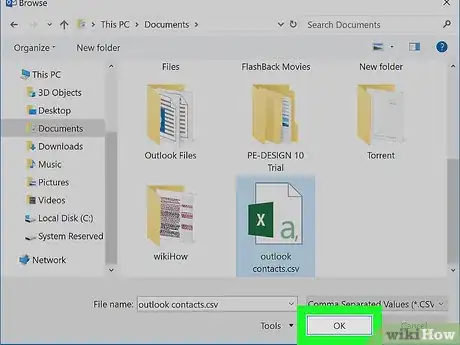
12Click Open. It's in the bottom-right corner of the window. Your contacts file will be uploaded.
-
13Click Next. You can also select an import duplicates option (e.g., Allow duplicates to be created) in the middle of the window before proceeding.
-
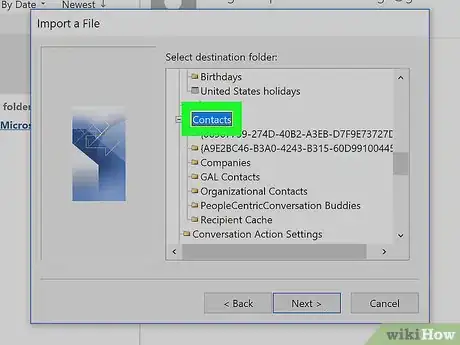
14Select the "Contacts" folder. Scroll up or down until you find the Contacts folder in the window, then click it to select it.[3]
- You'll typically find the Contacts folder near the top of the window.
- The Contacts folder doesn't resemble an actual folder.
-
15Click Next.
-
16Click Finish. It's at the bottom of the window. This will import your contacts into Outlook.
- Once finished, you can view your Outlook contacts by clicking Address Book in the "Find" section at the top of the Outlook window.
Community Q&A
-
QuestionHow do I sync Google calendar with Outlook?
 Community AnswerGo to Settings, Mail, Contacts, Calendars, and tap Add Account. Use the options to add Google and Outlook.com accounts. Accept the offer to sync calendars. Events added to Google Calendar, Outlook.com Calendar, or Outlook if it's synced with Outlook.com should automatically appear in the iOS Calendar app.
 -
QuestionI am trying to sync Gmail with Outlook 2010 and it's not working. What am I doing wrong?
 Community AnswerYou may be putting your Gmail in the wrong place. The top box is where you need to put it.
Warnings
- Marking messages as "Read" in the Outlook app won't always mark the emails in your Gmail inbox itself as "Read".⧼thumbs_response⧽
- Gmail does not allow email messages that have .exe files as attachments. There is also a 25 MB size limit for attachments.⧼thumbs_response⧽
