Print messages and calendars easily in Microsoft Outlook
This article was co-authored by wikiHow staff writer, Kyle Smith. Kyle Smith is a wikiHow Technology Writer, learning and sharing information about the latest technology. He has presented his research at multiple engineering conferences and is the writer and editor of hundreds of online electronics repair guides. Kyle received a BS in Industrial Engineering from Cal Poly, San Luis Obispo.
This article has been viewed 9,236 times.
Learn more...
Do you need a hard copy of an email you received in Microsoft Outlook? Whether you want to print an entire message or just a section, the built-in printing features in Outlook are easy to use! You can print emails, file attachments, and calendars from any version of Outlook, even if you use Outlook.com in a web browser. This wikiHow guide will show you how to print emails, attachments, and calendars from the Microsoft Outlook app or website on Windows or Mac.
Things You Should Know
- In Outlook on the web, click the three dots at the top of a message, choose "Print," then click "Print" again to print a message.
- In the Outlook desktop app, double-click the message, click the "File" menu, then choose "Print" to choose your printing options.
- Print attachments by downloading them and opening them in their relevant apps.
Steps
Printing an Email (Outlook.com)
-
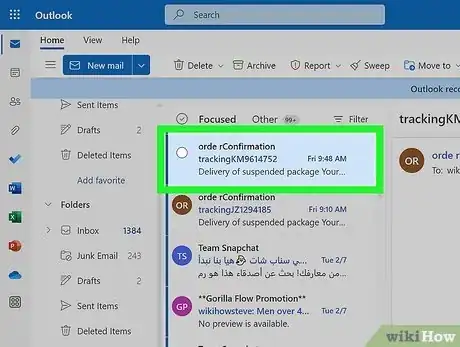
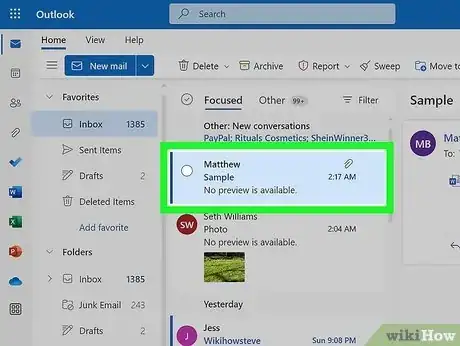
1Open the email message you want to print. On https://outlook.live.com, navigate to and click the email you want to print.[1]
- In addition to printing emails, you can also download emails from Outlook.com.
-
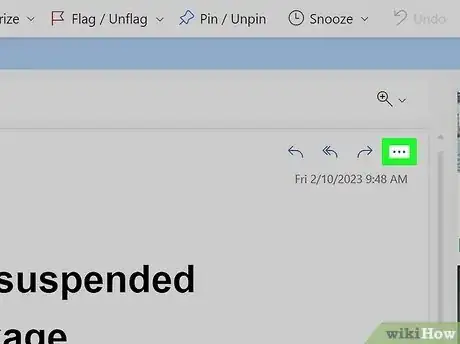
2Click the more options button ••• . It’s the horizontal three dots button in the top right of the email. A menu will expand.
- Note that this is different from the horizontal three dots button in the menu bar at the top of the page, above the emails.
Advertisement -
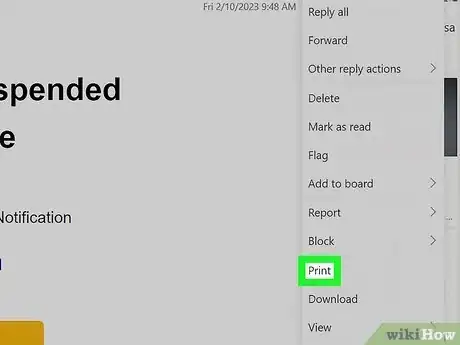
3Click Print. This will open the email in a new print preview window.
-
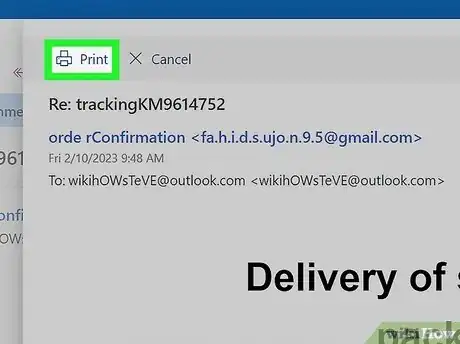
4Click the Print button. It's at the top-left corner of the message. Clicking this button will open the print dialog window.
-
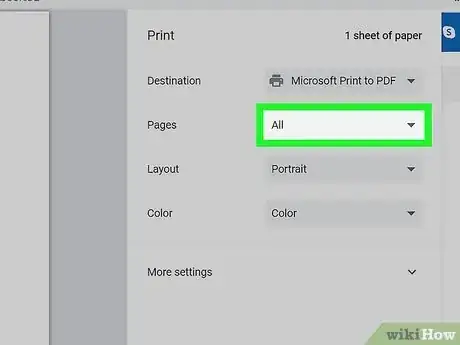
5Select a page range (optional). To print a specific page or page range:
- Click the drop-down menu next to “Pages.”
- Choose Custom.
- Enter a page range, single page number, or list of pages.
-
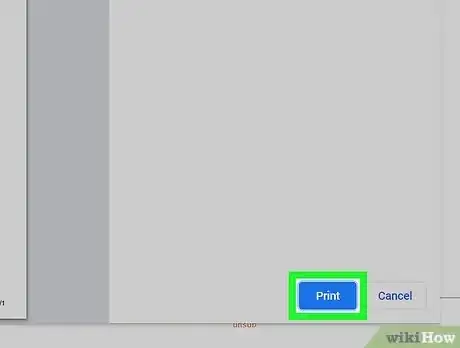
6Click Print. This will confirm the print settings and print the email. You’re done! You’ve successfully printed the select email.
Printing an Email (Desktop App)
-
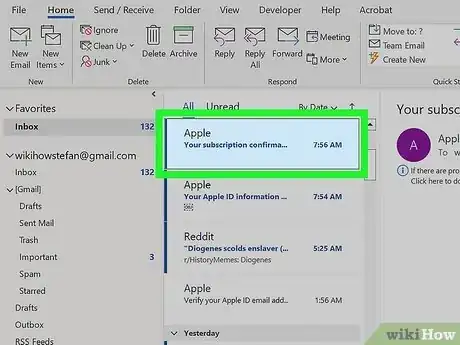
1Go to the email you’re going to print. In the Microsoft Outlook app on your PC or Mac, navigate to and click the email you’re looking for.[2]
-
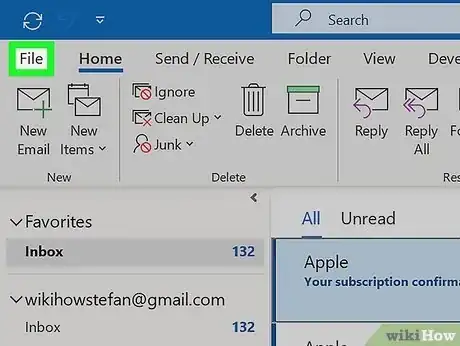
2Click File. It’s a tab at the top of the app. This will open the File options menu.
-
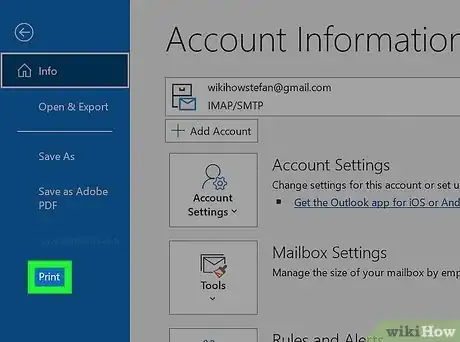
3Click Print. This will open the email in a new print preview window.
-
4Select a page range (optional). To print a specific page or page range:
- Click Print Options below the “Printer” heading. This will open the printer options window.
- Click the Pages option in the “Page range” section.
- Enter a page range, single page number, or list of pages.
- Click Print. This will immediately print the specified pages of the email.
-
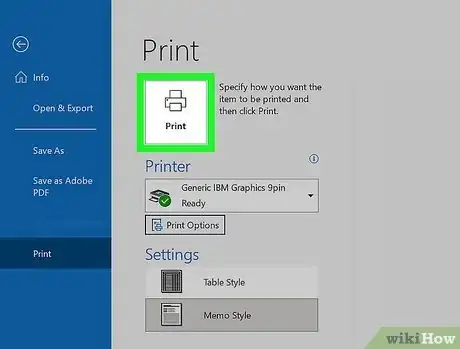
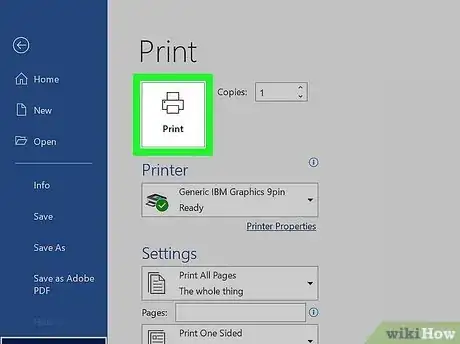
5Click Print. This is to the left of the preview page under the printer icon. Clicking this button will start the printing process for the entire email.
- Did you know you can unsend an email in Outlook? This is a useful feature for last minute corrections.
Printing Part of an Email (Desktop App)
-
1Double-click the email in the email list. If you just want to print one part of an email message in the Outlook desktop app on your PC or Mac, it's easy. Double-clicking the message will open it in a new window.
- This method allows you to print a portion of the text in an email.
-
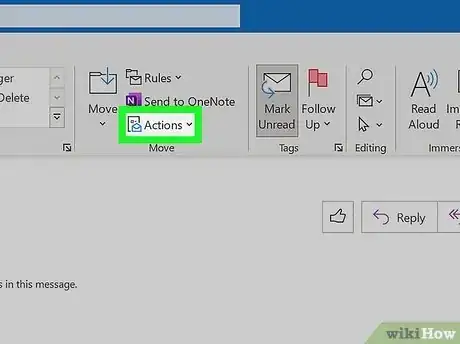
2Click the More Move Actions menu. This is the icon of a paper and open blue envelope in the Move section of toolbar.[3]
- If you don't see this icon, you're likely using the "Simplified" Outlook toolbar. Click the down-arrow on the right side of the toolbar at the top of the message and select Classic Ribbon. You should now see the "Move" section at the top of the message, and the "More Move Actions" icon (the sheet of paper with a blue envelope).
-
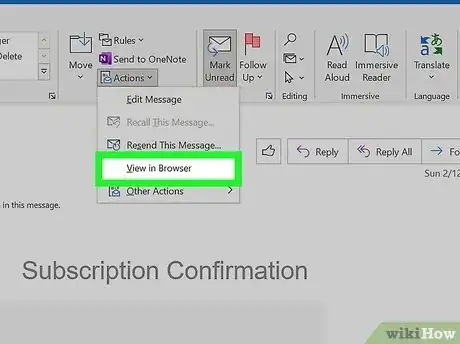
3Click View in Browser. This will open the email in a new Microsoft Edge window.
-
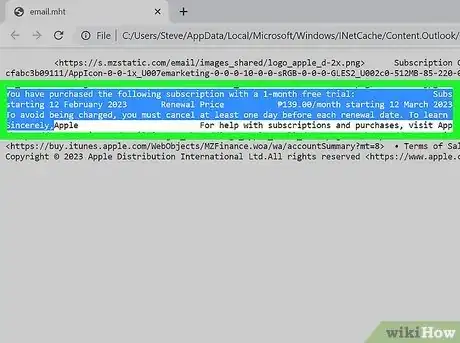
4Use your mouse to highlight the text you want to print. Click and drag your cursor to select the portion of the email’s text you want to print.
-
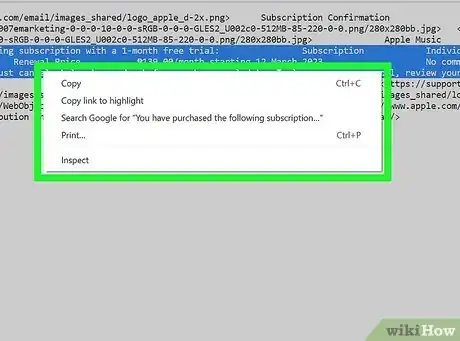
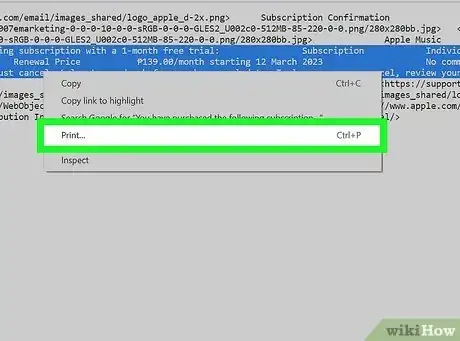
5Right-click the selected text and select Print. The print menu will open. In the print preview, you should see only the selected text.
-
6Click Print. It’s at the bottom of the print menu. The selected text from the email will be printed.
Printing Attachments (Outlook.com)
-
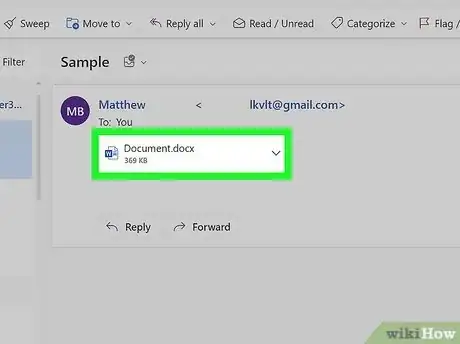
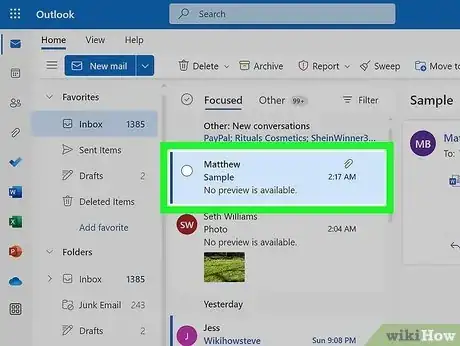
1Go to the email with the attachment you want to print. On the Microsoft Outlook website https://outlook.live.com, navigate to and click the email you’re looking for.
- To print an attached file, such as a Word document, photo, or PDF, you'll need to download it to your computer first. Then, you'll be able to print the file using that file's default app.
-
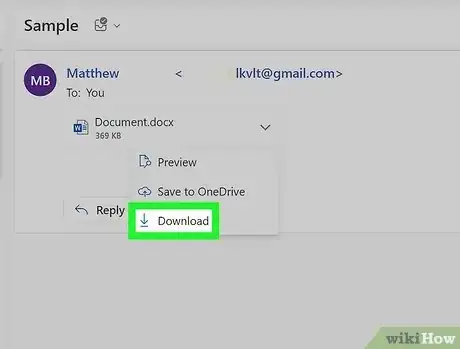
2Click the drop-down arrow next to the attachment. This will open an options menu.
-
3Click Download. This will download the attachment to your computer.
- If prompted to select a download location, choose a place that you can easily access such as the Desktop or Downloads folder.
-
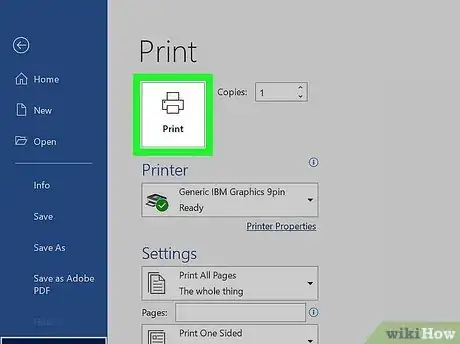
4Double-click the downloaded file. This will open it in the default app for the file type.
-
5Use the app’s menu to print the attachment file. For example, if you are printing a Microsoft Word document, double-clicking the file should open it in Word. Then you can use Microsoft Word's printing tools to print your file.
Printing Attachments (Desktop App)
-
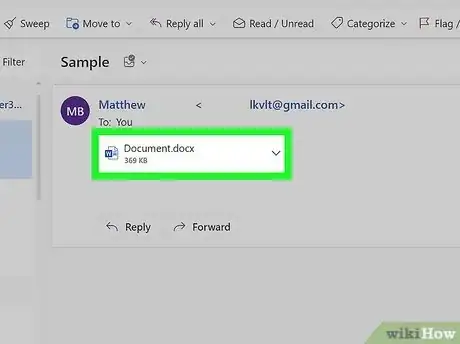
1Open a message with an attachment you want to print. In the Microsoft Outlook desktop app on your PC or Mac, navigate to and click the email you’re looking for.
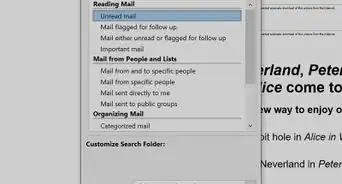
- You can filter by unread emails if the attachment is in an email marked as unread.
-
2Click the drop-down arrow next to the attachment. This will open an options menu.
-
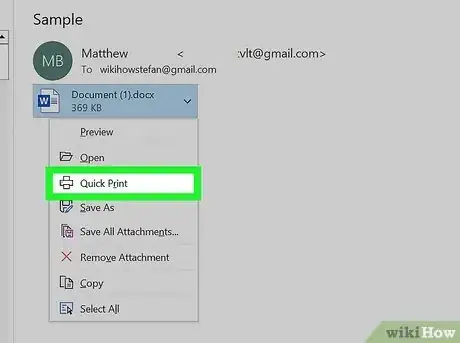
3Click Quick Print. This will open a pop-up window with attachment options.
- Alternatively, you can click Save As to save the attachment to your computer. If you do this, you can then double-click the file at any time to open it in its default app.
-
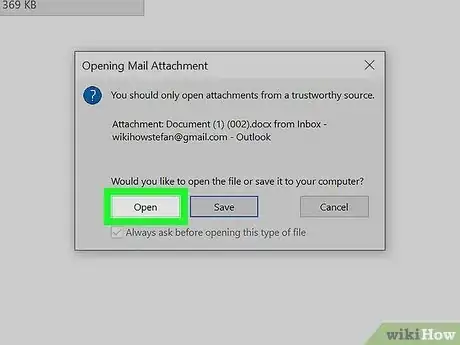
4Click Open. This is an option in the pop-up window.
-
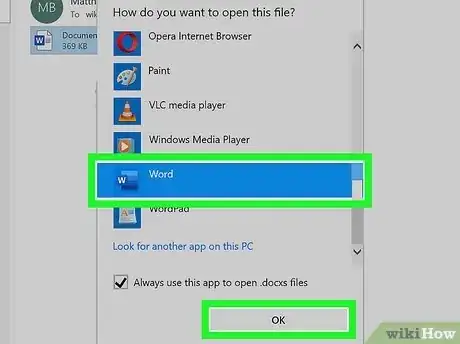
5Select an app and click Always. This will open the attachment in the selected app. You can click Just once if you don’t want to make the selected app the default.
-
6Use the app’s menu to print the attachment file. For example, if you’ve opened a PDF in Google Chrome, click the three-dot menu at the top-right corner of Chrome and select Print to print the PDF.
Printing a Calendar (Outlook.com)
-
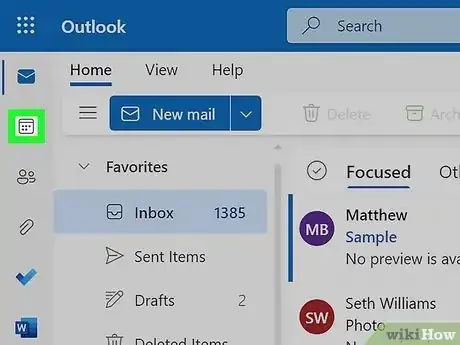
1Click the calendar icon on the left side of Outlook.com. This displays your calendar in the right panel.
-
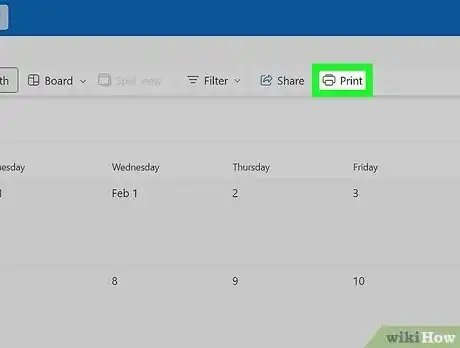
2Click the Print icon. You'll see it just above your calendar. This displays your calendar print options, where you can choose a date range and style for your printed calendar.
-
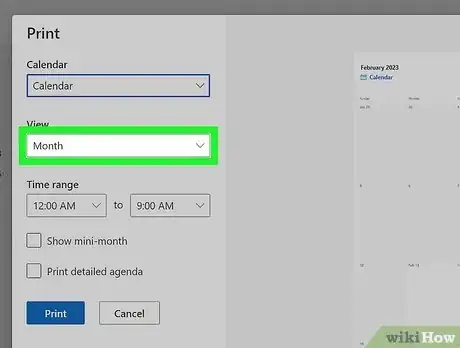
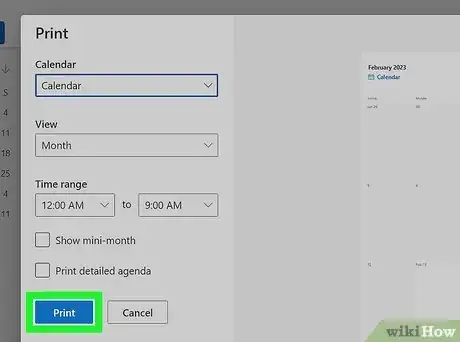
3Choose your calendar view, layout, and time range. From the "View" menu, you can choose to print individual days, weeks, work weeks, or months. You can also choose a horizontal, vertical, or standard layout, and specify the time range you want to see on your printed pages.
-
4Click Print. You'll see this at the bottom-left corner of the window. This opens your computer's print dialog window.
-
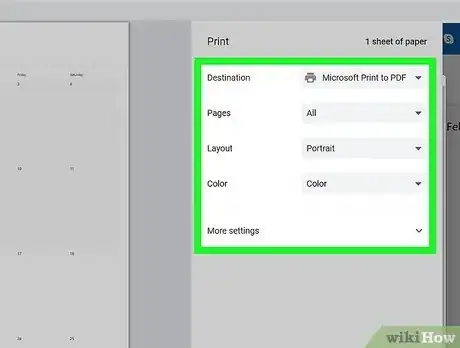
5Choose your printing options and click Print. This prints your calendar with your selected settings.
Print a Calendar (Desktop App)
-
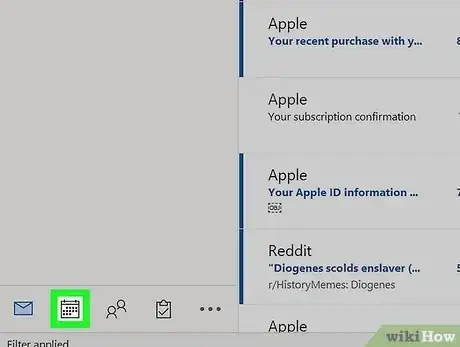
1Click the calendar button. It’s the calendar icon located on the left side of the page. This will open the calendar view for Outlook.
-
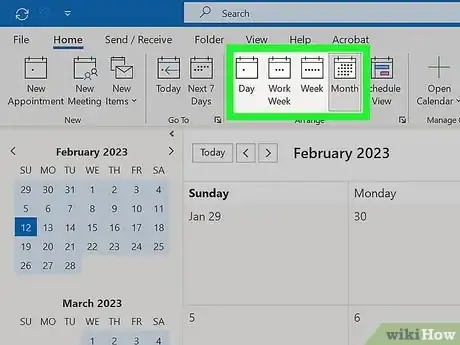
2Click a timescale. You can select from the following scales at the top of the calendar:
- Day
- Work week
- Week
- Month
-
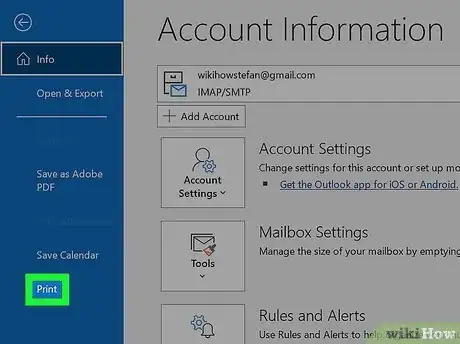
3Click the File menu and select Print. You'll see the File menu at the top of Outlook. Clicking Print in the left panel displays the Print window.
-
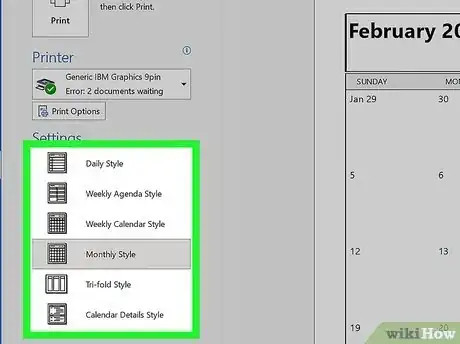
4Select a printing option under "Settings." You can choose to print in different styles, such as Daily Style, which displays a breakdown of your schedule by day, or Weekly Calendar Style, which gives a more general overview of your appointments for the week.
- Clicking an option under "Settings" will show you a preview of your printed calendar.[4]
-
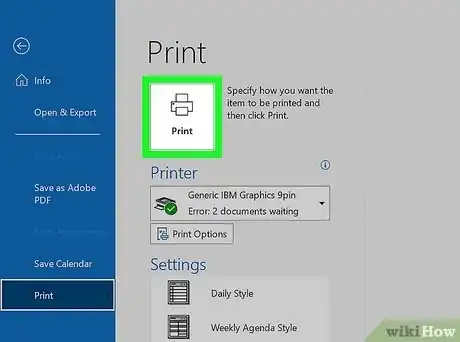
5Click Print. This is to the left of the preview page under the printer icon. Clicking this button will start the printing process for the calendar.
- Alternatively, you can click Print Options to change additional settings for the print. Click Print in the Print Options window when you’re ready to print.
References
- ↑ https://support.microsoft.com/en-us/office/print-email-messages-attachments-and-calendars-in-outlook-com-c835b8e5-b310-4cab-ac15-b6eb95149855
- ↑ https://support.microsoft.com/en-us/office/print-a-page-or-part-of-an-email-message-20efa927-7af9-4276-9fa9-2b928e4c7746
- ↑ https://support.microsoft.com/en-us/topic/20efa927-7af9-4276-9fa9-2b928e4c7746
- ↑ https://support.microsoft.com/en-us/office/print-a-calendar-showing-appointments-and-meetings-ad03c408-1607-4a24-8b35-2c9f46930760
