This article was co-authored by wikiHow Staff. Our trained team of editors and researchers validate articles for accuracy and comprehensiveness. wikiHow's Content Management Team carefully monitors the work from our editorial staff to ensure that each article is backed by trusted research and meets our high quality standards.
The wikiHow Tech Team also followed the article's instructions and verified that they work.
This article has been viewed 110,470 times.
Learn more...
Telnet is a text-based application that allows you to connect with other computers. By inserting commands through Telnet, you can control remote computers as if they were right in front of you.[1] Both Windows and Mac come with Telnet built into the operating system.[2] Telnet can be used as another way to check email—this is useful for checking that your mail is accessible over the internet, testing mail flow, and troubleshooting issues.[3] However, you should note that Telnet is not encrypted. Most public internet services, such as Google or Yahoo, require an encrypted connection—which isn't supported by Telnet.
Steps
Accessing Your Inbox
-
1Open the Command Prompt window. If you're using Windows, select Start > Run and type "cmd".
- For Windows Vista, 7, 8, & 10: You need to enable Telnet before attempting to use it. To do so, select Control Panel > Programs and Features > Turn Windows Features On or Off. Check "Telnet Client", then allow for it to configure. Telnet will now be enabled.
- For Mac: Open your Finder window. Select Applications > Utilities > Terminal.
- For Linux: Press Ctrl+Alt+T. Alternatively, you can open your Applications window and select Accessories > Terminal.
-
2Access Telnet. Type “telnet emailprovider.com 110” in the command window. Your "emailprovider" is the name of your private email server, this usually comes after the @ sign in your email address.
- For example, if your email address is "hagrid@mail.comcast.net", you'll type "telnet mail.comcast.net 110" here.
Advertisement -
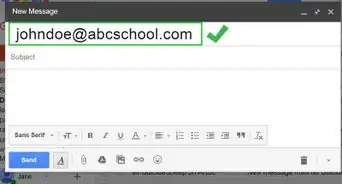
3Specify your user name. Type "USER username" in the command window. Your "username" is what comes before the @ in your email address.
- For example, if your email address is "hagrid@mail.comcast.net", you'll type "USER hagrid" here.
- You may or may not see what you type at this step.
-
4Input your password. Type "PASS [yourpassword]". This is the password you use to access your email.
- For example, if your password is "norbert731", you'll type "PASS norbert731" here.
- Again you may or may not see what you type at this step.


Viewing and Deleting Messages
-
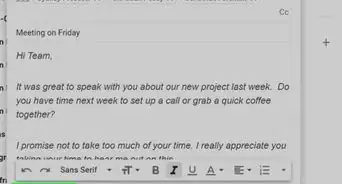
1View a list of your messages. Type “list”. You will see a numbered list of items that are represented by longer numbers. These labels look like "1 607" and "2 1323403". The first number is the position of the message in your inbox. The second number represents the exact size of the message in octets.[4]
- One octet equals eight bits.[5]
-
2View individual messages from this list. For example, if you want to look at the message labeled "2 1323403", type "retr 2". You can replace the "2" with any other number to view other messages.
-
3Delete messages you no longer want. For example, if you want to delete message "1 607", type "dele 1".
- Type "List" again and you'll see that the message is now gone.
-
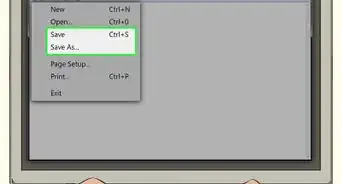
4Disconnect when you are finished. Type ”quit” to disconnect from your email server. Press Alt+F4 to close the application.
- For Mac: Type "quit" then press ⌘ Cmd+Q
- For Linux: Type "quit" then press Ctrl+C


References
About This Article