wikiHow is a “wiki,” similar to Wikipedia, which means that many of our articles are co-written by multiple authors. To create this article, volunteer authors worked to edit and improve it over time.
The wikiHow Tech Team also followed the article's instructions and verified that they work.
This article has been viewed 29,439 times.
Learn more...
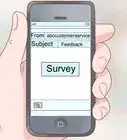
In our technology-driven society, it can be easy to end up on mailing lists for news, alerts, and promotions from online retailers, services, and social media applications. You can unsubscribe from these services at any time by either notifying the sender or modifying your account settings for that particular service. There are also great website services that you can use that will dump all of your spam at one time!
Steps
Unsubscribing from Mailing Lists
-
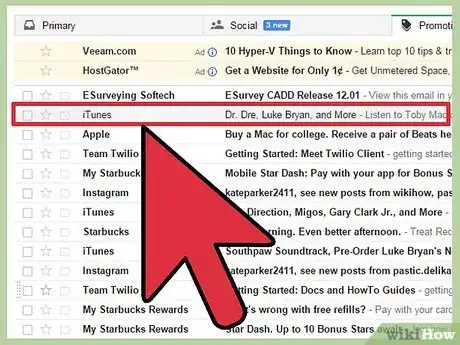
1Open an email from the legitimate service or sender from whom you want to unsubscribe. According to a law that passed in 2003, every legitimate business must make the option to unsubscribe from their solicitations easy and accessible. The email will contain a link that will allow you to unsubscribe. [1]
-
2Click on the “Unsubscribe” link displayed to the right of the sender's email address. This is a simple feature that Gmail added so that you don't have to go hunt to find the unsubscribe link in the email. After you unsubscribe, Google will automatically send an email notification to the sender to take you off their mailing list.
- Click the “Unsubscribe” button again when you are asked to confirm that you no longer want to receive emails. [2]
- Not 100% of emails you want to unsubscribe from will display this option. If your email doesn't display the “Unsubscribe” link, you will need to manually unsubscribe.
Advertisement -
3Use Ctrl F to find the “Unsubscribe” link. Type unsubscribe into the search bar to quickly find the link. Click on the link, and it will take you to the website of the sender. You may have to click “Unsubscribe” again.
- You don't necessarily have to log back into your account. Look for the “Unsubscribe” button, and click it again. However, if this is a sender that sends you multiple kinds of notifications, you will need to login to your account to change your settings. Read on to the next part about unsubscribing.
-
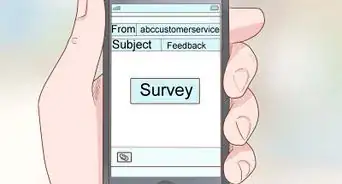
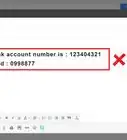
4Watch out for spam from solicitors not affiliated with legitimate companies. Spam will try to get you to send money through phishing, pyramid, or get-rich-quick schemes. If someone you don't know is trying to get you to send them money, it is spam, and mark it as such. [3]
- Mark the email as spam. On the top bar above the email title, there is a stop sign symbol with an exclamation point. Click on the icon to report the spam.
-
5Call the company if emails persist. If you continue to be emailed after you have unsubscribed, call the company and request to be taken off their email list. Tell them if they persist in sending you unwanted mail that you will file a complaint to the Federal Trade Commission, the nations customer protection company. Follow the in-line citation to go to the page to file a complaint with the FTC. [4]
-
6Repeat the process. Unsubscribing is something that you will have to continue to do in the future. Even after you use a website to clear your email, you will have to keep up with it. Any new emails you get, unsubscribe using the steps above.
Unsubscribing from Notifications
-
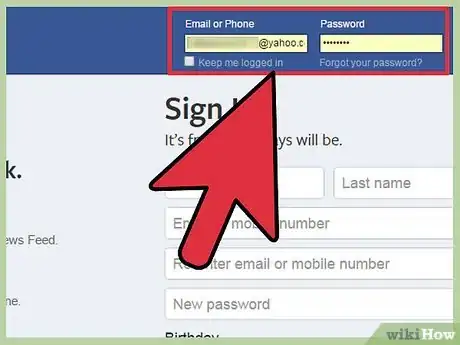
1Log into the accounts that send you multiple email notifications. It is important to go into the websites to change your account settings, because if you only unsubscribe in an email, it will only stop you from receiving one type of email notification. In addition, you will continue to receive other emails from the website. For example, Twitter and Facebook are examples of websites that will send you multiple notices.
-
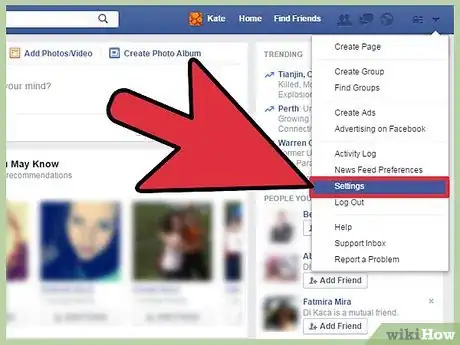
2Go into your account Settings. On Facebook, Twitter, and many other sites, the settings tab is in a drop down menu located in the top right corner of your home or profile page. Click on the small profile picture in the upper right hand corner of the screen. Then click on the Settings tab in the drop down menu .
-
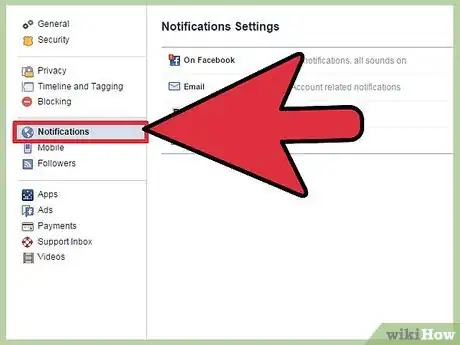
3Click on the Notifications tabs. The notifications tab will most likely be on the left hand panel of your screen. It is halfway down the list of notifications options listed on both Twitter and Facebook.
-
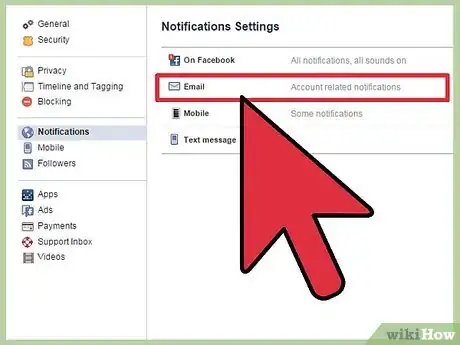
4Go to your Email Notifications tab. You will see other other notifications settings, for example, you can also change the web notifications settings. Ignore those and go to your email notifications.
-
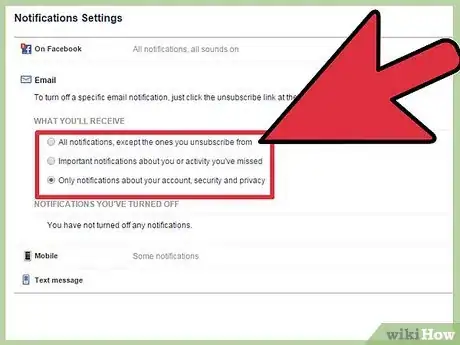
5Unsubscribe from the notifications you don't want to receive. You can turn off the more frequent notifications. For example, when someone comments on posts you are tagged in. On the other hand, you can choose to keep notifications that you do want to receive. For example, you can choose to keep some notifications turned on, like when someone adds you as a friend.
- Turn off all notifications. If you want to turn them all off at once, you can also do that. At the top of your Notifications page, check the box to only receive emails about your account, security and privacy. To turn off all emails on Twitter, click on the blue button that says Turn off.
-
6Click the mobile notifications tab and unsubscribe. If you are also receiving spam on your phone, unsubscribe from the notifications you are receiving. Either above or below the tab Email Notifications you will see a tab for Mobile.
- If you want to continue receiving particular notifications, do not click on the notifications you like to continue to receive.
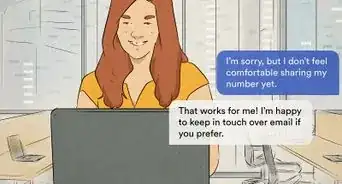
- If the mobile notification page asks for your phone number, do not enter your number. You are not receiving their notifications through your mobile phone. Even though your email notifications may appear on your phone, those have now been handled.
Unsubscribing Using a Website
-
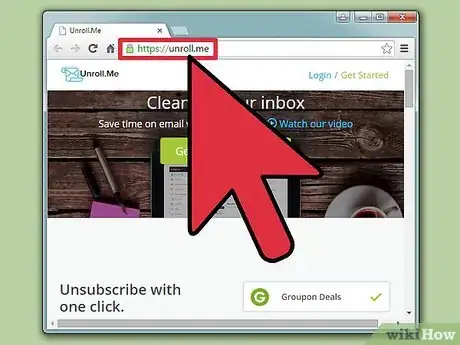
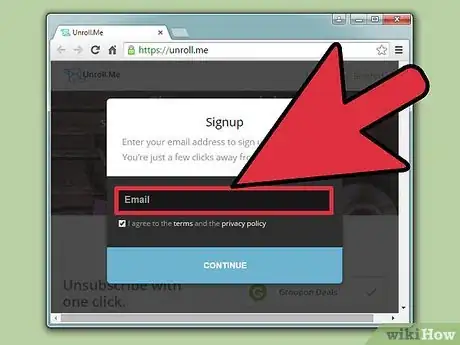
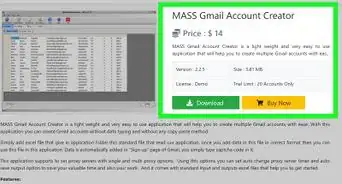
1Go to a website service to eliminate spam from your email accounts. This kind of service will allow you to dump all of your unwanted spam at once. Additionally, this service will give you a list of all the spam sites on your email account that they will unsubscribe for you.
-
2Give the website your email address. Read through their terms of service to make sure you are comfortable with their terms before you accept. You will have to enter the password for your email account in order for the service to work. Once they have access to your email account, they will be able to eliminate the spam from your email account.
-
3Delete the senders or services you do not want to receive emails from. The service will give you a list of the emails your receive. From there you choose who to delete. You do not have to pay for this service; however, they may ask you to promote their company in return for eliminating the spam in your email inbox. They will ask you to promote their service through email, Twitter, or Facebook. [5]
- If you don't want to do the promotions, don't worry, the website will never send emails without your consent.
-
4Choose the senders and services you still want to receive email from. This website can package all of the promotional emails you like into one email. This feature will keep your inbox extra tidy!
References
- ↑ http://blog.hubspot.com/marketing/what-is-can-spam-ht
- ↑ http://techland.time.com/2014/02/25/gmail-unsubscribe/
- ↑ https://kb.iu.edu/d/afne
- ↑ http://www.consumer.ftc.gov/media/video-0054-how-file-complaint
- ↑ http://mashable.com/2012/02/27/unroll-me/
- ↑ http://blog.hubspot.com/marketing/what-is-can-spam-ht
About This Article
1. Open the email message.
2. Press Ctrl + F (PC) or Cmd + F (Mac).
3. Type "unsub" into the search bar.
4. Use the arrows to find the "unsubscribe" link.
5. Click the Unsubscribe link.
6. Follow the on-screen instructions.
