This article was co-authored by wikiHow Staff. Our trained team of editors and researchers validate articles for accuracy and comprehensiveness. wikiHow's Content Management Team carefully monitors the work from our editorial staff to ensure that each article is backed by trusted research and meets our high quality standards.
The wikiHow Tech Team also followed the article's instructions and verified that they work.
This article has been viewed 21,312 times.
Learn more...
This wikiHow teaches you how to create group in the Outlook Groups app on iPhone or iPad. In order to create groups in Outlook on iPhone and iPad, you will need to download the Outlook Groups app, and you will need an Office 365 business account for Outlook Groups.
Steps
-
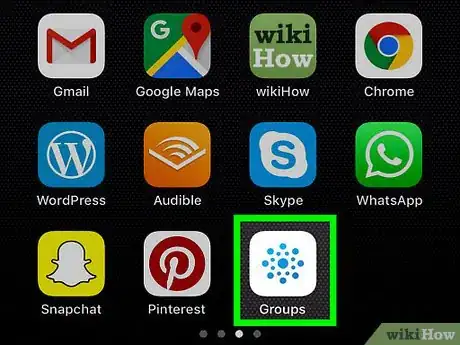
1Open Outlook Groups. It's the white app with blue dots arranged in a star-like formation.
-
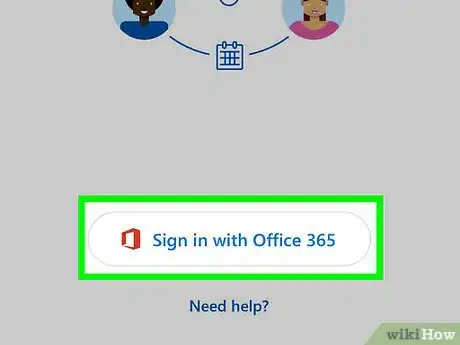
2Tap Sign in with Office 365.Advertisement
-
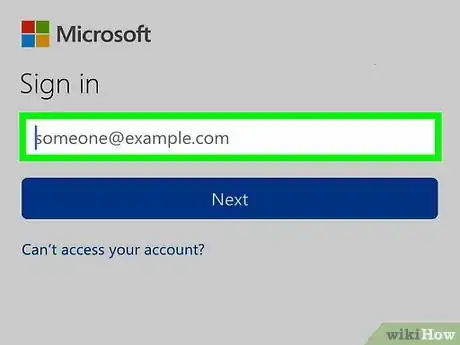
3Sign in to your Office 365 account. Enter your email address and tap "Next," then enter the password associated for your Office 365 account.
-
4Tap your account icon. It's the icon in the upper-right corner.
-
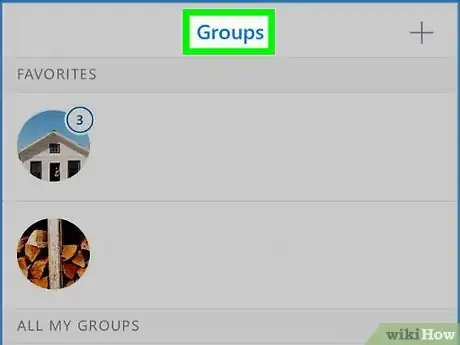
5Tap Groups.
-
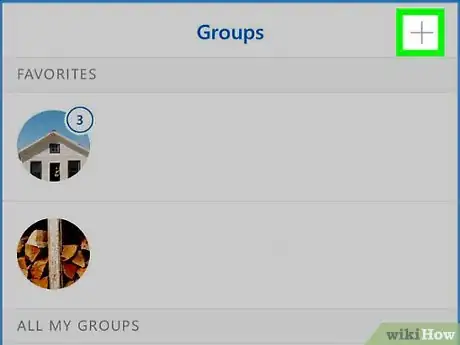
6Tap the plus + icon. It's in the upper-right corner.
-
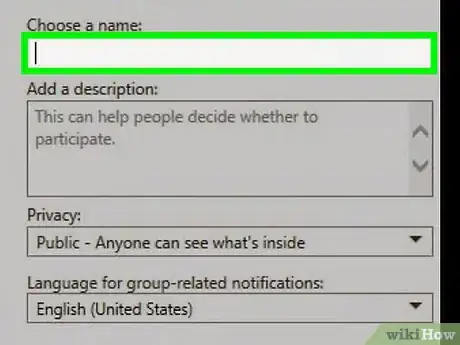
7Type a name for the group in the bar and tap Next.
-
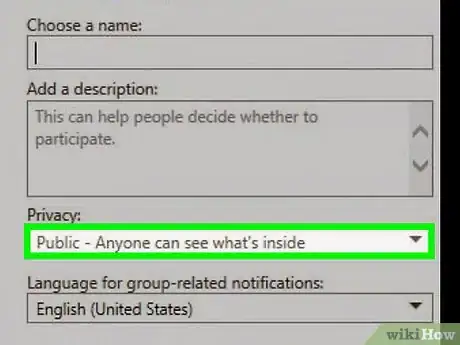
8Tap to set privacy settings. You can select "public" or "private" for the group privacy settings.
-
9Set the group classification.
-
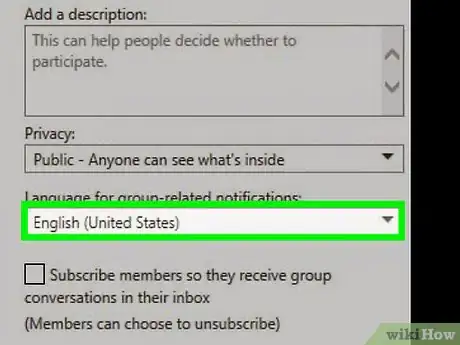
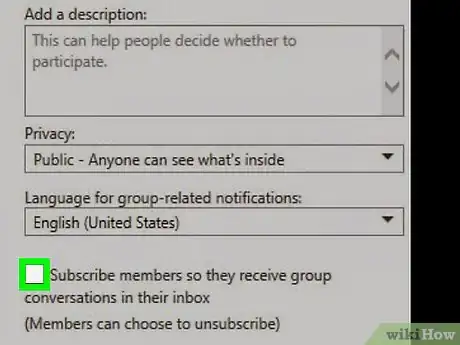
10Set whether group members should follow the group in their inbox.
-
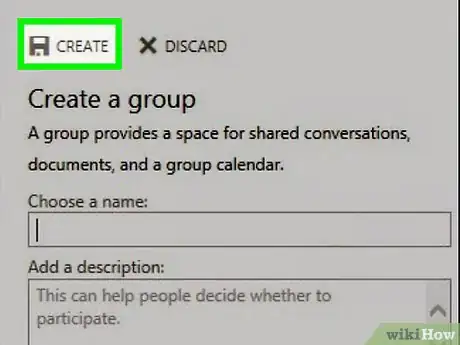
11Tap Create.
-
12Type member email addresses or select addresses from your contacts list.
-
13Tap Next. A "Welcome" email will be sent to the newly created group inbox.
You Might Also Like







 How to Access Military Email from Anywhere: Easy Outlook Setup

 10 Simple Ways to Make a Free Email Address
 3 Ways to Access Email



About This Article

