X
wikiHow is a “wiki,” similar to Wikipedia, which means that many of our articles are co-written by multiple authors. To create this article, volunteer authors worked to edit and improve it over time.
This article has been viewed 87,641 times.
Learn more...
One of the things that you can do when you customize your very own map in Google Maps is to add icons. If you want to mark a specific area the map using a custom image, you can do so by adding your very own icons. Adding icons to Google Maps is very easy and quite fun to do.
Steps
-
1Open a web browser. Use any web browser you have on your computer (Google Chrome, Firefox, Internet Explorer, Safari, etc.) and visit the Google Maps website.
-
2Log into your Google account. Click the “Sign In” button on the upper right-hand corner of the web page to open the Google Account login page. Type in your Google or Gmail account details in the username and password fields, and click the “Sign In” button.
- Create an account if you don’t happen. Simply click Sign up.
Advertisement -
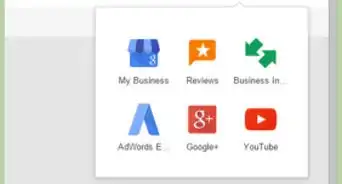
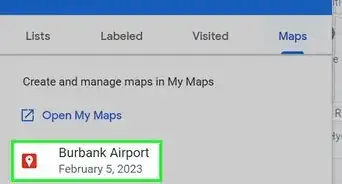
3Open Google Map Maker. Click the search text field on the top left corner of the Google Maps web page and click “See all your maps” from the drop-down list to view all the saved maps on your Google account (if you have any).
- A dialog box will appear showing all the maps you have on your account. Just put a checkmark beside the map you want to add a pin to, and click “Select” to open it.
- Alternatively, if you don't have any maps yet, just click the search text field and select “Create” from the drop-down list to start making one.
-
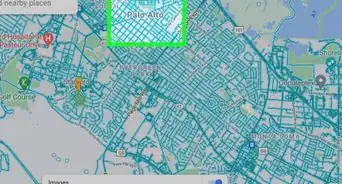
4Find the place where you want to add an icon. Click the “+” and “-” icons on the lower right corner of the web page to zoom in or out of the map. Use your cursor to move up, down, left, or right of the map.
-
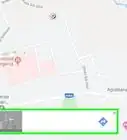
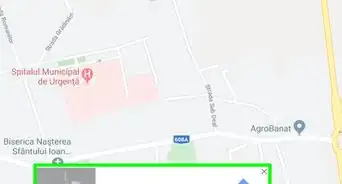
5Add some pins. Click the “Add Marker” button on the upper left corner of the map page (right below the search text field), and click the area of the map you want to place it to add the pin.
- If you want to drop the pin on a specific place, just type the name of that place on the search text field on the upper left area of the map, and click the magnifying glass icon to quickly zoom into that location.
-
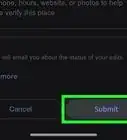
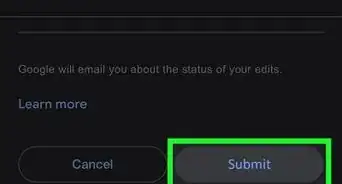
6Name your pin. A pop-up box will appear as you place the pin. Type the name and description of the pin you added on the text fields provided, and click “Save” to save the changes you've made on the map.
-
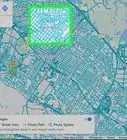
7Add icons. Click the name of the pin you've just added on the menu panel on the upper left corner of the web page, and click the paint bucket icon next to it.
- A small dialog box with a color picker will appear. Click “More Icons” on the box, and a larger dialog box labeled “Choose your icon” will show.
-
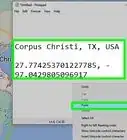
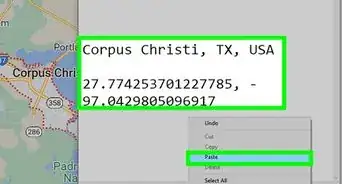
8Customize your icon. Pick one from the list of preset icons on the “Choose your icon” dialog box, or if you want to use an image from the Internet as your icon, simply paste its web address on the text field at the bottom of the box to use it.
- If you want to use a picture saved on your computer, upload it first on an image-hosting website (imageshack.com, tinypic.com, etc.), and paste the link into the textfield. At the moment, you cannot upload an image directly to Google Maps or the Map Maker.
-
9Click the “Add icon” button on the dialog box to complete the process. The customized icon is now added to your Google Map.
Advertisement
About This Article
Advertisement