This article was co-authored by wikiHow staff writer, Travis Boylls. Travis Boylls is a Technology Writer and Editor for wikiHow. Travis has experience writing technology-related articles, providing software customer service, and in graphic design. He specializes in Windows, macOS, Android, iOS, and Linux platforms. He studied graphic design at Pikes Peak Community College.
The wikiHow Tech Team also followed the article's instructions and verified that they work.
This article has been viewed 254,630 times.
Learn more...
This wikiHow teaches you how to use Lucky Patcher on an Android phone. Lucky Patcher allows you to modify apps to remove license verification, remove Google ads, install custom patches, change permissions, and create custom APK files. You'll need to have a rooted Android in order to modify the apps on your phone using Lucky Patcher. [1]
Steps
Cracking Apps & Games
-
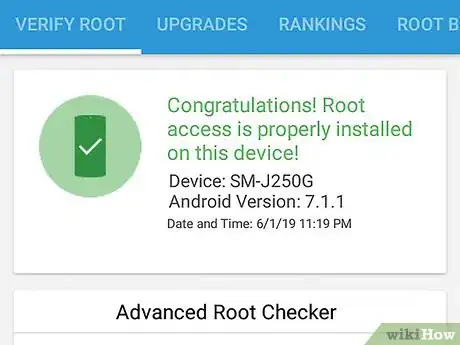
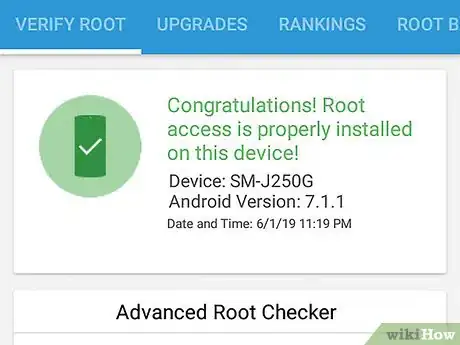
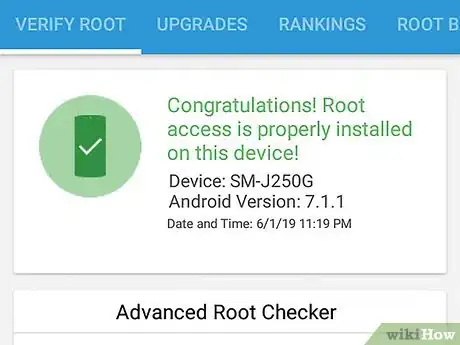
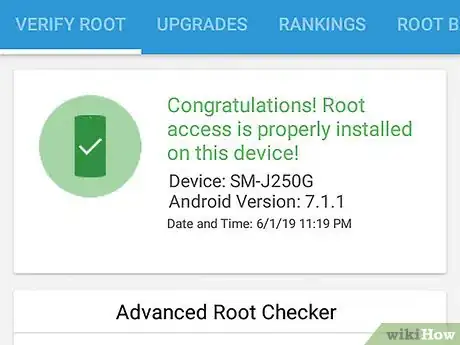
1Root your Android device. You'll need to have a rooted Android phone before you can modify apps with Lucky Patcher. Rooting is different for each Android device and can potentially harm your phone as well as void your warranty. Make sure you follow the most up to date guide for your specific phone and proceed with extreme caution.
- Read Root an Android Without a PC for more information.
-
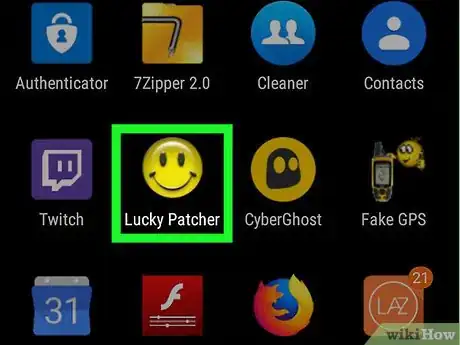
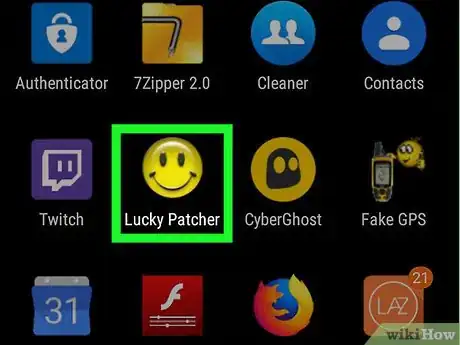
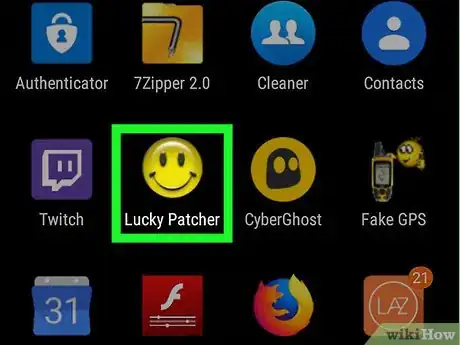
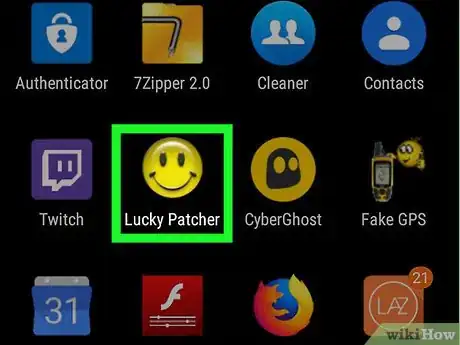
2Open Lucky Patcher. It's the app that has an icon of a yellow smiley emoji. After the app opens, you will see a list of installed apps on your phone.
- Read Download Lucky Patcher on Android for more information.
Advertisement -
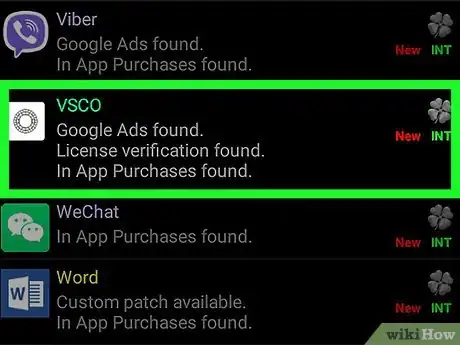
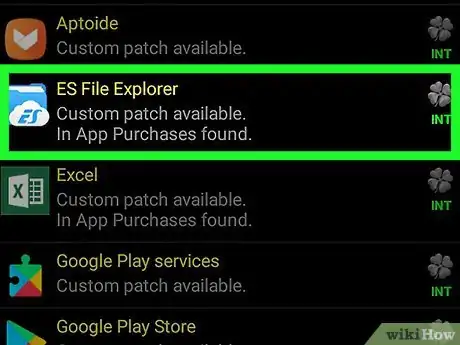
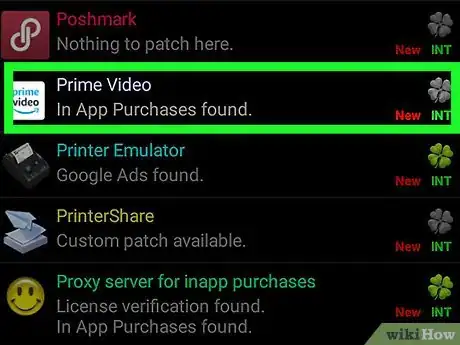
3Tap an app. This is an app you want to remove a license verification from. You will see a menu of different options.
-
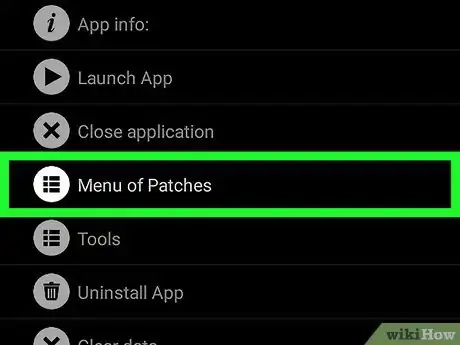
4Tap Menu of Patches. You will see a list of patches that can be applied to the app.
-
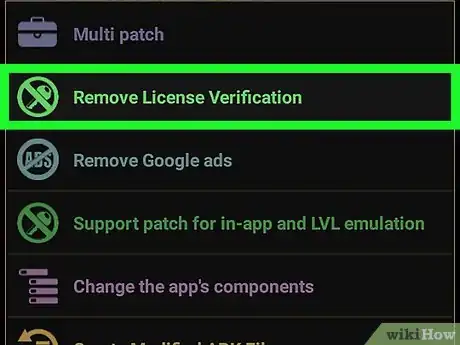
5Tap Remove License Verification. You will see a menu of different patches for removing the license verification.
-
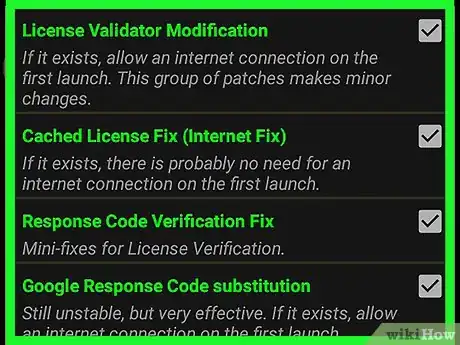
6Tap the patch you want to use. There is a checkbox next to the different patches you can use. Tap the checkbox to select the patch you want to use.
-
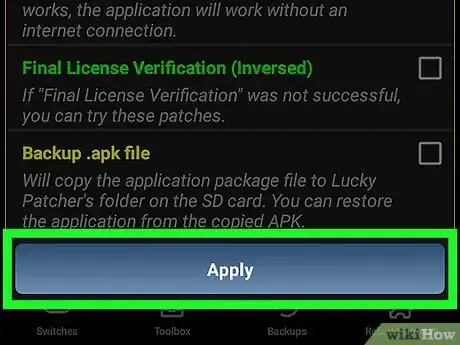
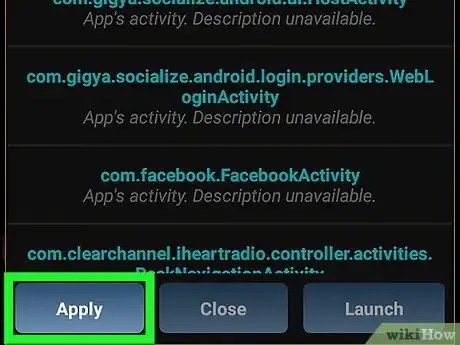
7Tap Apply. This will start patching the app to remove the license verification. This process may take a few minutes.
-
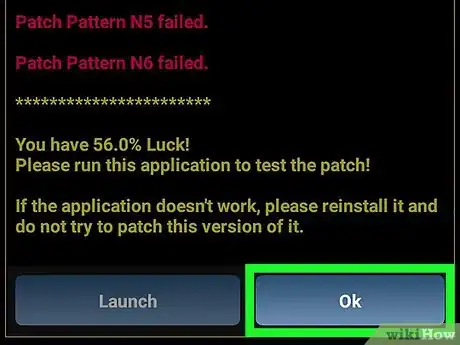
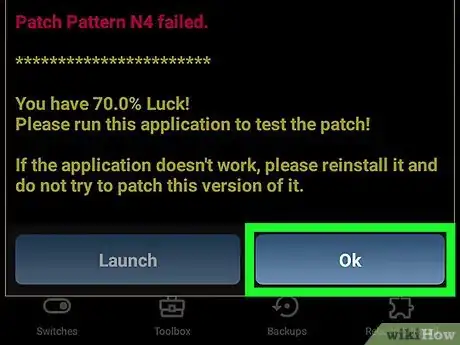
8Tap OK. If the patch works, you will see a success screen with results. Tap "Ok" to continue.[2]
Removing Google Ads
-
1Root your Android device. You'll need to have a rooted Android phone before you can modify apps with Lucky Patcher. Rooting is different for each Android device and can potentially harm your phone as well as void your warranty. Make sure you follow the most up to date guide for your specific phone and proceed with extreme caution.
- Read Root an Android Without a PC for more information.
-
2Open Lucky Patcher. It's the app that has an icon of a yellow smiley emoji. After the app opens, you will see a list of installed apps on your phone.
- Read Download Lucky Patcher on Android for more information.
-
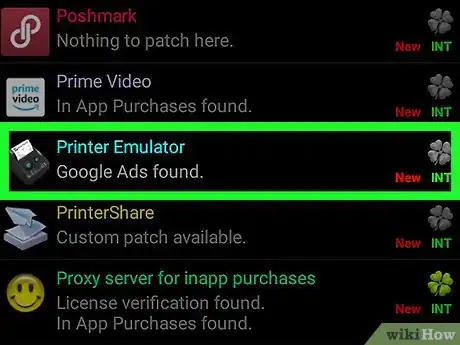
3Tap an app. This is an app that you want to remove Google ads from.
-
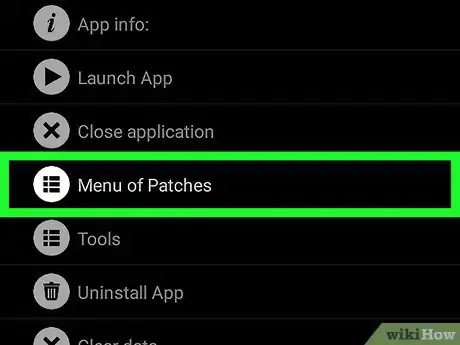
4Tap Menu of Patches. You will see a list of patches that can be applied to the app.
-
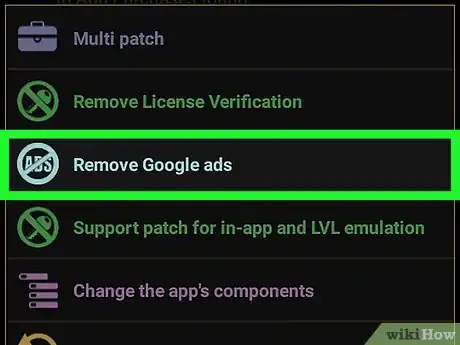
5Tap Remove Google ads. This will open a menu with two options.
-
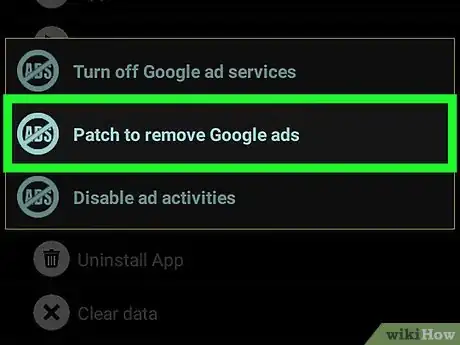
6Tap Patch to remove Google ads. It's the first option in the popup menu.
-
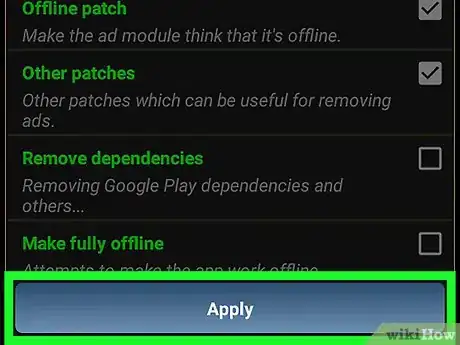
7Tap Apply. This will start patching the app to remove Google Ads. This process may take a few minutes.
-
8Tap Ok. If the patch works, you will see a success screen with results. Tap "Ok" to continue.[3]
Applying Custom Patches
-
1Root your Android device. You'll need to have a rooted Android phone before you can modify apps with Lucky Patcher. Rooting is different for each Android device and can potentially harm your phone as well as void your warranty. Make sure you follow the most up to date guide for your specific phone and proceed with extreme caution.
- Read Root an Android Without a PC for more information.
-
2Open Lucky Patcher. It's the app that has an icon of a yellow smiley emoji. After the app opens, you will see a list of installed apps on your phone.
- Read Download Lucky Patcher on Android for more information.
-
3Tap an app. This is an app that you want to apply a custom patch to.
-
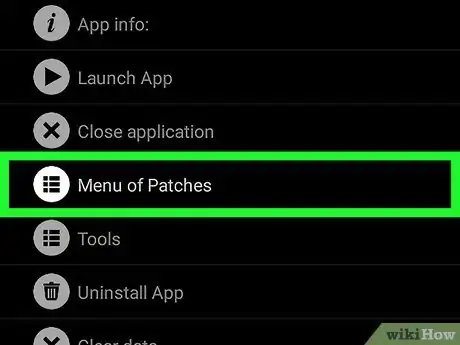
4Tap Menu of Patches. You will see a list of patches that can be applied to the app.
-
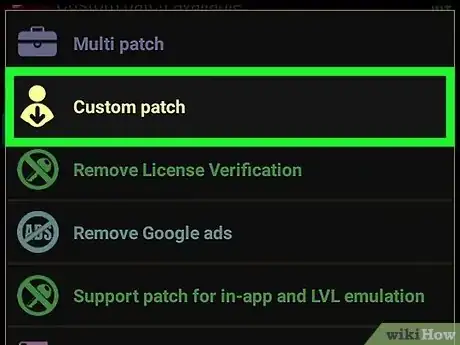
5Tap Custom patch. You may see a menu of custom patches. If only one custom patch is available, you will be asked if you want to apply the custom patch.
- To download the latest custom patches, tap "⋮" in the upper-right corner, then tap "Download custom patches" in the settings menu.[4]
-
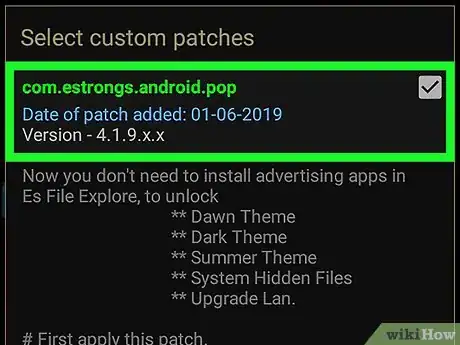
6Tap the custom patch you want to apply. You will see a popup window with a description of what the patch does.
-
7Tap Apply. This will apply the custom patch. This process may take a few minutes.
-
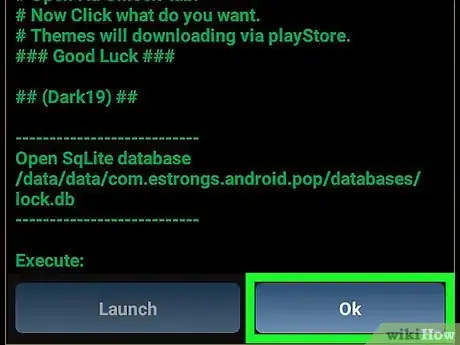
8Tap Ok. If the patch works, you will see a success screen with results. Tap "Ok" to continue.[5]
Changing Permissions
-
1Root your Android device. You'll need to have a rooted Android phone before you can modify apps with Lucky Patcher. Rooting is different for each Android device and can potentially harm your phone as well as void your warranty. Make sure you follow the most up to date guide for your specific phone and proceed with extreme caution.
- Read Root an Android Without a PC for more information.
-
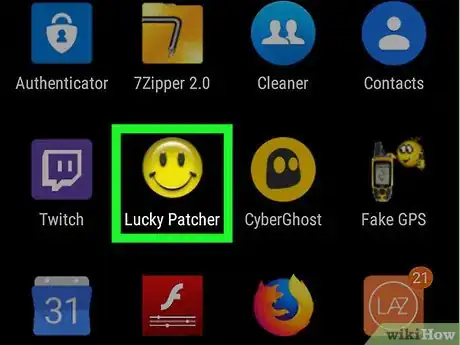
2Open Lucky Patcher. It's the app that has an icon of a yellow smiley emoji. After the app opens, you will see a list of installed apps on your phone.
- Read Download Lucky Patcher on Android for more information.
-
3Tap an app. Select the app that you want to apply a custom patch to.
-
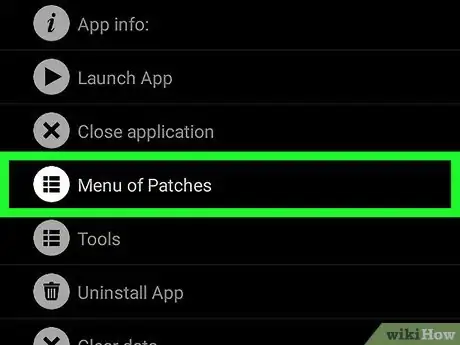
4Tap Menu of Patches. You will see a list of patches that can be applied to the app.
-
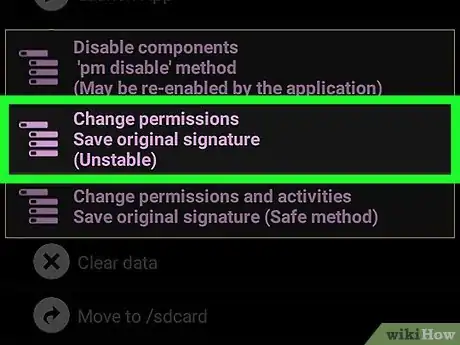
5Tap Change permissions. You will see a list of permissions.
-
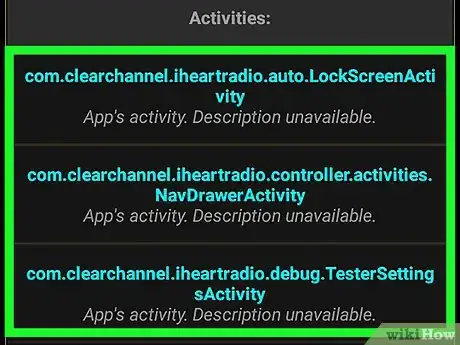
6Tap individual permissions. If the permission text is green, it will be enabled. If the permission text is red, it will be disabled.
-
7Tap Apply. This will reboot the app with changed permissions.
Creating Modified APKs
-
1Root your Android device. You'll need to have a rooted Android phone before you can modify apps with Lucky Patcher. Rooting is different for each Android device and can potentially harm your phone as well as void your warranty. Make sure you follow the most up to date guide for your specific phone and proceed with extreme caution.
- Read Root an Android Without a PC for more information.
-
2Open Lucky Patcher. It's the app that has an icon of a yellow smiley emoji. After the app opens, you will see a list of installed apps on your phone.
- Read Download Lucky Patcher on Android for more information.
-
3Tap an app. This is an app that you want to create a modified APK file for.
-
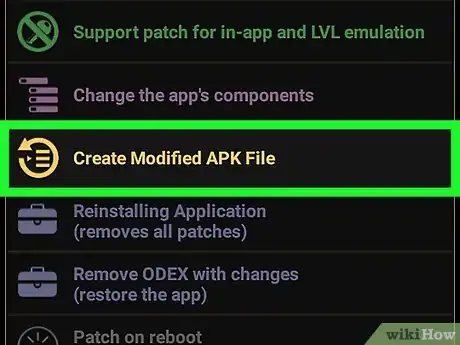
4Tap Create Modified APK File. It's in the menu you see when you tap an application.
-
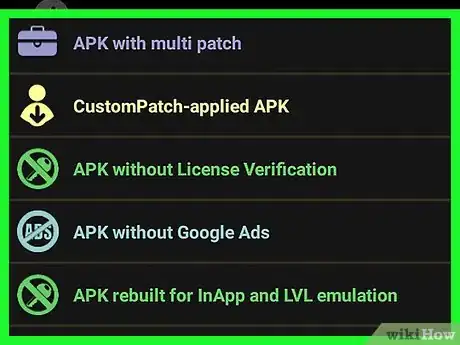
5Tap a patch to modify the APK file with. You will see a list of patches that you can use to create a modified APK file.
-
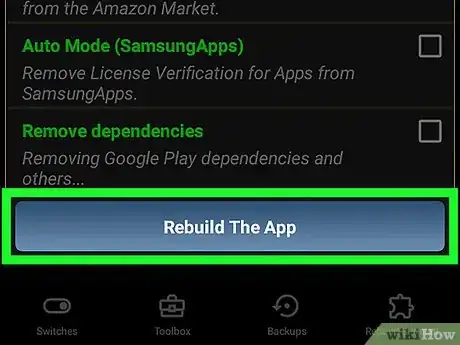
6Tap Rebuild The App. It's the blue button at the bottom of the screen. This will create a modified APK file for the app with the applied patch that is separate from the original app. You can find modified APK files in the folder /sdcard/LuckyPatcher/Modified/.
-
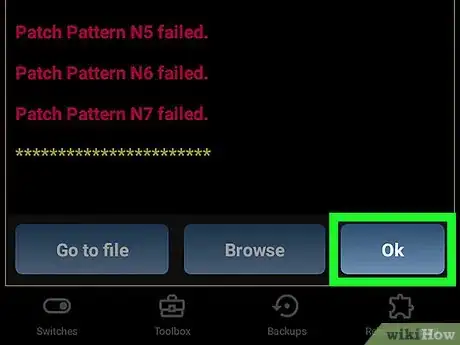
7Tap Ok. This will confirm that the APK file was created. You can also tap "Go to File" to open the folder with the modified APK file.[6]
Community Q&A
-
QuestionCan Lucky Patcher work if you do not root your phone?
 Gustavo PichardoCommunity AnswerIts full potential cannot be used if it isn't rooted. Only small and useless options are available.
 -
QuestionIs rooting of a phone harmful to the device?
 Community AnswerRooting is not harmful in itself, but It will, for example, void your warranty and may be used to harm your device if you don't know what you're doing.
References
- ↑ https://luckypatcherofficial.com/
- ↑ https://www.luckypatchers.com/remove-license-verification-android-apps/
- ↑ https://www.luckypatchers.com/remove-ads-from-android-apps/
- ↑ https://www.youtube.com/watch?v=WySUNKC36Ms&t=27s
- ↑ https://www.youtube.com/watch?v=Z_ohjlkMuAQ
- ↑ https://www.youtube.com/watch?v=1j9vhVbZqis





-Step-34.webp)
