This article was co-authored by wikiHow staff writer, Travis Boylls. Travis Boylls is a Technology Writer and Editor for wikiHow. Travis has experience writing technology-related articles, providing software customer service, and in graphic design. He specializes in Windows, macOS, Android, iOS, and Linux platforms. He studied graphic design at Pikes Peak Community College.
The wikiHow Tech Team also followed the article's instructions and verified that they work.
This article has been viewed 483,583 times.
Learn more...
Removing the notification bar at the top of your phone allows apps to use more screen space and gives a much more immersive feel. If you have a stock Android phone, you can remove the notification bar using System UI Tuner. For all other Android models, you can do this using a third-party app. In order for this to work, you must grant the app write secure settings permissions. This can only be done using Android Debug Bridge (ABD) on a PC or Mac. This wikiHow teaches you how to hide the notification bar at the top of your Android device.
Things You Should Know
- Tap and hold . After you've held down for a few seconds, the gears should spin and roll off the screen. A wrench icon will appear.
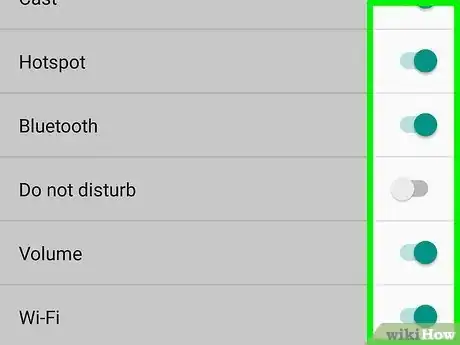
- Tap > System UI Tuner > Status bar > .
- If your device does not support the above method, you can also turn off the notification bar by downloading "Fullscreen: The One Immersive Mode" from the Play Store.
Steps
Using System UI Tuner on Stock Android
-
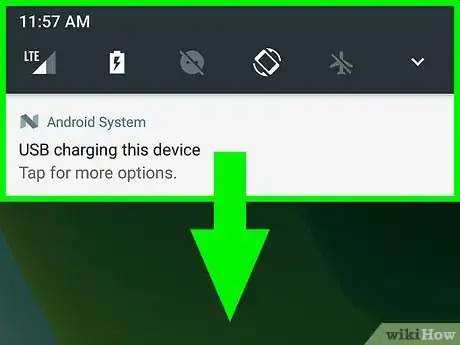
1Pull down twice from the top of the screen. This pulls down the notification drawer and then pulls it down further to show the Quick Settings tiles.
-
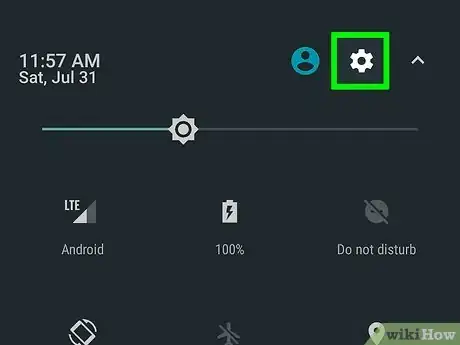
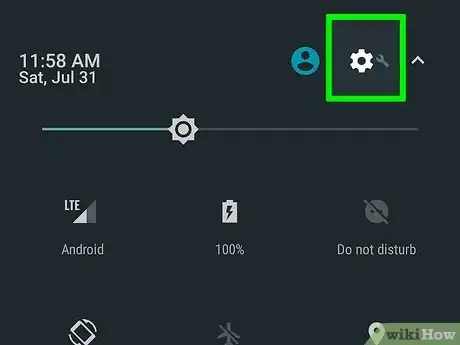
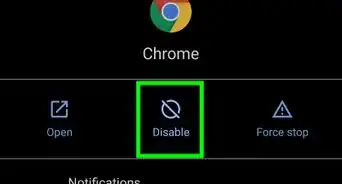
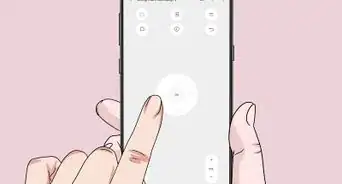
2Tap and hold for several seconds. It's the gear-shaped icon in the top-right of the notification drawer. After holding on it for a few seconds, the gear icon will spin and roll off the screen. A little wrench icon will appear next to the gear icon indicating the System UI Tuner is now enabled.
- If this doesn't happen, your version of Android does not support the System UI Tuner.
Advertisement -
3
-
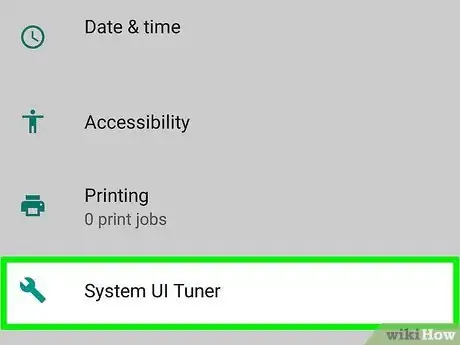
4Tap System UI Tuner. This option is near the bottom of the Settings page.
- If this is your first time launching the System UI Tuner, tap GOT IT.
-
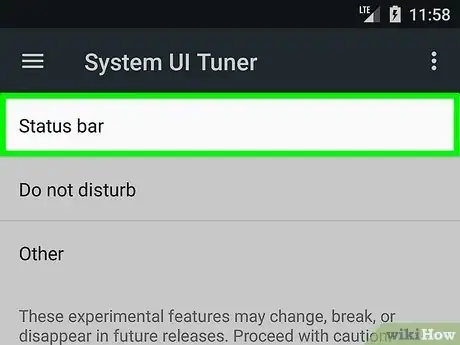
5Tap Status bar. It's one of the options in the System UI Tuner menu.
-
6
Using a Third-Party App
-
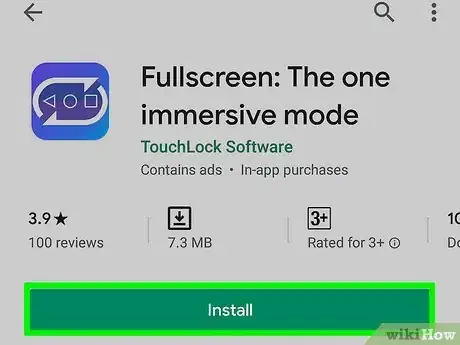
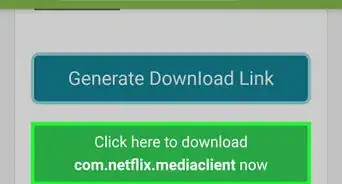
1Download Fullscreen: The One Immersive Mode. The app is free to download from the Google Play Store. Use the following steps to download and install Fullscreen: The One Immersive Mode:
- Open the Google Play Store.
- Type "Fullscreen: The One Immersive Mode" in the search bar.
- Tap Install next to the Fullscreen app.
-
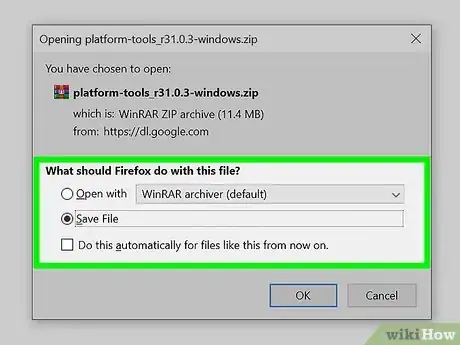
2Download Android SDK Platform Tools to your PC or Mac. This allows you to connect your Android device to your computer and interface with it using the Command Line on Windows or the Terminal on Mac. This is necessary to grant the Fullscreen app write secure settings permissions to modify your user interface. Click one of the links below to download the zip file containing the Android SDK Platform Tools for your operating system. Then unzip the contents of the folder and save it to an easily accessible location, such as your desktop. The link you need to click is as follows:[1]
-
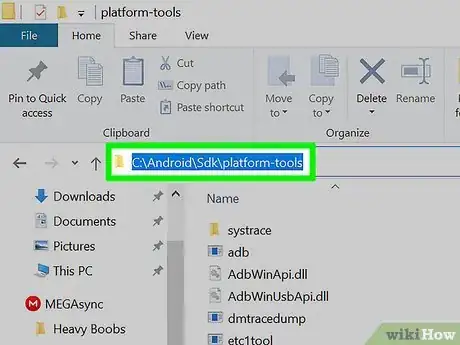
3Copy the address of the "platform-tools" folder. Use File Explorer on Windows or Finder on Mac to navigate to the "platform-tools" folder you just downloaded and unzipped. Then use one of the following steps to copy the address of the folder.
- Windows: Open the "platform-tools" folder. Right-click platform-tools"' in the address bar at the top. Then click Copy address as text.
- Mac: Right-click the "platform-tools" folder (without opening it) and click Get Info. Highlight and copy the address next to "Where" under "General." Press Command + C to copy.
-
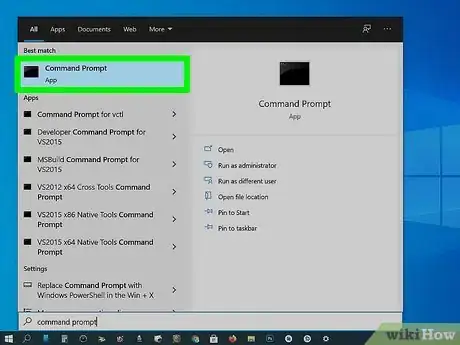
4Open the Command Prompt on Windows or Terminal on Mac. Use one of the following steps to open the Command Prompt or Terminal:
- Windows: Click the Windows Start menu and type "CMD." Then click the Command Prompt icon.
- Mac: Click the magnifying glass icon in the upper-right corner and type "Terminal" in the search bar. Click the Terminal icon.
-
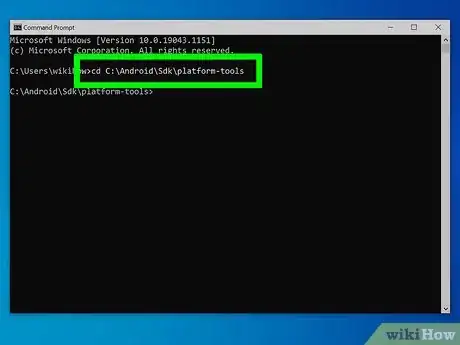
5Navigate to the "platform-tools" folder in Command Prompt or the Terminal. The easiest way to do this is to copy and paste the location of the folder. Use the following steps to navigate to the Platform Tools folder you just copied the location of in the Command Prompt or Terminal:
- Type cd followed by a space.
- Press Ctrl+V on Windows or ⌘ Command+V on Mac to paste the folder location.
- Press Enter.
-
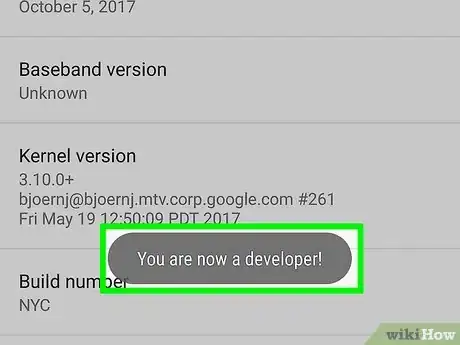
6Enable Developer Options on your Android device. In order for your computer to be able to interface with your Android phone using the Terminal or Command Prompt, your phone must be in USB debugging mode. Before you can enable USB debugging, you need to enable Developer Options. Use the following steps to enable Developer Options:
- Open the Settings menu.
- Scroll down and tap About Phone.
- Tap Build number 7 times.
- If you don't see "Build number" under "About phone," tap Software information and check there.
- Return to the root settings menu.
-
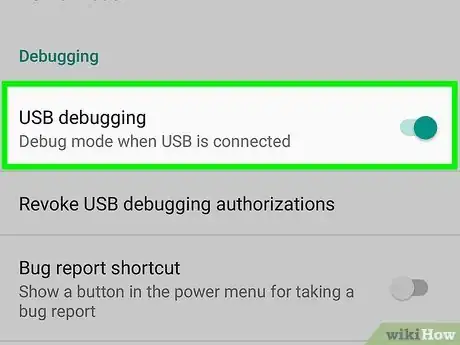
7Open Developer Options and enable USB Debugging. Now that you have enabled Developer Options, you should see this menu option at the bottom of the first page of the Settings menu. Navigate back to the base Settings menu and tap Developer Options. Then tap the toggle switch next to "USB Debugging."
-
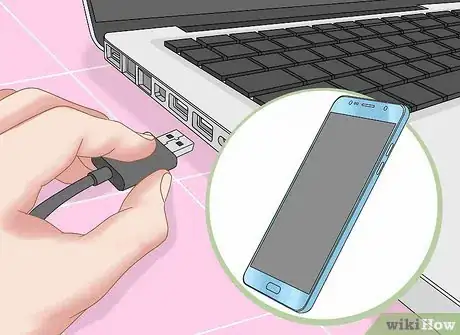
8Connect your Android device to your computer using a USB cable. Use the cable that came with your Android device to connect it to a free USB port on your computer.
- If you are asked to select what to do with the phone, select File Transfer mode or whichever option allows you to browse and transfer files from your computer to your device.
-
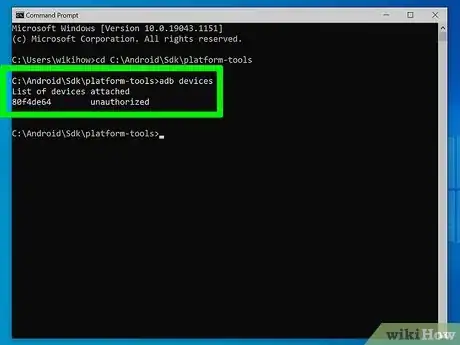
9Type adb devices in the Command Prompt or Terminal and press ↵ Enter. Initially, the command may say that your Android device is unauthorized. You need to allow your computer to access it on your Android phone.
-
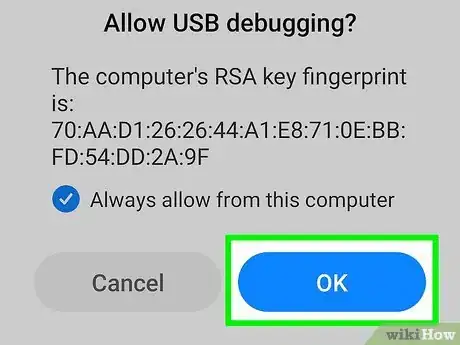
10Tap Allow on your Android device. When you enter the "adb devices" command, it should prompt you to allow you computer to access your phone. Tap Allow on your Android device.
-
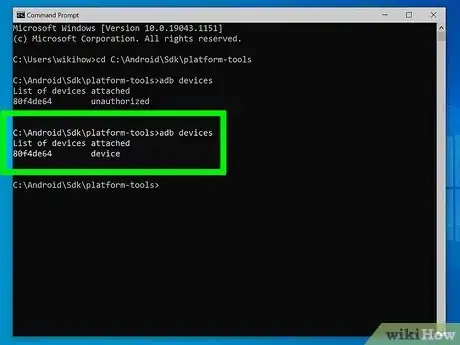
11Type adb devices in the Command Prompt or Terminal again and press ↵ Enter. This time, it should return your Android device's model number.
-
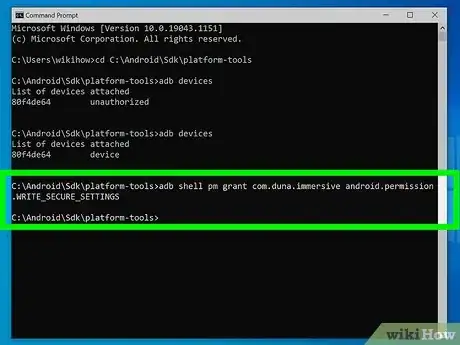
12Enter the command to grant the app write secure settings permissions. Enter the following command to grant "Fullscreen: The One Immersive Mode" write secure settings permissions and press Enter:[2]
- Windows: adb shell pm grant com.duna.immersive android.permission.WRITE_SECURE_SETTINGS
- Mac: ./adb shell pm grant immersive.duna.com.immersive android.permission.WRITE_SECURE_SETTINGS
-
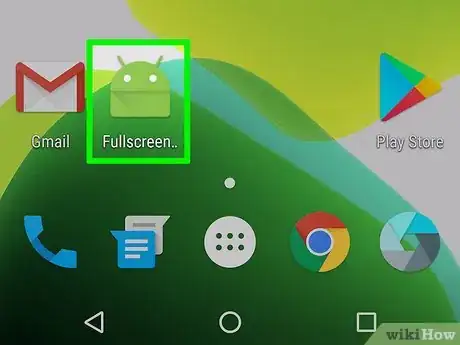
13Open Fullscreen: The One Immersive Mode. It has a blue and purple icon with a bar that has a triangle, circle, and square. Tap the icon to open the app.
- You may be asked to watch an ad or purchase the app when you open it. Tap Watch ad and then watch the 30-second ad all the way through to continue using the app. Then tap the "X" icon to close the ad banner and return to the app.
-
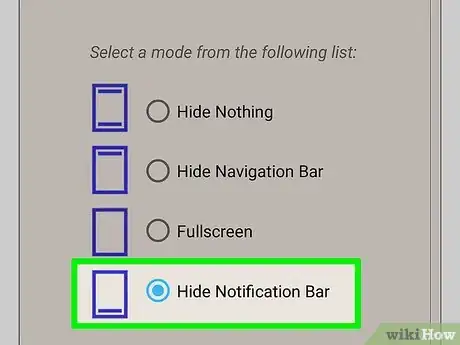
14Tap Hide Notification Bar. It's the fourth option on the main screen. This hides your notification bar. If you want to bring the Notification Bar back, open Fullscreen: The One Immersive Mode again and tap "Hide Nothing."
- You can also tap the option next to "Fullscreen" to hide your Notification Bar and your Navigation Bar.
References
About This Article
1. Download "Fullscreen: The One Immersive Mode" from the Google Play Store.
2. Enable Developer Options and USB Debugging on your Android device.
3. Download Android SDK Platform Tools on your PC or Mac.
4. Connect your phone to your PC and open a Command Prompt or Terminal window in the "platform-tools" folder.
5. Type "adb devices" and press enter and allow your Android device to interface with your computer.
6. Type "adb devices" again.
7. Type "adb shell pm grant com.duna.immersive android.permission.WRITE_SECURE_SETTINGS" and press Enter.
8. Open Fullscreen: The One Immersive Mode and tap Hide Notification Bar.


-Step-34.webp)
