This article was co-authored by wikiHow Staff. Our trained team of editors and researchers validate articles for accuracy and comprehensiveness. wikiHow's Content Management Team carefully monitors the work from our editorial staff to ensure that each article is backed by trusted research and meets our high quality standards.
The wikiHow Tech Team also followed the article's instructions and verified that they work.
This article has been viewed 19,943 times.
Learn more...
This wikiHow teaches you how to remove a saved Google account from YouTube Music, using an iPhone or iPad. Removing an account will automatically sign you out, but you will have to sign in with another account to keep using YouTube Music.
Steps
-
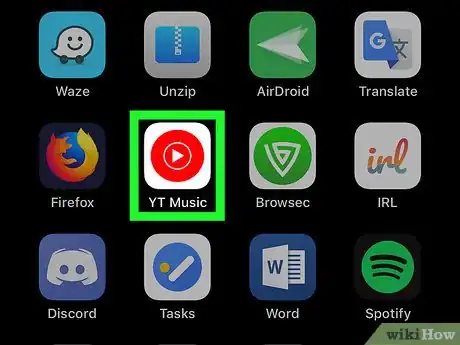
1Open the YT Music app on your iPhone or iPad. The YouTube Music icon looks like a white play button in a red circle.
-
2Tap your profile avatar on the top-right. You'll see a thumbnail of your profile picture in the upper-right corner of your screen. It will open your navigation menu.Advertisement
-
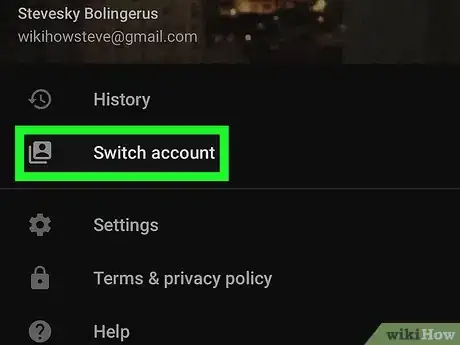
3Tap Switch account on the menu. This will open a list of all your saved Google accounts on a new page.
-
4
-
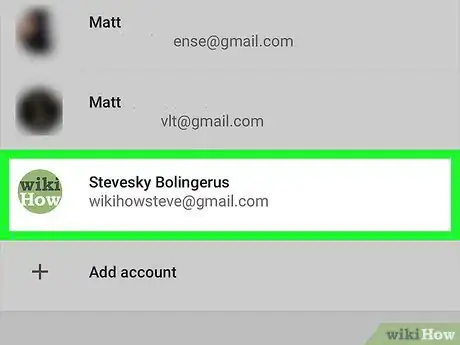
5Tap the account you want to sign out from. You can remove an account from your saved accounts list, and automatically sign out of it.
- You have to be signed in with an account in order to use YouTube Music.
-
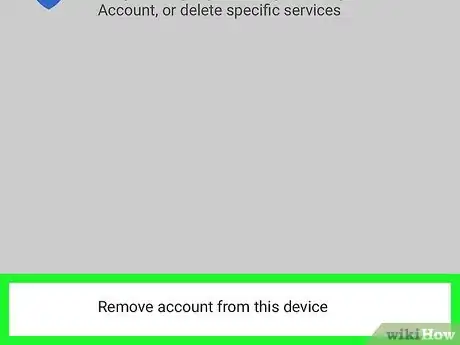
6Tap Remove account from this device. You can find this option at the bottom of the account details.
- You will have to confirm your action in a new pop-up.
-
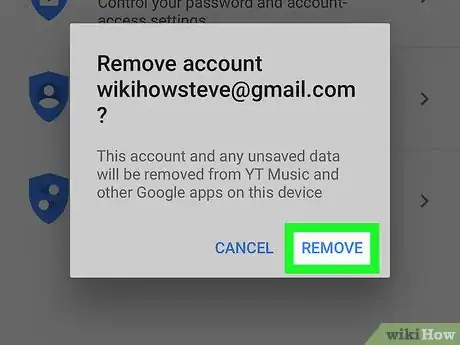
7Tap REMOVE in the confirmation pop-up. This will confirm your action, and remove the selected account from your iPhone or iPad.
- You'll be automatically signed out from YouTube and YouTube Music.
About This Article
1. Open the YT Music app.
2. Tap your avatar on the top-right.
3. Tap Switch account.
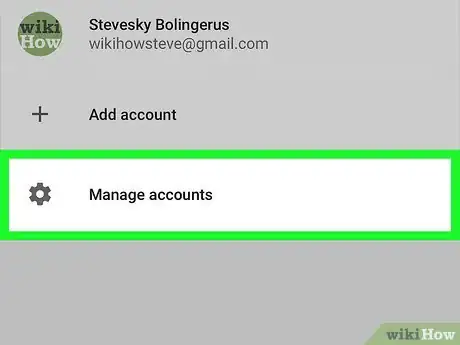
4. Tap Manage accounts.
5. Tap your account.
6. Tap Remove account from this device.
7. Tap REMOVE.
