X
This article was co-authored by wikiHow staff writer, Jack Lloyd. Jack Lloyd is a Technology Writer and Editor for wikiHow. He has over two years of experience writing and editing technology-related articles. He is technology enthusiast and an English teacher.
The wikiHow Tech Team also followed the article's instructions and verified that they work.
This article has been viewed 39,940 times.
Learn more...
This wikiHow teaches you how to exit a Telnet server and return to the normal Command Prompt console on a Windows computer.
Steps
Method 1
Method 1 of 2:
Exiting the Telnet Console
-
1Open your Command Prompt window. This should be the Command Prompt window in which your Telnet server is running.
-
2Make sure Telnet is active. If you see "Microsoft Telnet>" on the bottom-left side of the list of commands, Command Prompt is running the Telnet console.
- If you see your username (or "system32") here instead, Telnet has already been exited.
Advertisement -
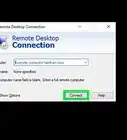
3Enter the "Close Server" command. Simply type in close and press ↵ Enter. This will close your Telnet server.
-
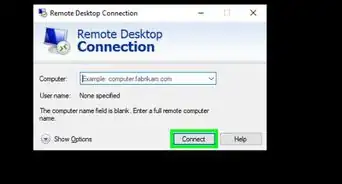
4Enter the "Quit" command. Type in quit, then press ↵ Enter.[1]
- You can also just type in q and press ↵ Enter.
-
5Wait for the normal Command Prompt window to appear. You should eventually see the "Microsoft Telnet>" prompt on the left side of the window disappear; it will be replaced by the Command Prompt tag which is either your username or "sytem32>".
-
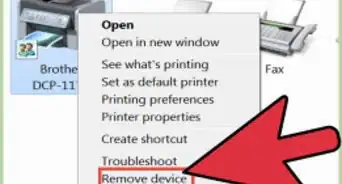
6Close and re-open Command Prompt if necessary. If you can't get the Telnet console to switch back to Command Prompt, you can simply click the X in the top-right corner of Command Prompt to close it and then re-open Command Prompt. This will get rid of the Telnet console.


Advertisement
Method 2
Method 2 of 2:
Disabling Telnet
-
1
-
2Open the "Windows Features" section of Control Panel. Type turn windows features on or off into Start, then click Turn Windows features on or off at the top of the Start window.
- You may need to click the Control Panel icon that appears in the taskbar at the bottom of the screen in order to open its window.
-
3Scroll down and uncheck the "Telnet Client" box. It's in the "T" section of the menu, near the bottom of the page.
-
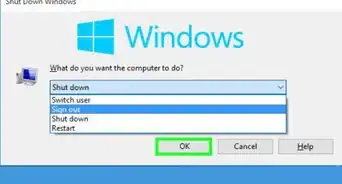
4Click OK. This option is at the bottom of the window. Your computer will begin disabling Telnet.
- This will take several minutes.
-
5Click Close when prompted. Doing so signifies that Telnet has been disabled by your computer.
-
6


Advertisement
Warnings
- While it used to be available on Mac computers, Telnet is not supported by Macs running macOS High Sierra and up.[3]⧼thumbs_response⧽
Advertisement


References
About This Article
Jack Lloyd
wikiHow Technology Writer
This article was co-authored by wikiHow staff writer, Jack Lloyd. Jack Lloyd is a Technology Writer and Editor for wikiHow. He has over two years of experience writing and editing technology-related articles. He is technology enthusiast and an English teacher. This article has been viewed 39,940 times.
How helpful is this?
Co-authors: 8
Updated: August 10, 2021
Views: 39,940
Categories: Remote Access Services
Article SummaryX
1. Go to the Telnet Command Prompt window.
2. Type in close and press Enter to close the server.
3. Type in quit and press Enter to close the Telnet console.
Did this summary help you?
Advertisement