wikiHow is a “wiki,” similar to Wikipedia, which means that many of our articles are co-written by multiple authors. To create this article, 14 people, some anonymous, worked to edit and improve it over time.
The wikiHow Tech Team also followed the article's instructions and verified that they work.
This article has been viewed 849,559 times.
Learn more...
Telnet is a command line tool that is designed for administering remote servers through the Command Prompt. Unlike Windows XP and Vista, Windows 7 does not come with the Telnet client installed automatically. You will need to enable it before you can start using it. See Step 1 below to learn how to do both.
Steps
Installation
-
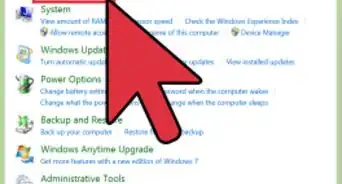
1Open the Control Panel. By default, Telnet is not installed with Windows 7. It will need to be manually activated in order for you to use it. You can do so through the Control Panel, which can be accessed from the Start menu.
-
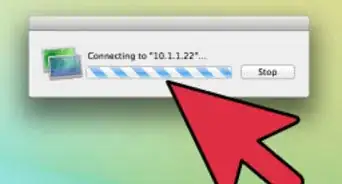
2Open "Programs and Features" or "Programs". The option available to you will depend on whether your Control Panel is in Icon or Category view, but they both take you to the same place.Advertisement
-
3Click the "Turn Windows features on or off" link. You may be asked for the Administrator password.
-
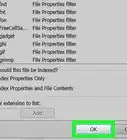
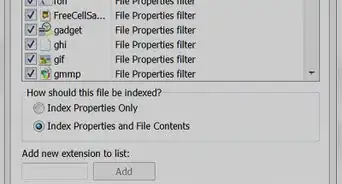
4Find the "Telnet Client" entry. In the list of available features, you will see an entry labeled Telnet Client. You may have to scroll down to find it. Check the box next to Telnet Client, and click OK.
- You may have to wait a minute or two for the client to be installed after selecting it.
-
5Install Telnet through the command prompt. If you'd rather do everything through the Command Prompt, you can install Telnet with a quick command. First, open the Command Prompt by typing cmd into the Run box. At the command line, type pkgmgr /iu:"TelnetClient" and press ↵ Enter. After a moment, you will be returned to the command prompt.[1]
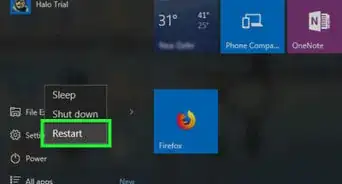
- Restart the command prompt to begin using Telnet.


Use
-
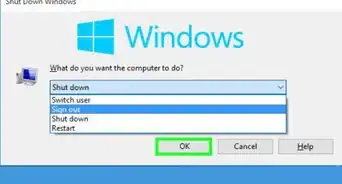
1Open the Command Prompt. Telnet runs through the Command Prompt. You can access the command prompt by pressing Win and typing cmd into the Run field.
-
2Start the Telnet client. Type telnet and press ↵ Enter to start Microsoft Telnet. The Command Prompt will disappear, and you will be taken to the Telnet command line, displayed as Microsoft Telnet>.
-
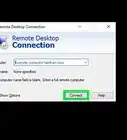
3Connect to a Telnet server. At the Telnet command line, type open serveraddress [port]. You have successfully connected to the server when you receive either a welcome message or are prompted for your username and password.
- For example, to watch ASCII Star Wars, type open towel.blinkenlights.nl and press ↵ Enter.
- You can also start a connection directly from the Command Prompt by typing telnet serveraddress [port].
-
4Close your Telnet session.Once you are finished administering your Telnet server, you should close your connection before closing the window. To do so, open the Telnet command line by pressing Ctrl+]. Type quit and press ↵ Enter to close the connection.[2]


Community Q&A
-
QuestionWhat if I cannot find the telnet server on my Windows 10 computer?
 Community AnswerYou can find it in control panel by clicking on Programs and Features then Turn windows features on/off. You will find telnet client there.


References
About This Article
1. Open Control Panel.
2. Click Programs or Programs and features.
3. Click Turn Windows features on or off.
4. Check the box next to "Telnet client."
5. Click OK.