Learn how to save and find voice texts on your iPhone
X
wikiHow is a “wiki,” similar to Wikipedia, which means that many of our articles are co-written by multiple authors. To create this article, volunteer authors worked to edit and improve it over time.
Learn more...
Did you save an audio file from a text message and now can't find it? How your iPhones stores saved audio messages has changed since iOS 11 in a big way, as voice texts are no longer saved in the Voice Memos app. Beginning with iOS 12, saved audio messages stay in the Messages app, though you can move them to other apps. This wikiHow article shows you how to save your audio messages in Messages on iPhone so you can find them later.
Things You Should Know
- Save your audio messages in Messages by tapping "Keep" under the message.
- You'll need to save your audio messages within 2 minutes of listening to avoid automatic deletion.
- Prevent audio messages from expiring by selecting "Settings > Messages > Expire > Never."
- If you want to save your audio messages in a different app than Messages, copy it, then paste it into the Files or Notes apps.
Steps
Section 1 of 3:
How to Save Audio Messages
-
1Open the message that contains an audio recording. This only works on phones with iOS 12 and newer. Older iPhones will not save audio messages in Messages. To find audio messages on phones older than iOS 12, look in the Voice Memos app.
- You'll need to save your audio message within 2 minutes of listening so it doesn't expire. If you don't want audio messages to expire automatically, you can disable that feature in your settings.
-
2Tap Keep. This is in blue text below the message in Messages. You'll see this option as long as it's been less than 2 minutes since you first listened to the audio message.Advertisement
-
3Find your audio messages in the Messages app. By scrolling through the chat conversation, you'll find all the messages that you saved by tapping Keep.
- By default, you can raise the iPhone to your ear to listen to audio messages.
- If your iPhone's Messages are synced with iCloud, you can listen to the voice text on your Mac as well in Messages.[1]
Advertisement
Section 2 of 3:
Prevent Audio Messages from Expiring
-
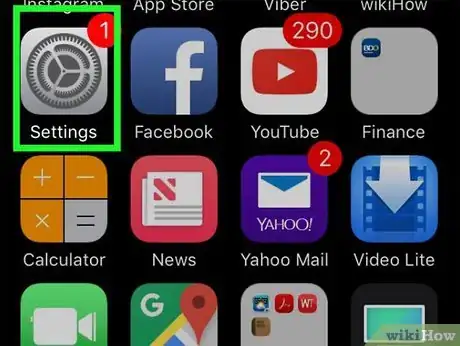
1
-
2Tap Messages. It's next to an icon of a speech bubble on a green background.
-
3Tap Expire. You'll see this under the "Audio Messages" header.
-
4Tap Never to select it. Now saved audio messages won't expire.
- This will not restore audio messages that previously expired. Any expired messages have been deleted and are permanently gone.
- Keep in mind that saving lots of audio messages indefinitely will also take up a lot of room on your phone. The default feature to let messages expire after 2 minutes is to help you not run out of room.
Advertisement
Section 3 of 3:
Move Audio Messages to Other Apps
-
1Open the text message that contains the audio you want to keep. You can move audio messages to other apps, including Files, Notes, and iCloud Drive.
-
2Tap and hold the audio message. When you see the "Options" menu at the bottom of your screen, you can let go of the message.
-
3Tap Copy. It's usually the third item down in the menu next to an icon of two identical pieces of paper. The message is copied to your clipboard.
-
4Open another app like Files or Notes. If you opened the Notes app, create a new note. If you opened the Files app, select a folder in which to paste the audio message.
-
5Tap and hold your screen and select Paste. The audio message will paste into that app!
- With the Files app, you can simply open the app and navigate to this folder to listen to the audio message any time you'd like.
- If you pasted the audio message in Notes, you can stop there or export that note anywhere! To share it, tap the three-dot menu icon in the top right corner and select how you want to share it.
Advertisement
References
About This Article
Advertisement

