This article was co-authored by Scott St Gelais and by wikiHow staff writer, Nicole Levine, MFA. Scott St Gelais is an IT Consultant and the Owner of Geeks in Phoenix, Arizona. With over two decades of experience, Scott specializes in computer service and repair, development, computer graphics, and website authoring. Scott received his Technical Associates Degree from High Tech Institute and completed the IT Support Professional Certificate by Google. Geeks in Phoenix is a member of the Microsoft Partner Network and an Intel Technology Provider Gold Partner.
The wikiHow Tech Team also followed the article's instructions and verified that they work.
This article has been viewed 45,338 times.
This wikiHow teaches you how to view a list of every folder you're sharing on your Windows network.
Steps
Using File Explorer
-
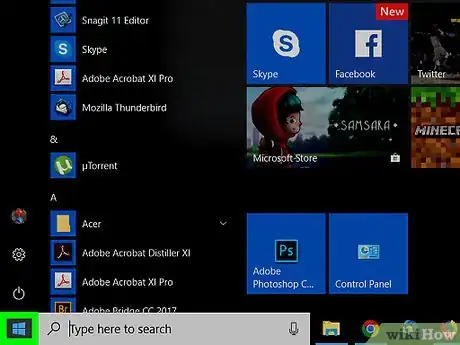
1
-
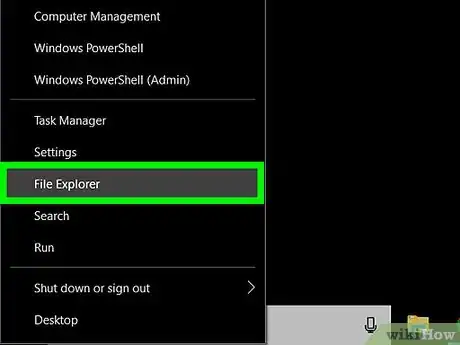
2Click File Explorer.Advertisement
-
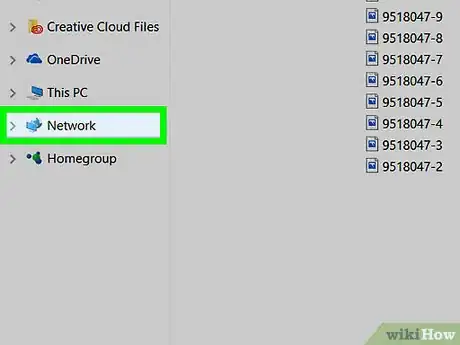
3Scroll down the left column and click Network. This displays a list of computers that are a part of the network.
-
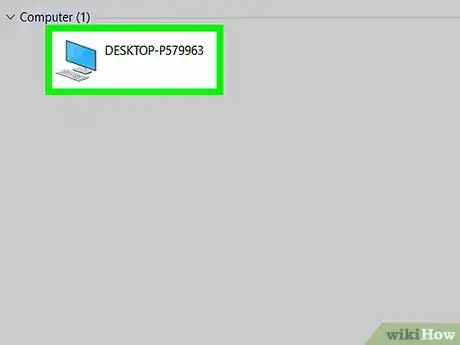
4Double-click the computer where you want to see shared folders. A list of shared folders on the selected computer will now appear.
Using the Computer Management Panel
-
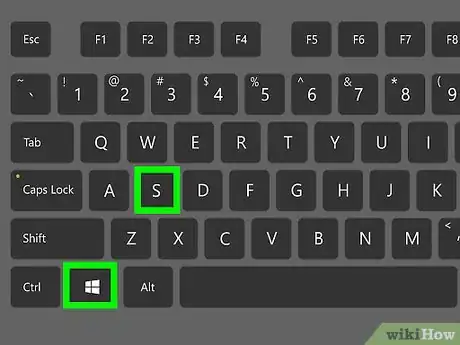
1Press ⊞ Win+S. This opens the Windows search bar.
-
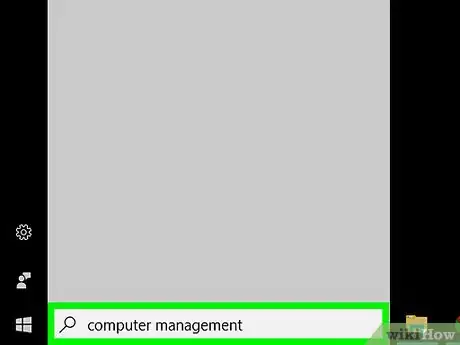
2Type computer management. A list of matching results will appear.
-
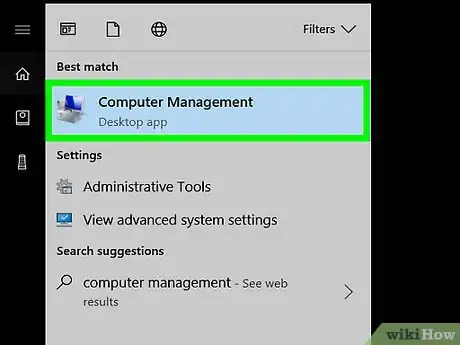
3Click Computer Management.
-
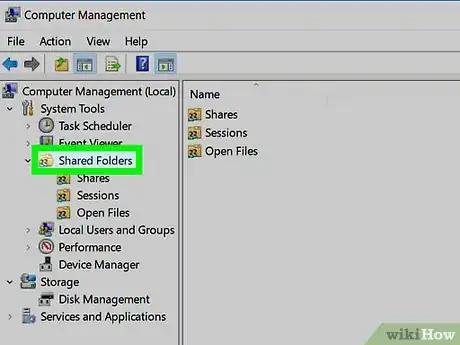
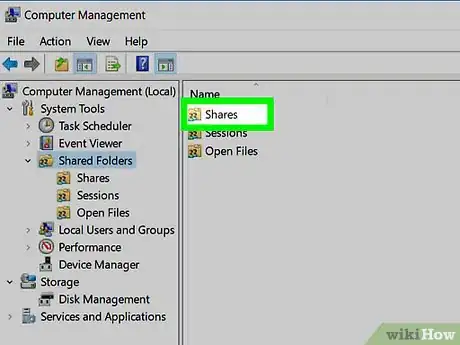
4Double-click Shared Folders. It's in the left column.[3] This expands a list of subfolders.
-
5Click Shares. You'll only have to click it once. A list of shared folders will appear.
Using the Command Prompt
-
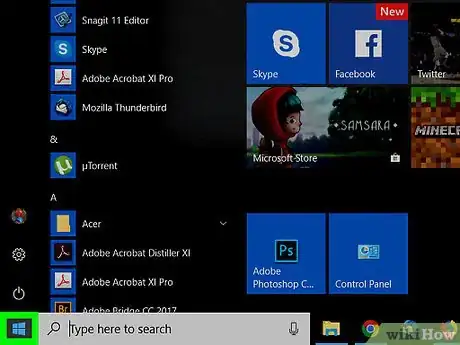
1
-
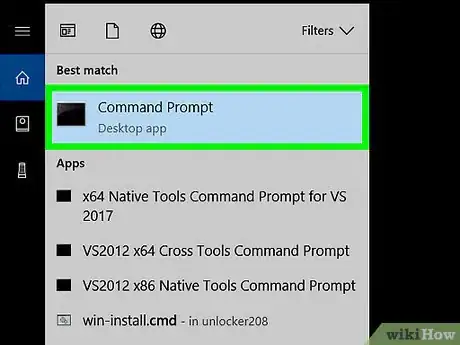
2Click Command Prompt. This opens a terminal window to the command prompt.
-
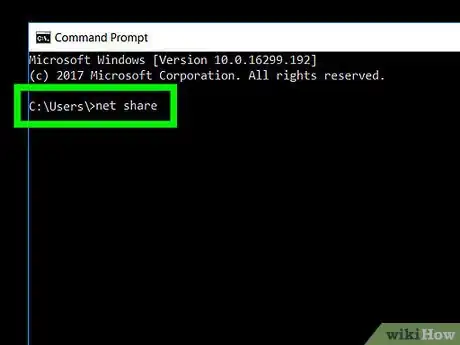
3Type net share. Just click the terminal window to start typing.[4]
-
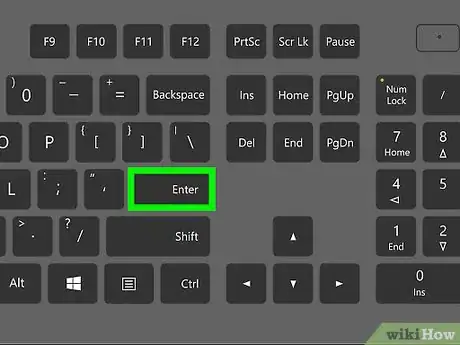
4Press ↵ Enter. A list of shared folders will appear.
References
- ↑ Scott St Gelais. IT Consultant. Expert Interview. 27 July 2021.
- ↑ Scott St Gelais. IT Consultant. Expert Interview. 27 July 2021.
- ↑ https://www.faqforge.com/windows/view-a-list-of-all-shared-folders-on-windows/
- ↑ https://www.howto-connect.com/view-all-shared-folders-in-network-windows-10/
