X
This article was co-authored by wikiHow staff writer, Nicole Levine, MFA. Nicole Levine is a Technology Writer and Editor for wikiHow. She has more than 20 years of experience creating technical documentation and leading support teams at major web hosting and software companies. Nicole also holds an MFA in Creative Writing from Portland State University and teaches composition, fiction-writing, and zine-making at various institutions.
The wikiHow Tech Team also followed the article's instructions and verified that they work.
This article has been viewed 117,277 times.
Learn more...
This wikiHow teaches you how to stop sharing your files and/or internet connection on your Windows PC.
Steps
Method 1
Method 1 of 2:
Network File Sharing
-
1Press ⊞ Win+S. This opens the Windows search bar.
- Use this method to prevent other people on your network from accessing the files on your computer.
-
2Type control panel. A list of results will appear.Advertisement
-
3Click Control Panel.
-
4Click Network and Sharing Center.
-
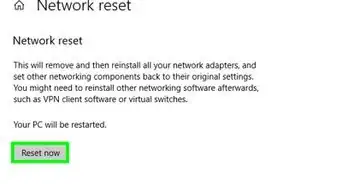
5Click Change advanced sharing settings. It's the third link from the top of the left column.
-
6Click the network profile that says “(current profile)” at the end. This ensures that you're changing the sharing settings for your current connection. You'll see “(current profile)” next to one of the following options:
- Private: This is for your private connections, such as when you're on your home network.
- Guest or public: When you're connected to Wi-Fi in a public location, whether or not you have to enter a Wi-Fi password to log in.
-
7Select Turn off file and printer sharing. A dot will appear in its corresponding circle. This means the item is selected.
-
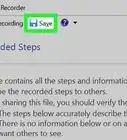
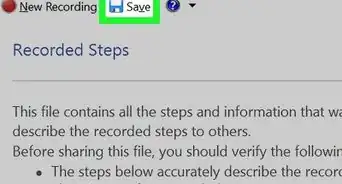
8Click Save changes. It's the button at the bottom of the screen. You have disabled file sharing for the current connection.
- To disable file sharing for the other connection type (the profile you're not logged into right now), click Changed advanced sharing settings again, click the other network profile, then select Turn off file and printer sharing. Remember to click Save changes when you're finished.


Advertisement
Method 2
Method 2 of 2:
Internet Connection Sharing
-
1Press ⊞ Win+S. This opens the Windows search bar.
- This method will prevent other people on your Windows network from sharing your computer's internet connection.
-
2Type control panel. A list of results will appear.
-
3Click Control Panel.
-
4Click Network and Sharing Center. You'll see your current connection under the “View your active networks” header at the top of the main panel. Remember the name of the connection, as you'll need it in a moment.
-
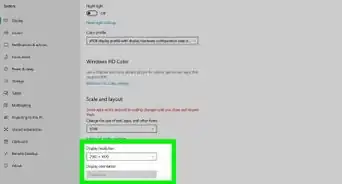
5Click Change adapter settings. It's the second link from the top of the left column. This opens a list of your saved network connections.
-
6Right-click your current connection. Look for the name that matches the one you noted a moment ago. A pop-up menu will appear.
-
7Click Properties. The connection properties dialog window will appear.
-
8Click the Sharing tab. It's near the top of the dialog window.
- If the Sharing tab is not present, it means you only have one network adapter enabled. You need to enable at least one more temporarily.
-
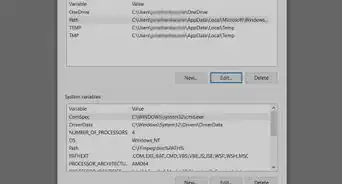
9Remove the check mark from “Allow other network users to connect through this computer's internet connection.” Clicking the box once should remove the check mark.
- If the box was already empty, you don't need to make any changes.
-
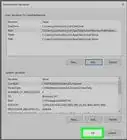
10Click OK. It's at the bottom of the dialog window. Now that you've turned off connection sharing, nobody else on your network can connect to the internet through this computer's connection.


Advertisement


About This Article

Nicole Levine, MFA
wikiHow Technology Writer
This article was co-authored by wikiHow staff writer, Nicole Levine, MFA. Nicole Levine is a Technology Writer and Editor for wikiHow. She has more than 20 years of experience creating technical documentation and leading support teams at major web hosting and software companies. Nicole also holds an MFA in Creative Writing from Portland State University and teaches composition, fiction-writing, and zine-making at various institutions. This article has been viewed 117,277 times.
How helpful is this?
Co-authors: 4
Updated: August 16, 2022
Views: 117,277
Categories: Windows
Advertisement