X
This article was co-authored by wikiHow Staff. Our trained team of editors and researchers validate articles for accuracy and comprehensiveness. wikiHow's Content Management Team carefully monitors the work from our editorial staff to ensure that each article is backed by trusted research and meets our high quality standards.
This article has been viewed 19,687 times.
Learn more...
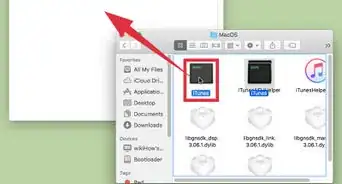
To swipe between pages on a Mac with a trackpad, place two fingers on the trackpad and swipe them left or right. If you're using a Magic Mouse, place a single finger on it and swipe it left or right. The gesture can be enabled or disabled from the System Preferences menu.
Steps
Part 1
Part 1 of 3:
Enabling Swipe Between Pages
-
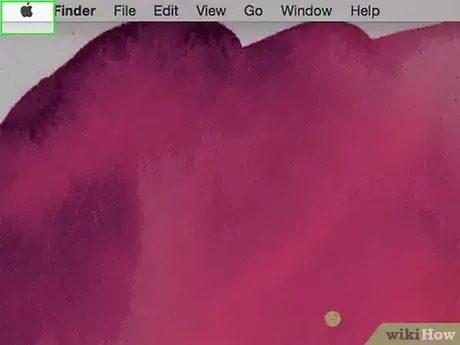
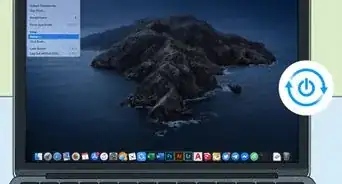
1Click the Apple menu. This can be found in the upper-left corner of the screen.
-
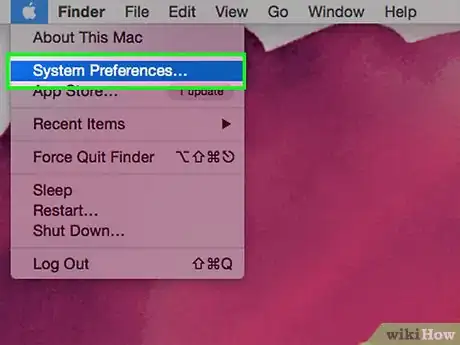
2Click System Preferences.Advertisement
-
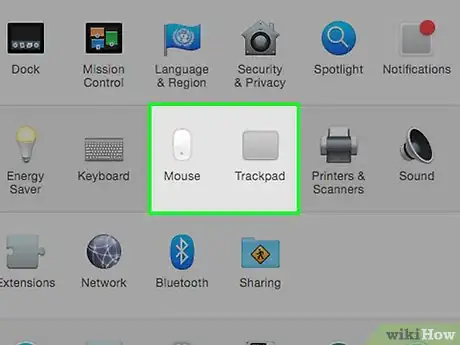
3Click the Trackpad or Mouse option. Select the option that corresponds to the device you're using. If you don't see the main System Preferences menu, click the Show All button at the top of the screen first.
-
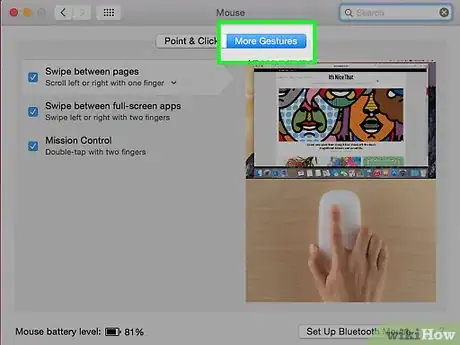
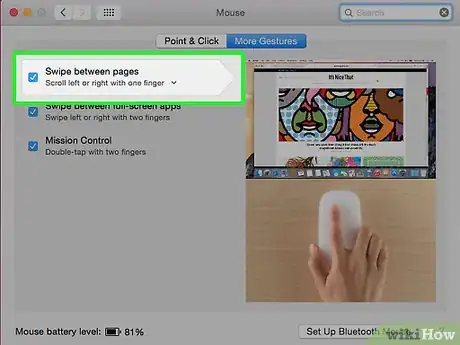
4Click the More Gestures tab.
-
5Click the "Swipe between pages" box to enable or disable it.
Advertisement
Part 2
Part 2 of 3:
Using a Trackpad
-
1Open a web page. Swipe between pages works best in any app that has pages you move between. For example, if you're using a web browser this will take you back to your previously-visited page.
-
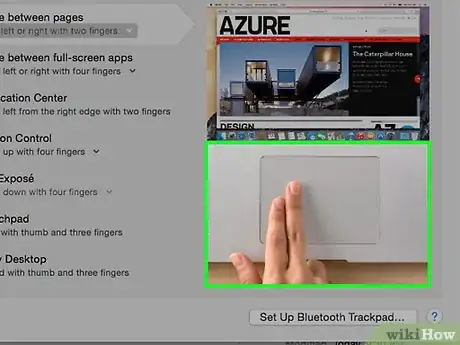
2Place two fingers on your trackpad.
-
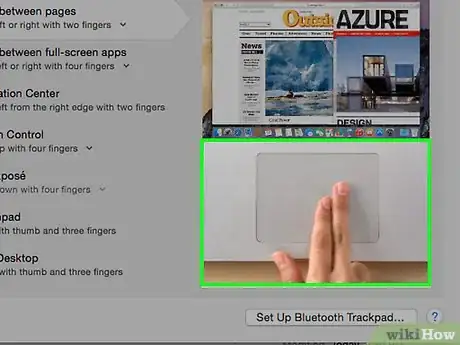
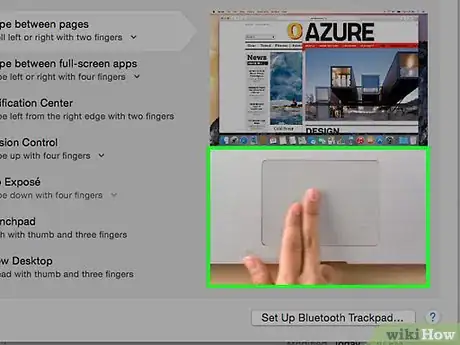
3Swipe from left to right to view the previous page.
-
4Swipe from right to left to view the next page.[1]
Advertisement
Part 3
Part 3 of 3:
Using a Magic Mouse
-
1Open a web page in your browser. This gesture works for any app that has you navigating between pages. The easiest way to test it is in your web browser.
-
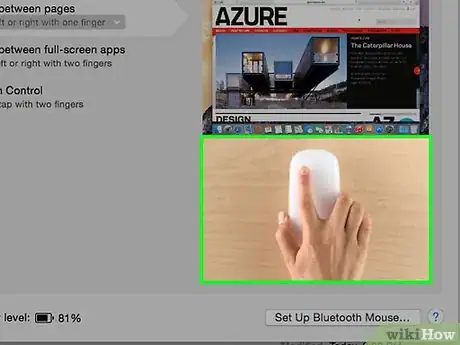
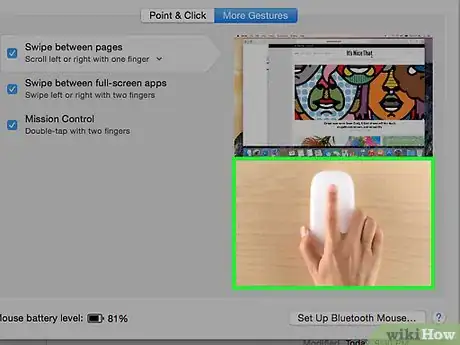
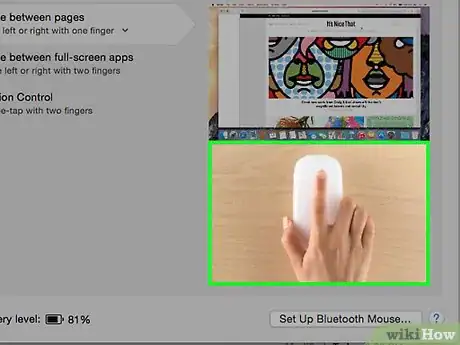
2Place one finger on the top of your Magic Mouse.
-
3Swipe your finger left to right to view the previous page.
-
4Swipe from right to left to view the next page.
Advertisement
References
About This Article
Advertisement
