This article was co-authored by wikiHow staff writer, Nicole Levine, MFA. Nicole Levine is a Technology Writer and Editor for wikiHow. She has more than 20 years of experience creating technical documentation and leading support teams at major web hosting and software companies. Nicole also holds an MFA in Creative Writing from Portland State University and teaches composition, fiction-writing, and zine-making at various institutions.
This article has been viewed 376,915 times.
Learn more...
In Adobe Photoshop, you can rotate or flip an image by clicking the “Image” menu and selecting an option from the “Image Rotation” submenu. It’s also possible to rotate individual layers (instead of an entire image) using the software’s Transform tool. Rotating/flipping images and layers is fast and easy once you get to know the tools. We’ll show you how.
Steps
Rotating or Flipping an Entire Image
-
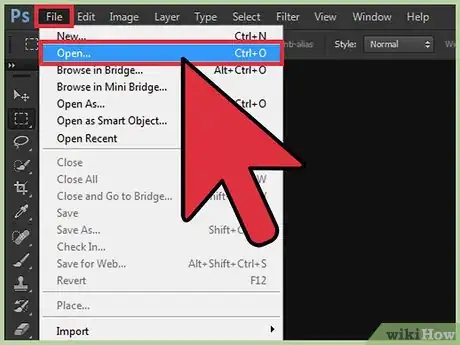
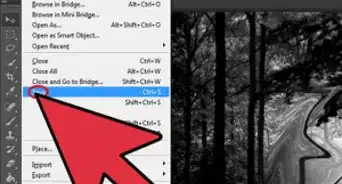
1Open your image in Photoshop. If you’d like to rotate or flip an entire image, click “File,” then “Open.” Select the image you wish to rotate and click “Open” once more.
-
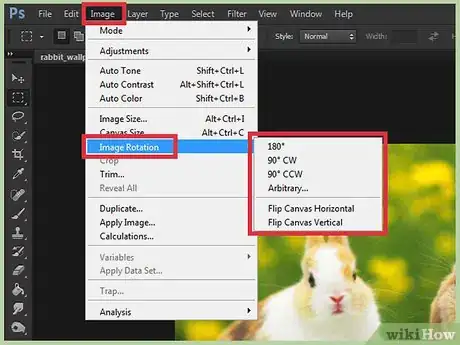
2Select a rotation option.[1] Navigate to Image >> Image Rotation to view several options for rotation.
- “180 degrees”: Rotates the image ½ of the way around a complete circle.
- “90 degrees CW”: Rotates the image to the right (clockwise) ¼ of a complete circle.
- “90 degrees CCW”: Rotates the image to the left (counter-clockwise) ¼ of the way around a circle.
- “Arbitrary”: Allows you to specify the angle you’d like to rotate the image. You’ll be able to type the angle (in degrees) as well as the direction (clockwise or counter-clockwise).
- “Flip Canvas Horizontal”: Flips the entire image as if shown in a mirror (horizontally).
- “Flip Canvas Vertical”: Flips the entire image upside-down.
Advertisement -
3Undo your changes. If you’re not happy with the flip or rotate option you’ve selected, press Ctrl+Z (Windows) or ⌘ Command+Z (Mac) to undo the action.
-
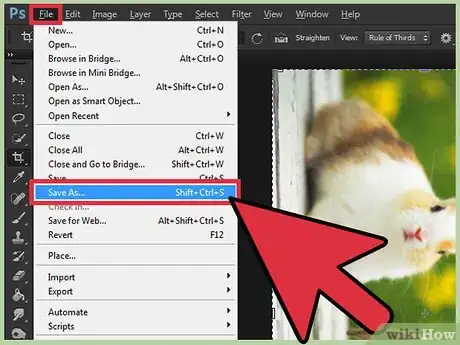
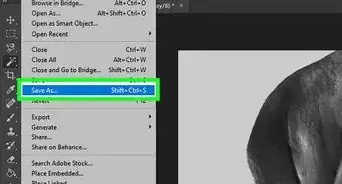
4Save the image. Open the File menu and click “Save As.” Choose a location to which you’ll save your newly rotated image.
Rotating or Flipping Layers
-
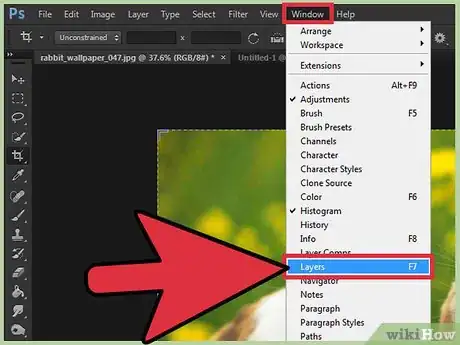
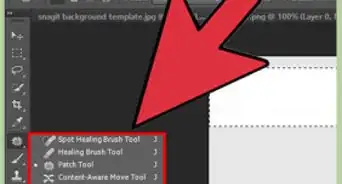
1Make the Layers panel visible.[2] If you’ll be working with layers, you’ll want the Layers panel to appear on the screen. Open the Window menu, then select “Layers.”
-
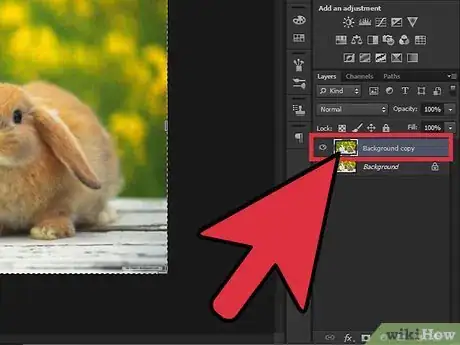
2Select a layer to rotate or flip. The Layers panel shows a list of all layers in the image, as well as thumbnails that show exactly what each layer contains. To select an individual layer to flip or rotate, simply click it once.
- You can select multiple layers by holding down Ctrl (Win) or ⌘ Command (Mac) as you click each layer.
- To hide other layers while working with the one(s) you’ve selected, click the icon that looks like an eye (visibility icon) next to the layer thumbnail. You can make it visible again later.
- If a layer you want to rotate/flip has a padlock icon to the right of its name, the layer is locked and cannot be modified. Click the padlock icon to unlock the layer before attempting to move forward.
-
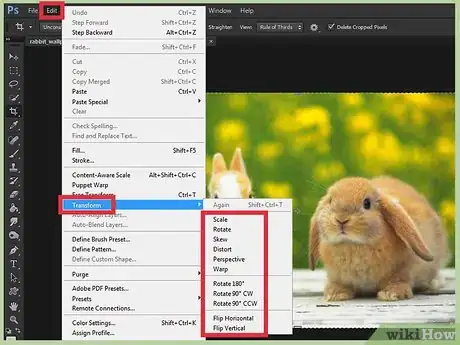
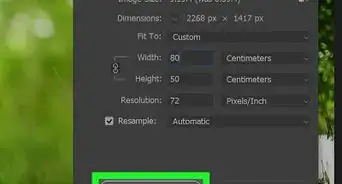
3Select an option for rotating and flipping.[3] Open the Edit menu and select “Transform” to view your options.
- “Rotate”: This option allows you to enter an angle (in degrees) by which you’d like to rotate the layer.
- “Rotate 180 degrees”: Rotates the layers halfway around a circle.
- “Rotate 90 degrees CW”: Rotates the layers to the right, ¼ of the way around a circle.
- “Rotate 90 degrees CCW”: Rotates the layers to the left, ¼ of the way around a circle.
- “Flip horizontal”: Flips layer horizontally as though looking at it in a mirror.
- “Flip vertical”: Flips layer upside-down.
-
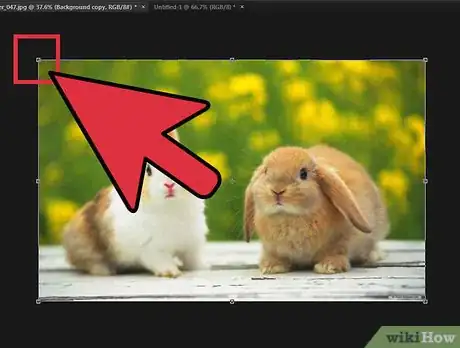
4Try the Free Transform tool. It may be helpful for you to have more visual control over the rotation process, especially if you have a hard time visualizing angles and/or direction.
- Press Ctrl+T (Win) or ⌘ Command+T (Mac) to draw a bounding box around the layer to be rotated.
- Hover the mouse cursor outside of the top right corner of the bounding box until a “rotating arrow” (curved arrow with heads on each end) appears.
- When the cursor becomes a rotating arrow, click and drag up or down to rotate the image. Don’t drag the cursor unless you see that rotating arrow or you may accidentally change the size of or warp the layer.
-
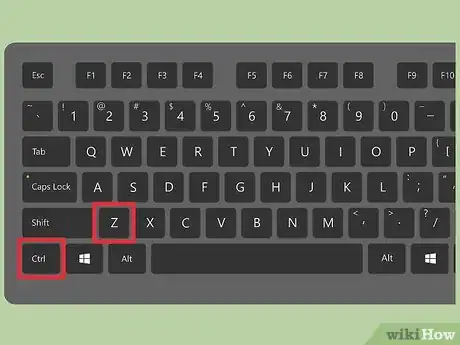
5Undo changes you don’t want to keep. Press Ctrl+Z (Win) or ⌘ Command+Z (Mac) to undo mistakes.
-
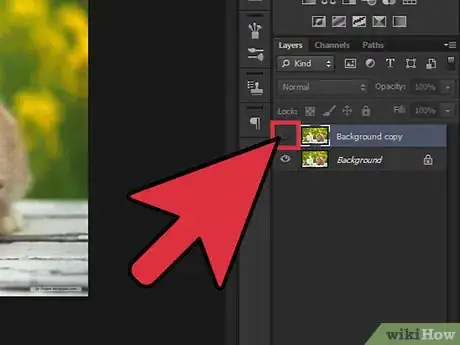
6Show invisible layers. If you made another layer invisible while making transformations, click the empty box to the left of the hidden layer’s thumbnail until the eye icon appears.
-
7Save your changes. To save the changes you’ve made to your image, click “File,” then “Save As” and choose a save location.
Community Q&A
-
QuestionHow do I rotate a logo in Photoshop CS4 without adding the white space?
 Community AnswerClick the Quick Selection tool in the toolbar and draw an outline around the logo (as close as you can get to the edges). This will select just the logo. Then go to "Edit" then "Transform," and you'll be able to rotate just the selected aspect.
References
About This Article
1. Click the Image menu.
2. Select Image Rotation.
3. Choose a degree and direction.
4. Press Ctrl + Z or Cmd + Z to undo if needed.
