X
wikiHow is a “wiki,” similar to Wikipedia, which means that many of our articles are co-written by multiple authors. To create this article, volunteer authors worked to edit and improve it over time.
This article has been viewed 22,862 times.
Learn more...
This wikiHow will teach you how to force a kernel panic on a Mac. Be aware that forcing a kernel panic will cause you to lose all unsaved data and result in a system crash.
Steps
-
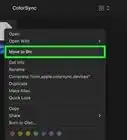
1Disable System Integrity Protection. For newer Macs, system integrity protection is used to stop the user from harming their system. You can disable this by turning your computer off, then, while holding the power button holding down ⌘ Command+R at the same time. Click "Utilities and Terminal". Then type
csrutil disableand press ↵ Enter. Restart your computer by clicking the Apple Symbol and pressing restart. -
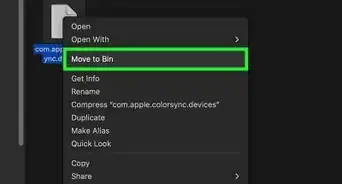
2Open Terminal. You can open it from the Utilities folder in Finder under the Applications tab, or search for it using Spotlight.Advertisement
-
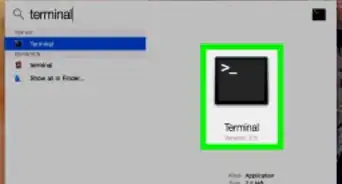
3Enter the crash code. Type
client$ sudo dtrace -w -n "BEGIN{ panic();}"into Terminal and hit ↵ Enter.-
client$will be replaced by your account name (e.g.,wikihow$ sudo dtrace -w -n "BEGIN{ panic();}").
-
-
4Enter your password. This will allow the kernel panic to commence.
-
5Retrieve the crash logs. Once the system has rebooted, you should be able to access the crash logs, either directly from the window that opens up or from the computer's diagnostic reports.


Advertisement
Warnings
- Do not regularly force kernel panics. Kernel panics are serious errors that occur when something at the hardware level goes wrong, so it's not a good idea to regularly force them.⧼thumbs_response⧽
Advertisement


-Step-6.webp)
About This Article
Advertisement