This article was co-authored by wikiHow staff writer, Travis Boylls. Travis Boylls is a Technology Writer and Editor for wikiHow. Travis has experience writing technology-related articles, providing software customer service, and in graphic design. He specializes in Windows, macOS, Android, iOS, and Linux platforms. He studied graphic design at Pikes Peak Community College.
This article has been viewed 8,932 times.
Learn more...
Autorun is a feature of Windows in which a predetermined action is taken when certain types of media such as a CD, DVD, or USB flash drive is inserted in a computer. Most commonly, autorun will launch or install a new program on the media.[1] Disabling Autorun in Windows will help prevent accidental installation of viruses and other malware. You can disable AutoPlay on Windows 10 Settings menu, the Group Policy editor, or using the Registry editor. This wikiHow teaches you how to disable autorun.
Steps
Using Windows Settings
-
1
-
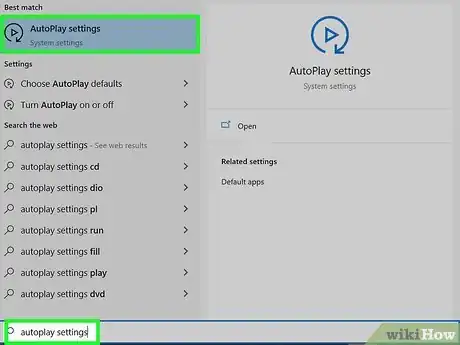
2Type AutoPlay Settings and press ↵ Enter. This opens the AutoPlay Settings menu for Windows.Advertisement
-
3
-
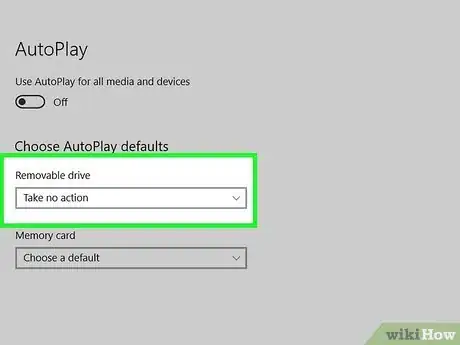
4Select "Take No Action" in the menu below "Removable Drive." This ensures that Windows does not open a folder or automatically run any files when a removable drive, such as a CD-ROM or USB flash drive is inserted.
-
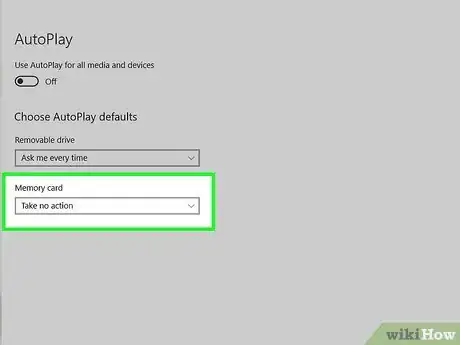
5Select "Take No Action" in the menu below "Memory Card." This ensures that Windows will not automatically open a memory card or automatically run any files when a memory card is inserted.
Using Group Policy Editor
-
1
-
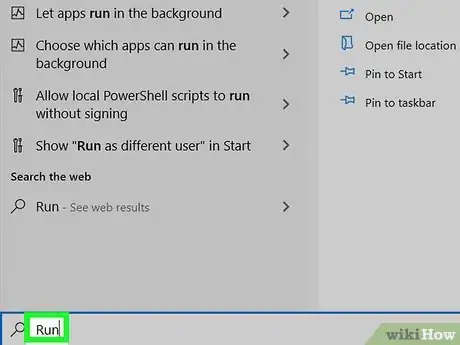
2Type Run and press ↵ Enter. This launches a program called "Run." You can also click the Run icon in the Windows Start menu.
-
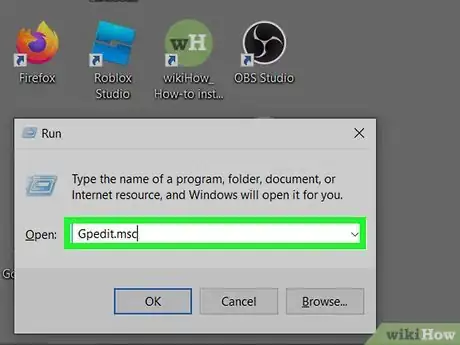
3Type Gpedit.msc into Run and click Ok. Use the field in the center of Run to enter "Gpedit.msc." Then click Ok or press Enter. This launches the Group Policy Editor.
- If asked to enter an administrative password, enter the admin password and click Allow. [2]
-
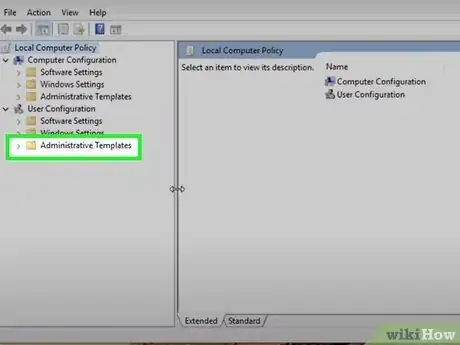
4Double-click Administrative Templates under "User Configuration." "Administrative Templates" can be found under both "User Configuration" and "Computer Configuration" Click the one under "User Configuration" to expand the Administrative Templates menu.
-
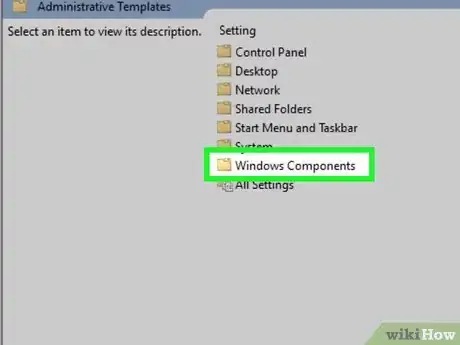
5Double-click Windows Components. This displays the administrative template folders listed under "Windows Components."
-
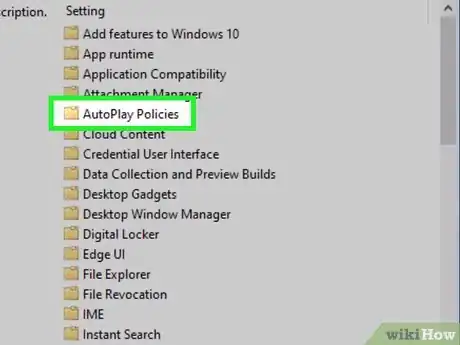
6Double-click AutoPlay Policies. This opens the folder containing AutoPlay administrative templates.
-
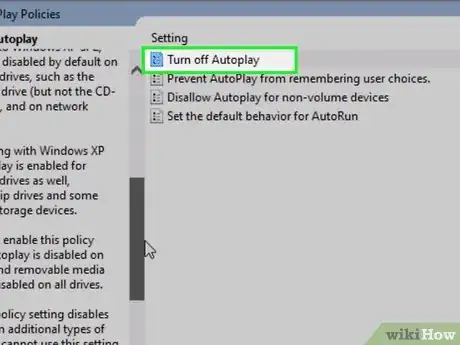
7Double-click Turn off AutoPlay. This opens the administrative template that allows you to disable AutoPlay and Autorun.
-
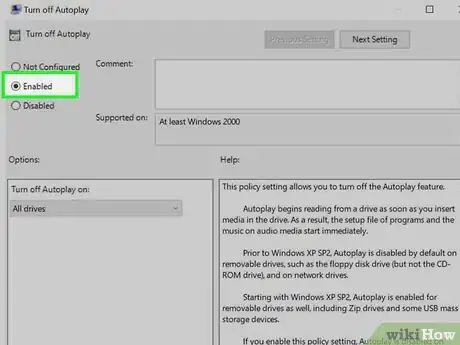
8Click the radio option next to "Enabled." It's at the top of the template on the left-hand side of the Window. When this template is enabled, AutoPlay and Autorun will be disabled on all drives, including removable USB drives, disk drives.
-
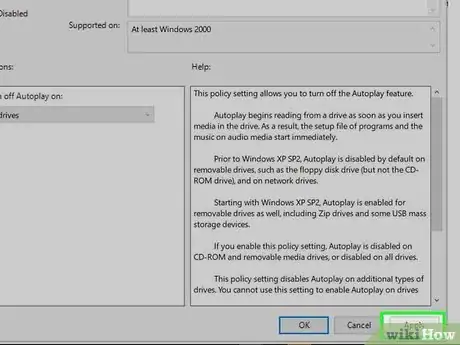
9Click Apply. It's in the lower-right corner of the window. This applies to the new settings.
-
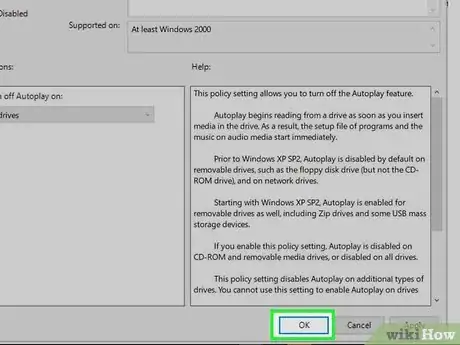
10Click Ok. This closes the Group Policy Editor. [3]
-
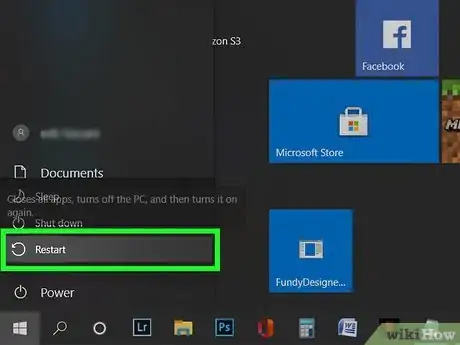
11Restart your computer. Once you apply the new setting, restart your computer to ensure the new settings take effect.
Using Registry Editor
-
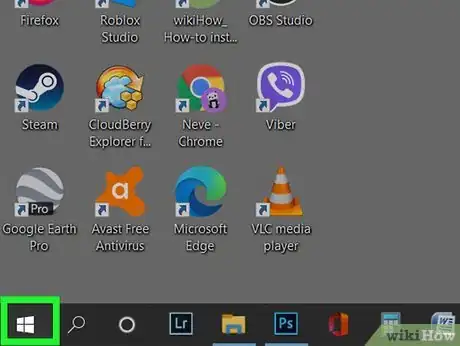
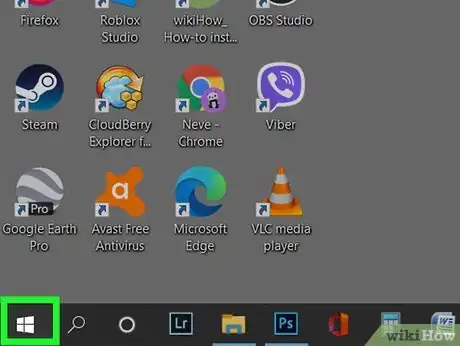
1Click the Windows Start menu . It's the button with the Windows logo in the taskbar. By default, it's in the lower-left corner.
- Warning: Making changes to the Windows registry can cause permanent damage to your computer. Continue at your own risk to do not alter anything if you don't know what it does.
-
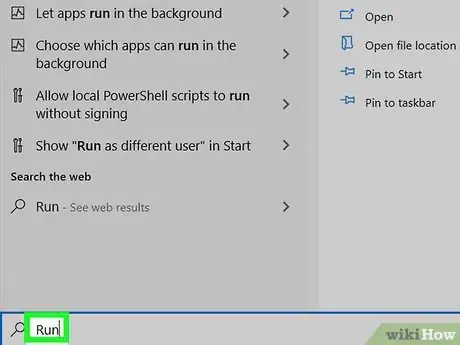
2Type Run and press ↵ Enter. This launches a program called "Run." You can also click the Run icon in the Windows Start menu.
-
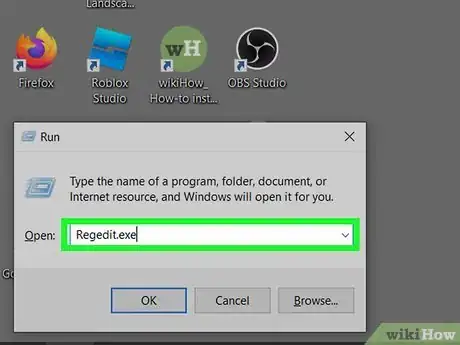
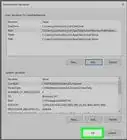
3Type Regedit.exe into Run and click Ok. Use the field in the center of Run to enter "Regedit.exe." Then click Ok or press Enter. This launches the Registry Editor.
- If asked if you want to allow the Registry Editor to make changes to your system, click Yes.
-
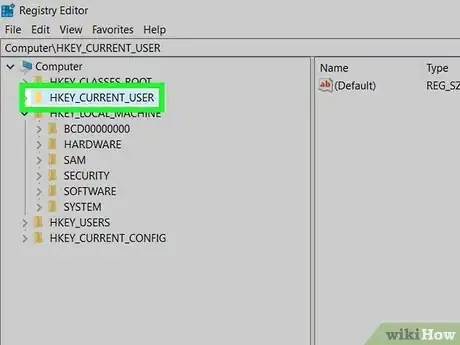
4Double-click HKEY_CURRENT_USER. It's in the menu to the left of Registry Editor. Double-click this option to expand it.
-
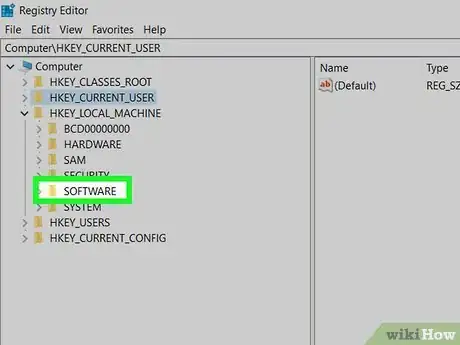
5Double-click Software. It's below "HKEY_CURRENT_USER." This expands the Software folder.
-
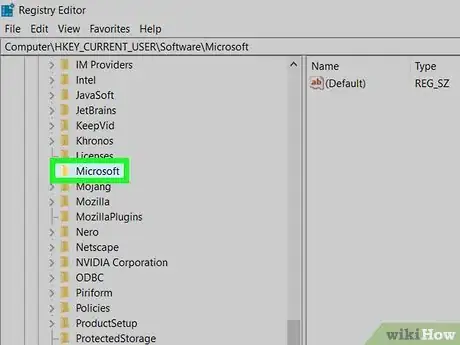
6Double-click Microsoft. It's in the Software folder. This expands the Microsoft folder.
-
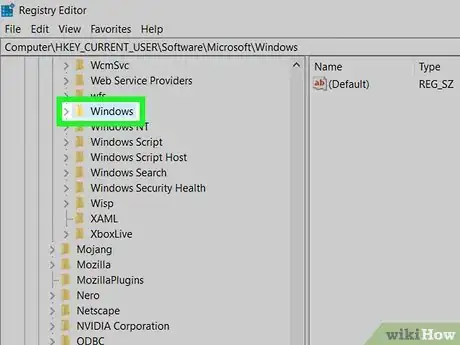
7Double-click Windows. It's in the Microsoft folder. This expands the Windows folder.
-
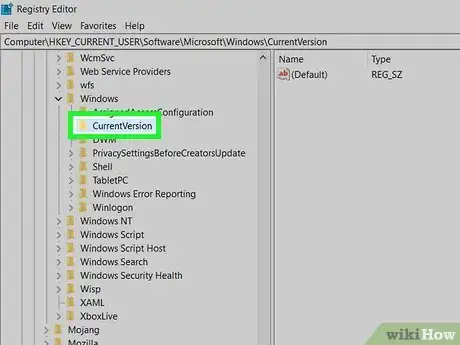
8Double-click CurrentVersion. It's in the Microsoft folder. This expands the CurrentVersion folder.
-
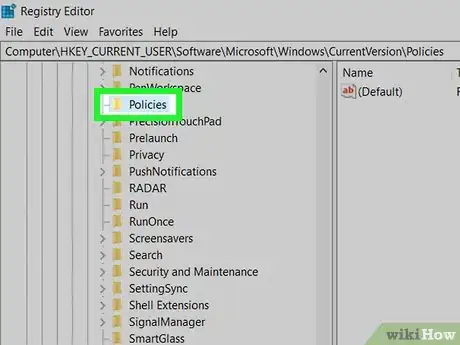
9Double-click Poicies. It's in the CurrentVersion folder. This expands the Policies folder.
-
10Double-click Explorer. It's in the Policies folder. This expands the Explorer folder.
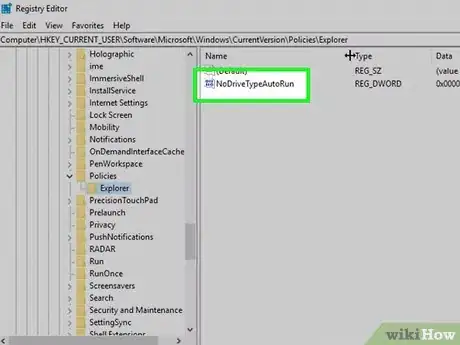
- The full path in the Registry Editor is "Computer\HKEY_CURRENT_USER\SOFTWARE\Microsoft\Windows\CurrentVersion\Policies\Explorer"
-
11Double-click NoDriveTypeAutoRun. It's the only option under "Explorer." This allows you to change the policy with regards to Autorun in Registry Editor.
-
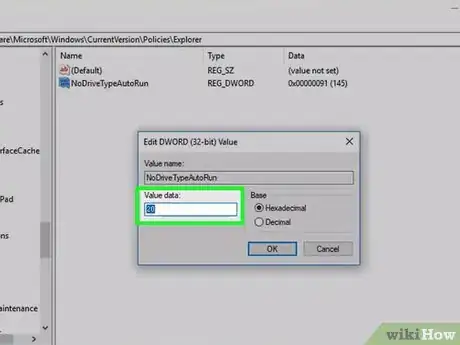
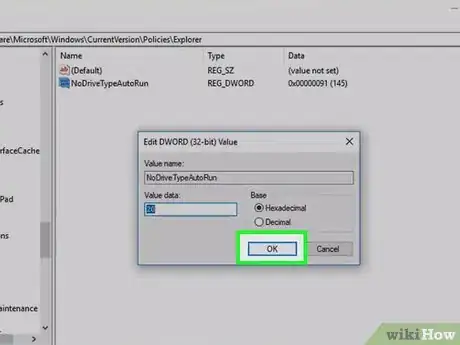
12Enter one of the follow values. Each of the following values affects Autorun in a different way. Enter one of the following values of your choice in the "Value data" field. The values are as follows:
- "FF:" This disables Autorun on all drives.
- "20:" This disables Autorun on the CD-ROM only.
- "4:" This disables Autorun on all removable drives.
- "8:" This disables Autorun on all fixed drives.
- "10:" This disables Autorun on all network drives.
- "40:" This disables Autorun on the RAM disk only.
- "1:" This disables Autorun on all unknown drives.
- "91:" This sets Autorun to function as normal.
-
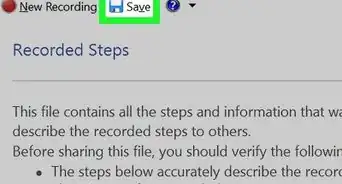
13
References
- ↑ https://searchwindowsserver.techtarget.com/definition/AutoRun
- ↑ https://support.microsoft.com/en-us/topic/how-to-disable-the-autorun-functionality-in-windows-8e5ff0da-c526-7624-c064-ff82aecfd145
- ↑ https://www.youtube.com/watch?v=hCzgImpmXvs
- ↑ https://www.youtube.com/watch?v=BwMJ9j0j5yY
- ↑ https://www.nucleustechnologies.com/blog/three-methods-to-disable-autorun-in-windows-10/
About This Article
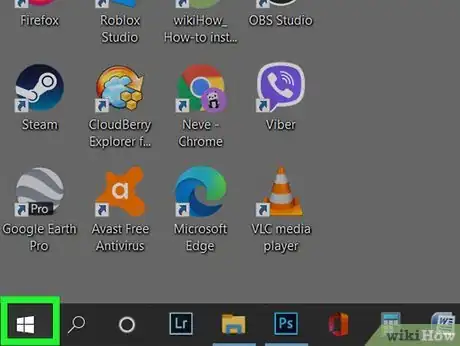
1. Click the Windows Start menu.
2. Type "AutoPlay Settings" and press Enter.
3. Click the toggle switch to turn AutoPlay off.
5. Select "Take No Action" in the menu below "Removable Drive."
6. Select "Take No Action" in the menu below "Memory Card."
