Easily link a wired or wireless printer to your computer
This article was co-authored by wikiHow staff writer, Kyle Smith. Kyle Smith is a wikiHow Technology Writer, learning and sharing information about the latest technology. He has presented his research at multiple engineering conferences and is the writer and editor of hundreds of online electronics repair guides. Kyle received a BS in Industrial Engineering from Cal Poly, San Luis Obispo.
The wikiHow Tech Team also followed the article's instructions and verified that they work.
This article has been viewed 1,399,709 times.
Learn more...
This wikiHow teaches you how to connect a wired or wireless printer to your Windows or Mac computer. It’s easy to get the printer set up, but the steps vary depending on the type of printer and your operating system. Once connected, you can also share the printer on your home network, allowing other computers in your house to print from it.
Things You Should Know
- To connect a wired printer, plug in its USB cable into your computer.
- To connect a wireless printer, connect it to your Wi-Fi network using the built-in controls.
- On Windows, set up your printer in the Printers & scanners menu of Settings.
- On Mac, set up your printer in the Printers & Scanners menu of System Preferences.
Steps
Connect a Wired Printer on Windows
-
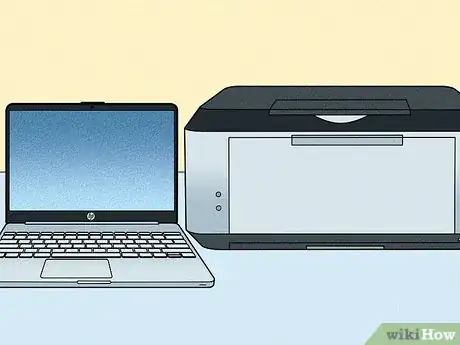
1Set your printer near your computer. Make sure that it is close enough that the cable can reach your computer without tension.
-
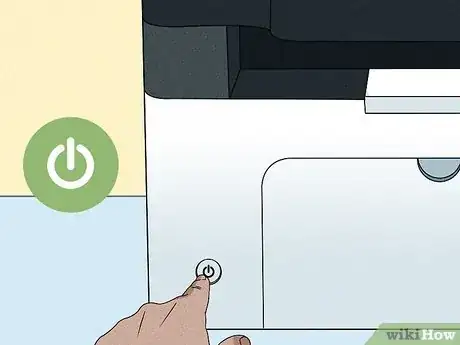
2Turn on your printer. Press your printer's power button; it will likely have a icon on or next to it.
- Your printer must be plugged into a power source.
Advertisement -
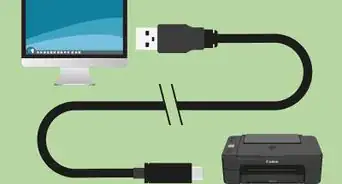
3With you computer turned on and unlocked, plug the printer into your computer using a USB cable.
- In some cases, simply plugging your printer into your computer in this way will automatically setup and properly install the printer, making it ready to use.
-
4
-
5
-
6Click Devices. This option is near the top of the Settings window.
- In Windows 11, select Bluetooth & devices in the sidebar menu.
-
7Click Printers & scanners. It's a tab on the left side of the window.
- In Windows 11, Printers & scanners is in the list of menu options below your existing devices.
-
8Click Add a printer or scanner. This button is at the top of the page.
- In Windows 11, click Add device next to “Add a printer or scanner”.
-
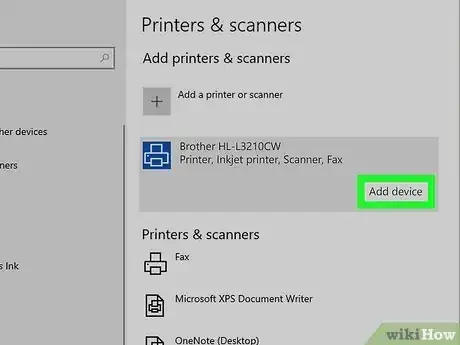
9Click your printer's name and click Add device. This will typically be a combination of the printer's manufacturer (e.g., "HP"), the printer's model name, and the model number.
- If you don't see your printer's name here, click the The printer that I want isn't listed link below the Add a printer or scanner button and follow the on-screen instructions.
-
10Follow the on-screen instructions. Depending on your printer, you may need to customize your settings before the printer is ready; once you're done, the printer will be available for use.
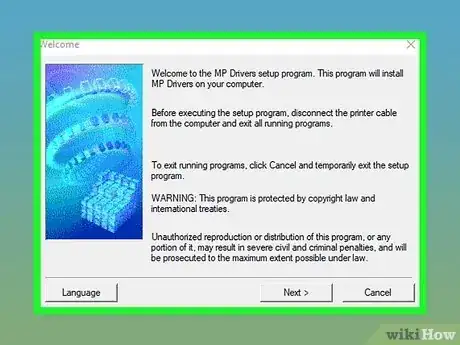
- If prompted, insert the CD that came with your printer into your computer's disc slot.
- If you bought your printer second-hand and it didn't come with a CD, you can usually download the same software from the manufacturer's website.
- For additional info, see our full guide on installing a printer.
Connect a Wired Printer on Mac
-
1Update your Mac. Before you connect a printer to your Mac, you'll need to make sure that all of the most recent drivers and patches are installed on your computer.[1]
-
2Set your printer near your computer. Make sure that it is close enough that the cable can reach your computer without tension.
-
3
-
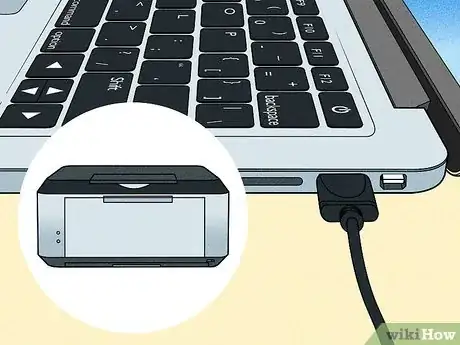
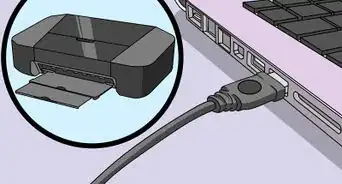
4Plug the printer into your computer using a USB cable. The USB cable should plug into a USB port on your computer's housing.
- Printers typically have a USB-B port and come with a USB-A to USB-B cable. If your computer doesn’t have a USB-A port but it does have USB-C, you’ll need to buy a USB-C to USB-B cable. Or, you can get a USB-C hub that connects to your computer and has USB-A ports.
- If your Mac doesn't have a USB-A port, you'll need to buy a USB-C-to-USB-A adapter.
- Your computer must be turned on and logged in when you do this.
-
5Click Install and follow the onscreen prompts. As long as your printer is compatible with your Mac, it will most likely install on your computer right away; however, you may need to click the Download & Install or Install button on a pop-up window to complete the installation. Once this process is complete, your printer is ready to use on your Mac.
Connect a Wireless Printer on Windows
-
1Check your printer’s possible network connections. If your printer connects over Bluetooth instead of Wi-Fi, the process for preparing your printer for connection will vary slightly.
-
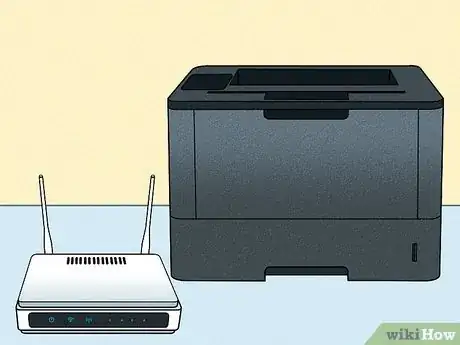
2Set your computer in a location that can get your wireless signal. Your printer will need to be able to communicate with your wireless router, so you can't place it too far away from the router.
- Setting up a wireless printer connection is useful for printing from anywhere in your home, especially if you use a laptop that you move a lot.
-
3
-
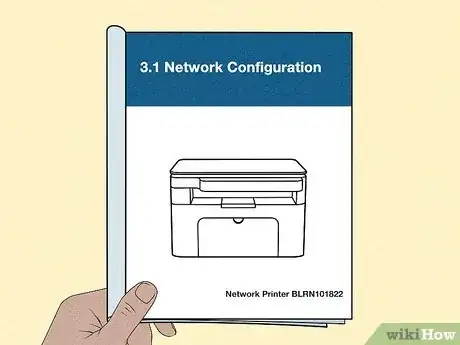
4Check the manual that came with your printer for specific network setup instructions. If you don't have your manual, you can find it on the manufacturer's support site.
- Some printers need to be connected directly to your Windows or Mac computer before they can be used wirelessly, while others allow you to complete the wireless setup process entirely on the printer itself.
- If your printer supports wireless networks, then you will usually need to use the menu interface on the printer to search for your wireless network. Once you connect, you will need to enter in your wireless password.
- Some printer models also support WPS, which allows you to connect to a network by pressing the WPS button on the router, instead of entering the router password.
-
5Prepare the printer for connection. To do so:
- Wi-Fi - Use your printer's screen to find the Wi-Fi setup page, then enter your network's password. This must be the same network to which your computer is connected.
- WPS - Select the WPS options in the printer’s network setup menu. Then select your router in the list.
- Bluetooth - Press the "Pair" button, which will usually have the Bluetooth "B" icon on or next to it.
-
6
-
7
-
8Click Devices. This option is near the top of the Settings window.
- In Windows 11, select Bluetooth & devices in the sidebar menu.
-
9Click either Printers & scanners or Bluetooth & other devices. These tabs are on the left side of the window. If you're connecting a Wi-Fi printer, you'll click Printers & scanners. For a Bluetooth printer, click Bluetooth & other devices.
-
10Click Add a printer or scanner or Add Bluetooth or other device. These are at the top of the page, and depend on whether your're connecting a Wi-Fi printer or a Bluetooth printer.
- In Windows 11, click Add device next to “Add a printer or scanner”.
- When connecting a Wi-Fi printer, you may see the printer's name already listed on the page. If so, your printer is connected.
- You may first have to click the Bluetooth switch to enable Bluetooth on your computer.
- If you don't see your printer's name here, click the The printer that I want isn't listed link below the Add a printer or scanner button and follow the on-screen instructions.
-
11Connect your printer to your PC. Click your printer's name in the Add window; if you're connecting a Bluetooth printer, you'll also need to click Connect after selecting your printer. Doing so will connect the printer to your Windows computer.
- You may have to press the printer's "Pair" button again if connecting to Bluetooth.
- Getting an “offline” error? Try our guide for fixing an offline printer.
Connect a Wireless Printer on Mac
-
1Check your printer’s possible network connections. If your printer connects over Bluetooth instead of Wi-Fi, the process for preparing your printer for connection will vary slightly.
- Some Wi-Fi printers must be connected directly to a wireless router via Ethernet in order to receive an Internet signal.
-
2Set your computer in a location that can get your wireless signal. Your printer will need to be able to communicate with your wireless router, so you can't place it too far away from the router.
-
3
-
4Check the manual that came with your printer for specific network setup instructions. If you don't have your manual, you can find it on the manufacturer's support site.
- Some printers need to be connected directly to your Windows or Mac computer before they can be used wirelessly, while others allow you to complete the wireless setup process entirely on the printer itself.
- If your printer supports wireless networks, then you will usually need to use the menu interface on the printer to search for your wireless network. Once you connect, you will need to enter in your wireless password.
- Some printer models also support WPS, which allows you to connect to a network by pressing the WPS button on the router, instead of entering the router password.
-
5Prepare the printer for connection. To do so:
- Wi-Fi - Use your printer's screen to find the Wi-Fi setup page, then enter your network's password. This must be the same network to which your computer is connected.
- WPS - Select the WPS options in the printer’s network setup menu. Then select your router in the list.
- Bluetooth - Press the "Pair" button, which will usually have the crooked Bluetooth "B" icon on or next to it.
-
6
-
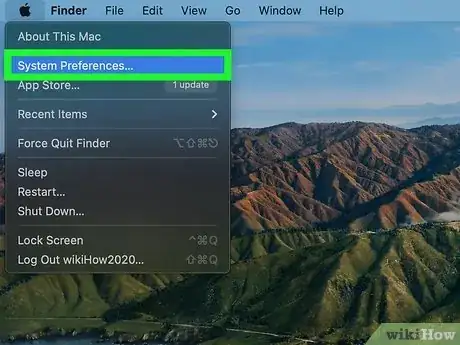
7Click System Preferences. This option is near the top of the Apple drop-down menu.
- On macOS Ventura and later, this is called System Settings.
-
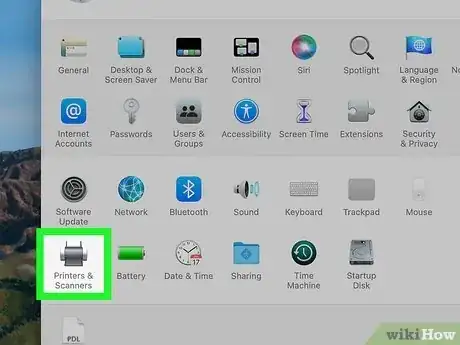
8Click Printers & Scanners. It's the printer-shaped icon in the System Preferences window.
- You can connect both Wi-Fi and Bluetooth printers from within this menu.
-
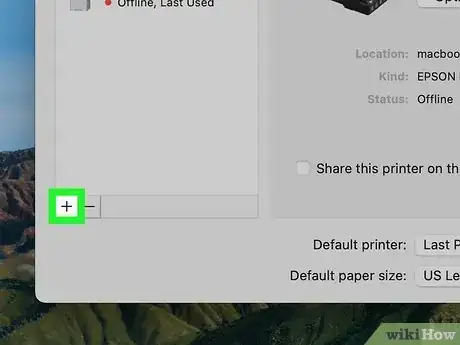
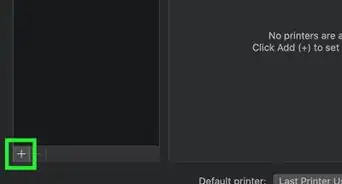
9Click +. It's near the bottom-left corner of the window.
- If your printer is already connected over the network, you should see its name in the pane that's on the left side of the window.
-
10Click your printer's name. It should appear in the drop-down menu. Doing so will prompt the printer to begin setting up; once it's finished, you'll see the printer's name in the pane on the left side of the window, signifying that the printer has successfully connected to your Mac.
- If you don't see the printer's name, make sure you're using the same network as the printer.
- You may need to press the printer's "Pair" button again if connecting via Bluetooth.
-
1Install the printer on the computer you want to share from. You can do so over a wired connection or over a wireless connection.
- For other versions, check out our guide for Sharing a Printer on Windows 7 or 8.
-
2
-
3
-
4
-
5Click Status. It's a tab in the upper-left side of the window.
-
6Click Sharing options. It's below the "Change your network settings" heading near the top of the page.
-
7
-
8Check the "Turn on file and printer sharing" circle. This option is below the "File and printer sharing" heading.
-
9Connect to the shared printer from other Windows computers on the network. The computer that is sharing the printer must be turned on.
- If you want to connect to this printer from a Mac computer, skip to the next step.
-
10Connect to the shared printer from other Mac computers on the network. The computer that is sharing the printer must be turned on. To connect:
- Click the Apple menu and select System Preferences or System Settings (macOS Ventura).
- Select Print & Scan.
- Click + at the bottom of the printer list.
- Click the Windows tab at the top of the new window.
- Select the printer's name from the list.
-
1Open Settings. To do so, press Windows Start and search for “settings.”
-
2Go to Bluetooth & devices. This is an option in the sidebar menu of Settings.
-
3Click Printers & scanners.
-
4Click the name of the printer you want to share.
-
5Click Printer properties.
-
6Select the Sharing tab. It’s the 2nd tab at the top of the printer properties window.
-
7Click Change Sharing Options. You’ll need to be logged in to a Windows administrator account to do so. This will unlock the ability to edit the sharing options for the selected printer.
-
8Click the checkbox next to “Share this printer”.
-
9Click OK. This will confirm the sharing setting. You’re all set! Other computers on the network will now be able to print from the selected printer.
-
1Install the printer on the Mac you want to share from. You can do so over a wired connection or over a wireless connection.
-
2
-
3Click System Preferences. It's near the top of the drop-down menu.
- This is called System Settings in macOS Ventura.
-
4Click Sharing. This is a folder-shaped icon in the System Preferences window.
-
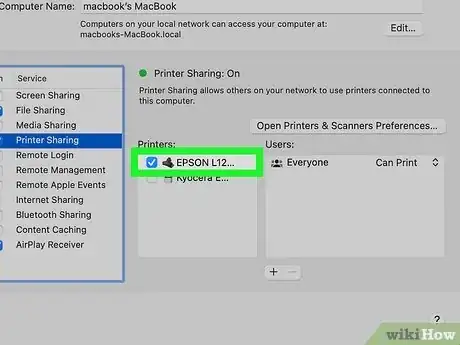
5Check the "Printer Sharing" box. Doing so places a checkmark in the "Printer Sharing" box, which indicates that printer sharing is now available.
- If there is already a checkmark in this box, your Mac is sharing its printer.
-
6Check the box next to the printer you want to share. This will select your currently connected printer for sharing.
-
7Connect to the shared printer from other Macs on the network. The computer that is sharing the printer must be turned on. To connect:
- Click the Apple menu and select System Preferences or System Settings (macOS Ventura).
- Select Print & Scan.
- Click + at the bottom of the printer list.
- Click the Default tab at the top of the new window.
- Select the printer's name from the list.
-
8Connect to the shared printer from other Windows computers on the network. The Mac that is sharing the printer must be turned on. To connect:
- Go to
https://support.apple.com/kb/dl999?locale=en_US. - Download and install the "Bonjour Print Services for Windows" program.
- Run the "Bonjour Print Wizard" after installation.
- Select the shared printer you want to connect to.
- Select the correct drivers from the list if prompted to do so.
- Click Finish.[2]
- Go to
Community Q&A
-
QuestionDoes this work for laptops also?
 Community AnswerYes, just search and download appropriate driver for the printer, then you are good to go. Though, don't forget, some companies just don't release drivers. Search, then buy.
 -
QuestionMy USB ports are not working. Can I connect my laptop to printer via HDMI port?
 Community AnswerNo. Only USB will work. If you have an old computer, you may want to replace it.
 -
QuestionHow can I connect to a wireless printer?
 Community Answer1. Make sure your computer and printer are connected to the same Wi-Fi network. 2. Make sure everything is plugged in. 3. Try restarting both devices.
Warnings
- Some printers will be too old for sharing or other Wi-Fi or network connectivity.⧼thumbs_response⧽
References
About This Article
1. Plug your printer into a power source and turn it on.
2. Enter the Wi-Fi settings on the printer.
3. On your PC, go to Settings and select Devices.
4. Click Printers & scanners and select Add a printer or scanner.
5. Select your printer.
