This article was co-authored by wikiHow staff writer, Jack Lloyd. Jack Lloyd is a Technology Writer and Editor for wikiHow. He has over two years of experience writing and editing technology-related articles. He is technology enthusiast and an English teacher.
This article has been viewed 809,478 times.
Learn more...
This wikiHow teaches you how to fix clogged print heads in your printer. Clogged print heads are the result of dried-up ink from lack of use, and can lead to patchy or erroneous printing. You can usually fix clogged print heads with your printer's built-in self-cleaning software, though you may have to clean the print heads manually if that doesn't work.
Steps
Using Self-Cleaning on Windows
-
1
-
2Type control panel into Start. Doing so will search your computer for the Control Panel app.Advertisement
-
3Click Control Panel. This blue, circuit board-shaped icon should be at the top of the Start window.
-
4Click Devices and Printers. It's a printer-shaped option on the far-right side of the page.
- If your Control Panel window uses Categories view instead of Icons view, you'll instead click the View devices and printers link below the "Hardware and Sound" heading.
-
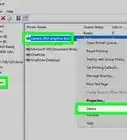
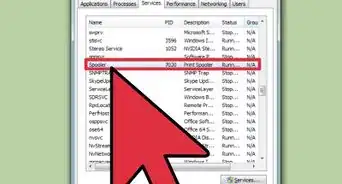
5Open the printer's menu. Right-click the name of the printer that needs cleaning. You'll find it below the "Printers" heading near the bottom of the page. A drop-down menu will appear.
- If your mouse doesn't have a right-click button, click the right side of the mouse, or use two fingers to click the mouse.
- If your computer uses a trackpad instead of a mouse, use two fingers to tap the trackpad or press the bottom-right side of the trackpad.
-
6Click Properties. It's at the bottom of the drop-down menu. A new window will appear.
-
7Click the Hardware or Maintenance tab. You'll find this option at the top of the window.
- Some printers keep the self-cleaning option in a More Options or a Tools tab as well.
-
8Click the "Cleaning" option. This option will usually say Clean Heads or Clean Cartridges, but keep an eye out for any "Clean" option on the page.
- If you can't find an option to clean your printer's print heads (or "nozzles", or "cartridges"), consult your printer's manual or online documentation. Your printer may not have a self-cleaning option.
-
9Follow any on-screen prompts. If prompted to do or click anything during the cleaning process, do so. Otherwise, your printer should clean itself, after which point you can resume printing your documents.
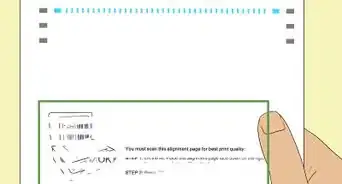
- You may have an option to print a test page that will verify whether or not the cleaning process worked.
- If your printing results still indicate clogged print heads, you'll need to clean manually the print heads to fix the problem.


Using Self-Cleaning on Mac
-
1
-
2Click System Preferences…. It's in the Apple drop-down menu.
-
3Click Printers & Scanners. This printer-shaped icon is on the far-right side of the System Preferences window.
-
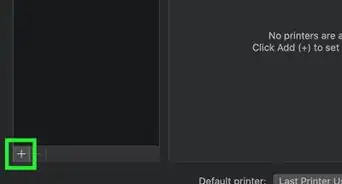
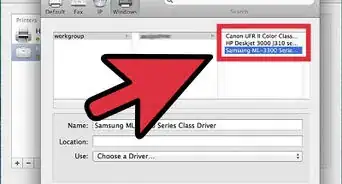
4Select a printer. On the left side of the window, click the printer for which you want to run the self-cleaning program.
-
5Click Options & Supplies…. You'll find this in the middle of the window.
-
6Click Utility. This tab is at the top of the page.
-
7Click Open Printer Utility. It's in the middle of the page.
-
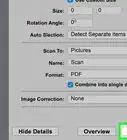
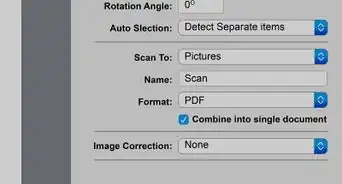
8Select the "Cleaning" option. This option's location and appearance may vary depending on your printer, but you'll usually see a Head Cleaning or Cartridge Cleaning option on this page.
- If there's a drop-down box at the top of the window, click it and then click Cleaning in the drop-down menu if possible.[1]
- If you can't find a "Cleaning" option, your printer may not support self-cleaning. Check the printer's manual or documentation online to confirm.
-
9Follow any on-screen prompts. If prompted to do or click anything during the cleaning process, do so. Otherwise, your printer should clean itself, after which point you can resume printing your documents.
- You may have an option to print a test page that will verify whether or not the cleaning process worked.
- If your printing results still indicate clogged print heads, you'll need to clean manually the print heads to fix the problem.


Using Manual Cleaning
-
1Gather your supplies. To clean your print heads, you will need the following items:[2]
- Isopropyl alcohol
- Water
- A bowl or pie tin
- Paper towels
-
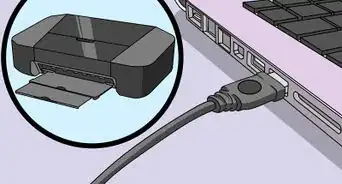
2Turn off and unplug the printer. This will prevent you from damaging the printer or hurting yourself while removing the cartridges and the print head unit.
-
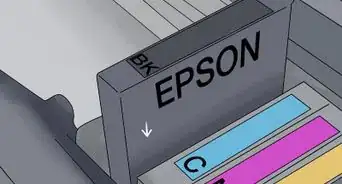
3Remove the cartridges. Open your printer's main casing, then remove the cartridges one by one until they're all out of the printer.
- You will most likely have to consult your printer's manual or online documentation for the proper way to extract the cartridges.
-
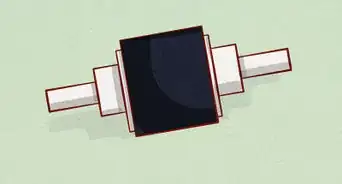
4Remove the print head unit. This is the tray in which the cartridges sit. You should see several holes in the bottom of the print head unit.
- Again, consult your printer's manual or online documentation for the proper way to do this for your model.
- If your printer uses cartridges that have print heads on them, skip this step.
-
5Create a 50/50 mixture of isopropyl alcohol and water. Starting with half a cup (four ounces) of each should be fine. Mixing the two together reduces the abrasive effects of the alcohol, meaning that the mixture shouldn't damage the print head itself.
-
6Pour the mixture into the bowl. Keep the mixture shallow (around a quarter of an inch deep) to start—you can always add more later.
-
7Place the print head unit in the alcohol and water mixture. The mixture should come about half an inch (around a centimeter) up the side of the print head (or cartridge).
- If your printer uses cartridges with built-in print heads instead, place the cartridge in the mixture instead.
-
8Leave the print head alone for at least two minutes. Doing so will give the print head's dried ink time to loosen.
-
9Dab the print head on a paper towel. This will remove any excess moisture and ink from the surface of the print head.
- You'll want to dry completely the print head before proceeding.
-
10Test the print head. Place back the print head unit and/or cartridges, plug back in the printer, and try to print a test page. Your printer should now work like usual.
- If your printer still won't print correctly, try leaving the print head unit (or cartridges) in the alcohol and water mixture overnight.


Community Q&A
-
QuestionMy Epson printer is not printing black correctly on lines once every 1" - 2" down the page. Changing cartridge made no difference; are there any other steps I need to take?
 Community AnswerIf it's 1 - 2" then it's unlikely to be the ink cartridge, especially if they're not exactly the same distance apart each time. It's more likely to be an issue with the rollers or electronics.
 -
QuestionCan a print head on an HP 6600 printer be replaced?
 Community AnswerNo. You can't.
 -
QuestionI tried to clean the cyan head print on my Epson 1410 using ethyl alcohol and the print worsened. Did I burn the head print?Community AnswerUse only 100% isopropyl alcohol or your printer's specific cleaning fluid to wipe the print heads.
Warnings
- Some cartridges come with a sponge that interfaces with the print head unit itself. Do not wash or touch the sponge.⧼thumbs_response⧽
References
About This Article
1. Unplug the printer.
2. Open your printer and remove the cartridges and print head.
3. Mix ½ cup each of isopropyl alcohol and water in a bowl.
4. Place the print head in the cleaning solution for 2 minutes.
5. Dab it with a paper towel.
6. Leave it to dry completely before returning it to your printer.