Canon printer guide for WPS or manual connection
This article was co-authored by wikiHow staff writer, Kyle Smith. Kyle Smith is a wikiHow Technology Writer, learning and sharing information about the latest technology. He has presented his research at multiple engineering conferences and is the writer and editor of hundreds of online electronics repair guides. Kyle received a BS in Industrial Engineering from Cal Poly, San Luis Obispo.
The wikiHow Tech Team also followed the article's instructions and verified that they work.
This article has been viewed 608,561 times.
Learn more...
This wikiHow shows you how to easily connect and set up a Canon wireless printer on your Windows or Mac computer. You can do this either by connecting over the Internet, or by attaching your printer to your computer via a USB cable and allowing the printer to install and connect itself.
Things You Should Know
- Use your printer’s screen to connect to your network via WPS or manually.
- On Windows, go to Printers & Scanners in Settings to add your printer.
- On Mac, go to Printers & Scanners in System Preferences to add your printer.
Steps
Preparing to Install
-
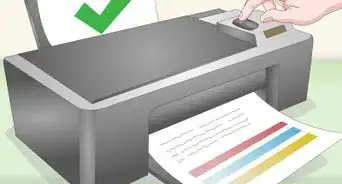
1Make sure that your printer is plugged in and turned on. Printers typically have an LED light that indicates whether they’re powered on. If your printer has a screen, it should be on as well.
- If your printer isn’t turning on, check that the power cord is plugged in securely. You can also try a different power outlet.
- For more printer setup guides, check out how to put ink cartridges in your printer and our general guide to installing a printer.
-
2Check to see if your printer has installation software. If your printer came with a CD, you can run the installation program to set up the printer, though most modern printers will install automatically or the software can be downloaded from the manufacturer's site.
- To install via a CD, simply insert the CD into your computer's CD tray, then follow the on-screen instructions. For computers without a built-in CD drive, you'll need an external CD reader to perform this step.


Connect Your Printer via WPS
-
1Tap the network button on your printer. It should appear on the home screen on the printer. It’s an “i” with curved lines radiating from it, with a line striking through the icon.[1]
- This method uses Wi-Fi Protected Setup (WPS) to connect your printer to your wireless network. This lets you connect without needing to know your router name or password.
- Connecting using this method requires a router that supports WPS. There will be a dedicated WPS button on your router.
-
2Select Wi-Fi. This opens the “Wi-Fi setting list” menu.
-
3Select Settings. This is in the “Wi-Fi setting list” menu.
-
4Select Wi-Fi setup in the “Wi-Fi” menu.
-
5Select WPS (Push button method) in the “Wi-Fi setup” menu.
-
6Select OK.
-
7Hold down the WPS button on your router. Continue holding the button while performing the next step.
-
8Select OK on your printer screen. You’re done! You’ve connected your printer to your network using WPS.


Connect Your Printer Manually
-
1Connect your printer to the Internet. This will typically consist of using the printer's LCD panel to select a wireless network and enter the password. This method will cover the general steps to connect.
- Check your printer's instruction manual to see specific instructions on connecting your printer model to the Internet.
- You can find an online version of your printer's instruction manual on Canon's website by clicking SUPPORT, selecting MANUALS in the drop-down menu, clicking Printers, and finding your printer's model number.
-
2Tap the setup button on your printer. This is an icon with a pair of pliers and a screwdriver.[2]
-
3Go to Wi-Fi setup.
-
4Select Manual connect. This is in the “Wi-Fi setup” menu.
-
5Select your router. Its name will appear in the router list on the printer.
- Make sure that your computer is on the same network as your printer. For your wireless printer to receive commands from your computer, both your computer and your printer must be connected to the same Wi-Fi network.
-
6Type in your router password.
-
7Press OK for two seconds.
-
8Press Yes when prompted to “Apply?” the connection. You’re done! You’ve connected your printer to your network.
- If your printer is connected to a different Wi-Fi network than your computer, change your computer's Wi-Fi network before proceeding.


Installing on Windows
-
1
-
2
-
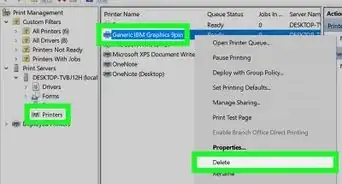
3Click Devices. You'll find it at the top of the Settings window.
-
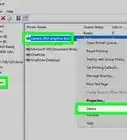
4Click Printers & scanners. This tab is on the left side of the window.
-
5Click + Add a printer or scanner. It's at the top of the page. Doing so opens a pop-up window.
- If you see the printer's name (e.g., "Canon [model number]") in the "Printers & scanners" section, your printer is already connected.
-
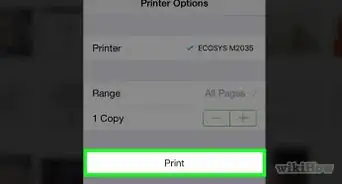
6Click your printer's name. It should be in the pop-up window. Doing so will prompt your computer to connect to the printer. Once the connection process is complete, you'll be able to use the printer from your computer.
- If Windows is unable to find the printer, skip to the next step.
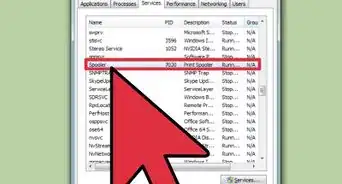
- Seeing an “offline” printer error? See our guide on how to fix that.
-
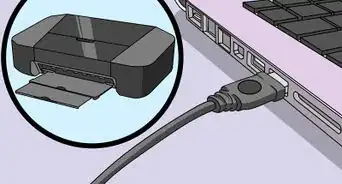
7Try installing the printer with a USB cable. If you didn't see your printer in the Add window, you may be able to install the printer by connecting it to your computer with a cable:
- Attach your printer to your computer with a USB-A to USB-B cable. The USB-A connector is rectangular and connects to your computer. The USB-B connector is more square and connects to your printer.
- Wait for the installation window to appear.
- Follow the on-screen instructions.


Installing On Mac
-
1Open the Apple Menu . Click the Apple logo in the top-left corner of the screen. A drop-down menu will appear.[3]
-
2Click System Preferences…. It's at the top of the drop-down menu.
- This menu is called System Settings in macOS Ventura and later.
-
3Click Printers & Scanners. This printer-shaped icon is in the System Preferences window.
-
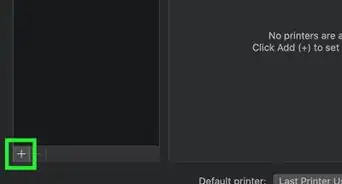
4Click +. It's near the bottom-left corner of the window. Doing so prompts a pop-up window.
- On macOS Ventura and later, click Add Printer, Scanner, or Fax button instead.
- If your printer is already connected over the network, you'll see its name (e.g., "Canon [model number]") in the left-hand pane.
-
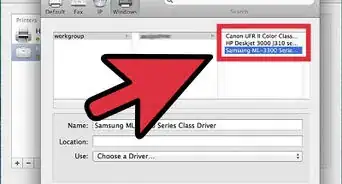
5Click your printer's name. It should appear in the drop-down menu. Doing so will prompt the printer to begin setting up; once it's finished, you'll see the printer's name in the pane on the left side of the window, signifying that the printer has successfully connected to your Mac.
- If you don't see the printer's name, skip to the next step.
-
6Try installing the printer with a USB cable. If your Mac couldn't find your printer, you may be able to install the printer directly by using a USB cable:
- Update your Mac.
- Attach the printer to your computer with a USB-to-USB-C cable.
- Wait for the setup window to appear.
- Follow the on-screen prompts.


Community Q&A
-
QuestionCan I install my printer if I don't have a disc?
 Community AnswerYes. Look for the model number online and download the drivers off of the Canon website. For example, if you had a Canon PIXMA G4200, you would search for "Canon PIXMA G4200 drivers" and download them from the Canon website.
 -
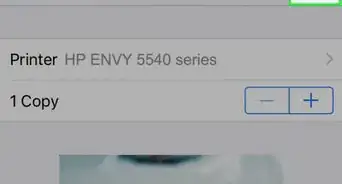
QuestionHow do I link my iPhone to my printer?
 Community AnswerIf the printer has wireless capabilities, it should have come with instructions for linking it to your iPhone. The instructions will differ depending on the specific printer.
 -
QuestionCan I use a Canon printer as a standalone printer and fax?
 Community AnswerYes. You can use it as a standalone printer.
Warnings
- If you buy a printer that's designed for a specific operating system (e.g., Mac), you most likely won't be able to use that printer on a different operating system (e.g., Windows).⧼thumbs_response⧽


References
About This Article