X
wikiHow is a “wiki,” similar to Wikipedia, which means that many of our articles are co-written by multiple authors. To create this article, volunteer authors worked to edit and improve it over time.
This article has been viewed 56,265 times.
Learn more...
Trying to setup your AirPort Express or Extreme wireless router? Apple makes the process easy with the AirPort Utility program. You can have a basic wireless network up and running in just a few clicks, without having to learn complex terminology or figure out IP addresses.
Steps
Method 1
Method 1 of 3:
Setting Up a Basic Wireless Network
-
1Plug your cable or DSL modem into the AirPort's WAN port. Use an Ethernet cable to make the connection.
-
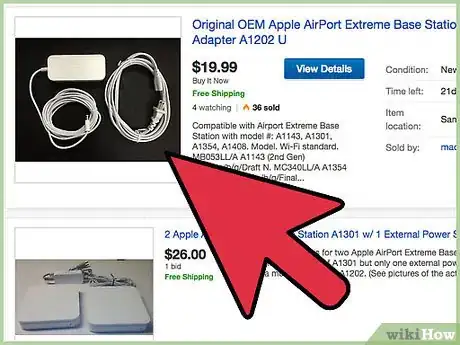
2Plug the AirPort's power adapter into a power source.Advertisement
-
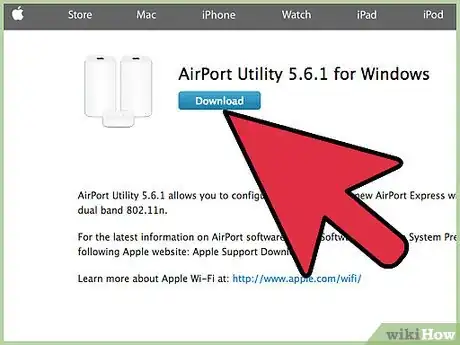
3Select your new AirPort base station. Note: If you use a Windows computer, download the AirPort Utility from Apple and follow the OS X directions.
- OS X - Click the Wi-Fi menu and select your AirPort new base station.
- iOS - Open the Settings app, tap "Wi-Fi", and then tap your new AirPort base station.
-
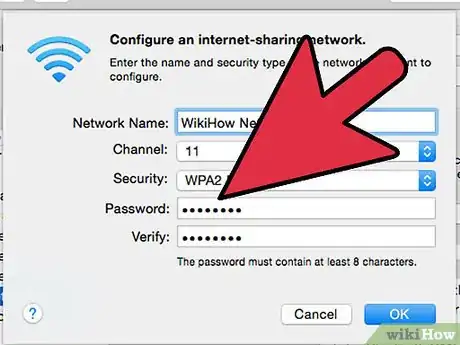
4Give your new network a name. You can enter a Network name as well as the name of the base station. Other devices will see the network name from their list of available networks.
-
5Enter a password to be used to secure the network. Enter it again to confirm. Any device that connects to the network will need this password.
-
6Wait for the network to be constructed. After setting the network name and password, your AirPort base station will configure itself to allow you to connect. This may take a few moments, but doesn't require any input from you.
Advertisement
Method 2
Method 2 of 3:
Changing Network Configurations
-
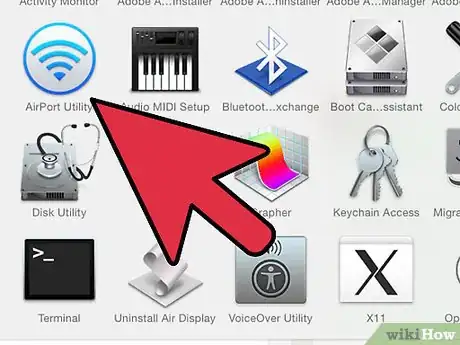
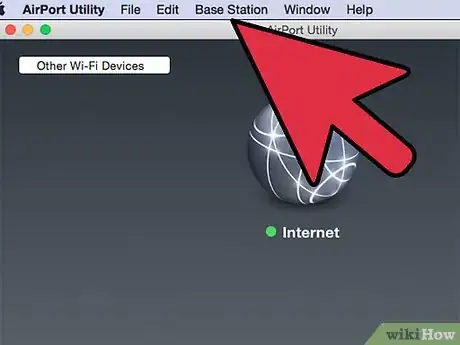
1Open the AirPort Utility. You can access this from the Utilities folder, which can be found in the Applications folder or accessed from the "Go" menu.
-
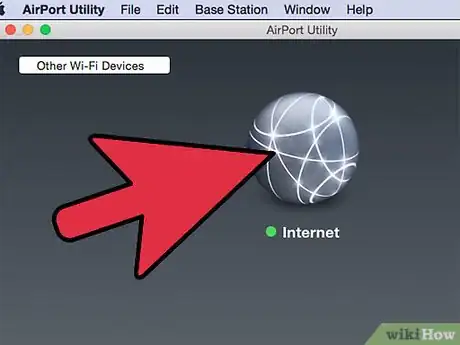
2Update your AirPort base station (if applicable). If you see a red icon next to your AirPort base station in the AirPort Utility program, there is a software update available for the base station. Updating can improve performance and security, so it is recommended to update whenever one is available.
- Click your AirPort base station, click Update, and then Continue.
- The update will install automatically and your AirPort base station will restart.
-
3Click your AirPort base station and then click .Edit to open the AirPort settings.
-
4Use the "Base Station" tab to change the base station name and access password. This is not the same password that devices use to connect to the network.
-
5Use the "Internet" tab to change your DHCP and DNS settings. Most users won't have to worry about this tab.
-
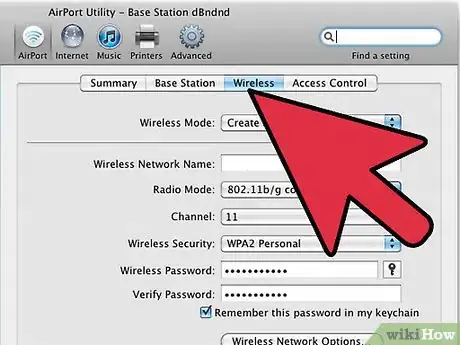
6Use the "Wireless" tab to change your wireless network settings.
- "Network Mode" allows you to switch between creating a wireless network or extending an existing wireless network.
- "Wireless Network Name" lets you change the name that appears for other devices when they try to connect.
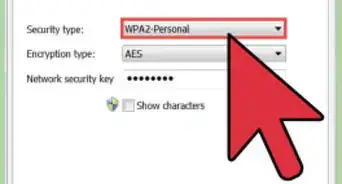
- "Wireless Security" allows you to designate the security mode your network uses. most users should keep this set to "WPA/WPA2 Personal" to allow maximum compatibility and security.
- "Wireless Password" allows you to change the password required to connect to the network.
- "Enable Guest Network" allows you to create a subnetwork for guests with limited functionality and access. You will be able to enter a separate password for the guest network.
- The Wireless Options... menu allows you to change the radio mode, wireless channel, and country. Most users can safely ignore this menu.
-
7Use the "Network" tab to make advanced changes to your wireless network.
- The "Port Mapping" section allows you to open ports for specific programs on your computer. This should only be done when absolutely necessary, as open ports can pose a security hazard. Click the + button to create a new port forwarding rule.
Advertisement
Method 3
Method 3 of 3:
Setting Up a Wireless Printer
-
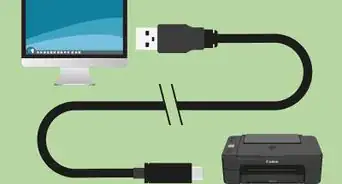
1Plug your printer into the USB port on the back of the AirPort base station. If it requires a power source, make sure that it is plugged into an outlet as well.
-
2Add the printer on each computer.
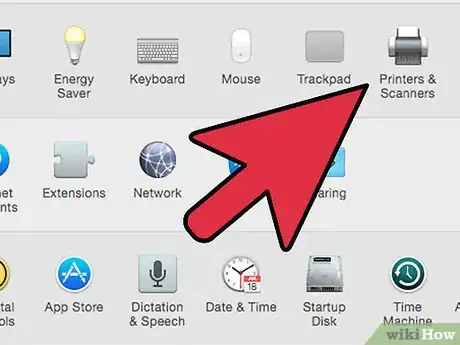
- OS X - Click the Apple menu and select System Preferences. Click Printers & Scanners and then select the new printer from the list. If the printer is not listed, click +, select your new printer, and then click Add.
- Windows - Install Bonjour for Windows from either the AirPort Utility CD or downloaded from the Apple website. Follow the prompts to add the printer.
-
3Print to the printer. To print to your new wireless printer, simply select it when you go to print from any program.
Advertisement
About This Article
Advertisement








-Step-8-Version-2.webp)

-Step-30.webp)
-Connection-Step-12-Version-5.webp)


