X
wikiHow is a “wiki,” similar to Wikipedia, which means that many of our articles are co-written by multiple authors. To create this article, volunteer authors worked to edit and improve it over time.
This article has been viewed 88,744 times.
Learn more...
Waze starts you off with a default car icon. However, if you want to get a bit more creative, you can customize your avatar easily.
Things You Should Know
- Open up the Waze app and click on the magnifying glass in the bottom right corner.
- Tap the gears icon in the top left corner of the toolbar. Then, hit "Display & map."
- Tap "Car on Map" and choose your desired car option.
Steps
-
1Open up the Waze app on the phone you'd like to change the car icon for. Although the app icon may look a little different on different devices, it's generally a message bubble that has two wheels and a smiley face on a light blue background.
-
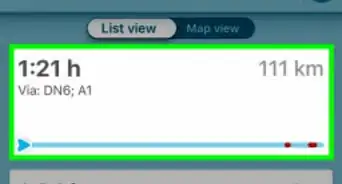
2Let Waze load up to the map view. Just ensure you aren't in a "Track to Destination" item.Advertisement
-
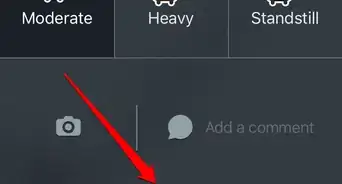
3Tap the magnifying glass in the bottom right corner of the screen. Among other items listed here, you'll see the option to tap to fix your settings.
-
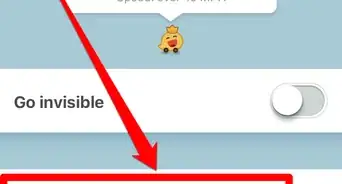
4Tap the Gears icon from the top left corner of the toolbar.
-
5Tap "Display & map". This will give you options to set your map's display.
- You can set the options given there. What other Wazers see of you will look different, and can't be adjusted until you finish a level of "points" and "gags".
-
6Tap the "Car on map" option.
-
7Select your new car style. By default, you'll be set to just "Arrow", but you'll have several other options including a bus, blue car, green car, race car, red car, yellow car, motorbike, SUV or truck.
- Tapping your option will auto-save your new option, and you may go back into your destination mode. Your new car will show to you next time you load up a destination.
Advertisement
About This Article
Advertisement
