X
This article was co-authored by wikiHow staff writer, Jack Lloyd. Jack Lloyd is a Technology Writer and Editor for wikiHow. He has over two years of experience writing and editing technology-related articles. He is technology enthusiast and an English teacher.
The wikiHow Tech Team also followed the article's instructions and verified that they work.
This article has been viewed 780,316 times.
Learn more...
This wikiHow teaches you how to add a work email address to your iPhone's Mail app.
Things You Should Know
- To start, go to > Accounts & Passwords > Add Account.
- For a preset account, choose one of the options from the list (Exchange, Google, iCloud, etc.). Enter your login details and follow the prompts.
- For a custom email service, tap Other > Add Mail Account and follow the prompts. You'll need to know your mail server type (IMAP or POP).
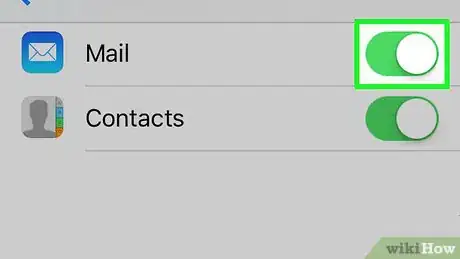
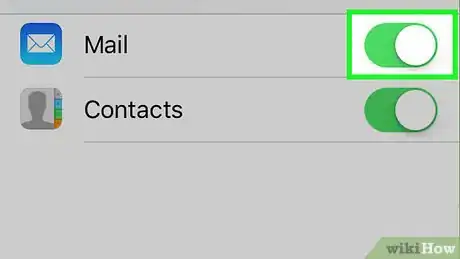
- Tap the Mail switch so it turns green and save.
Steps
Method 1
Method 1 of 3:
Using Microsoft Exchange
-
1
-
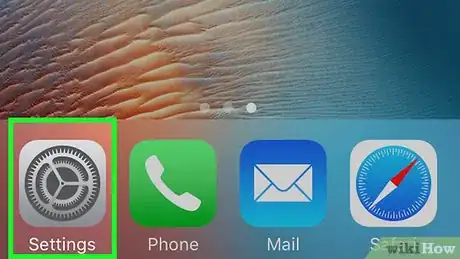
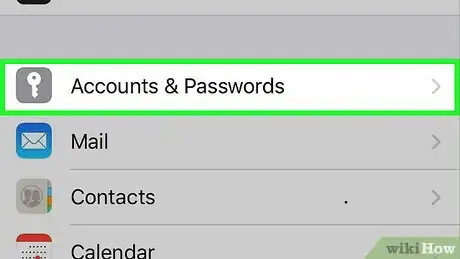
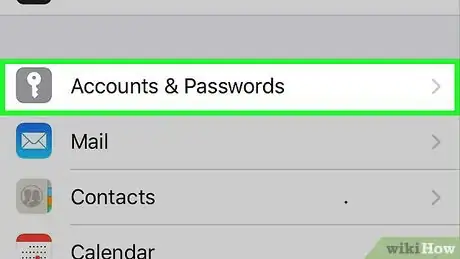
2Scroll down and tap Accounts & Passwords. It's roughly a third of the way down the "Settings" page. You'll find it next to a white key-shaped icon.Advertisement
-
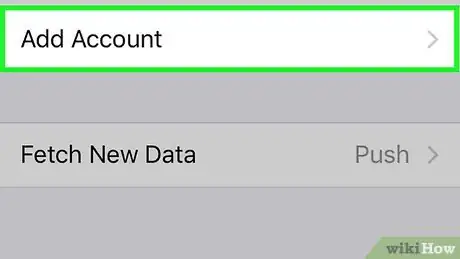
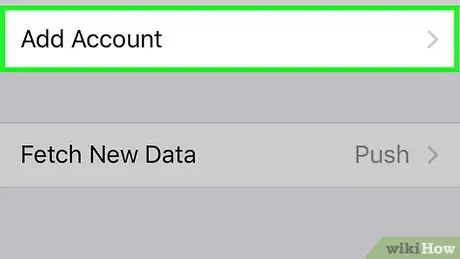
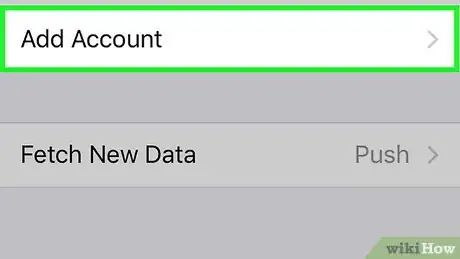
3Tap Add Account. It's at the bottom of the "ACCOUNTS" section.
-
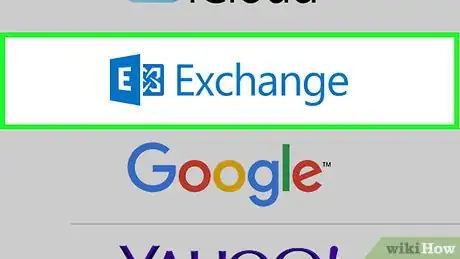
4Tap Exchange. It's near the top of the account options.
- Exchange is one of the most common enterprise email servers, so chances are your business uses Exchange if you aren't sure.
- You won't be able to tell if you use Exchange by looking at your email address; if you're not sure whether you use Exchange, ask your business' IT department.
-
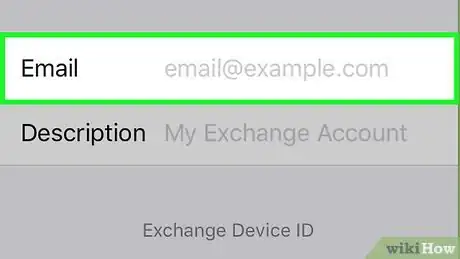
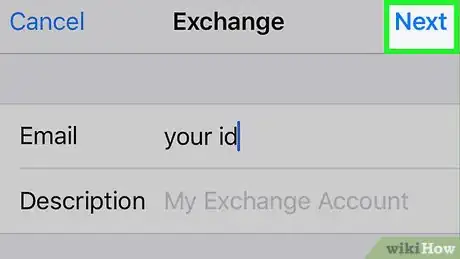
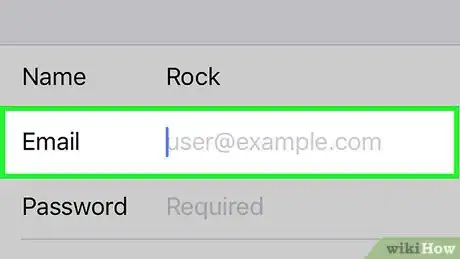
5Enter your email address. Tap the "Email" text box, then type in the email address for the account you want to add to your iPhone.
- You can also enter a description that will be used to label the account's inbox in Mail by tapping the "Description" text box and entering a description.
- Take note of the "Exchange Device ID" jumble of characters that's displayed on the screen in the event that your employer's email administrator requires it.
-
6Tap Next. It's in the upper-right corner of the screen.
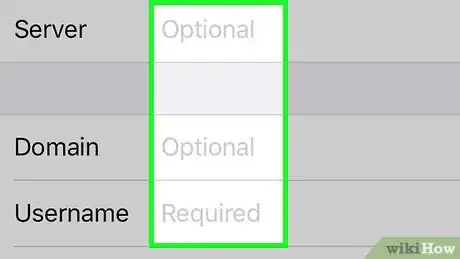
- If prompted, tap Configure Manually before proceeding.
-
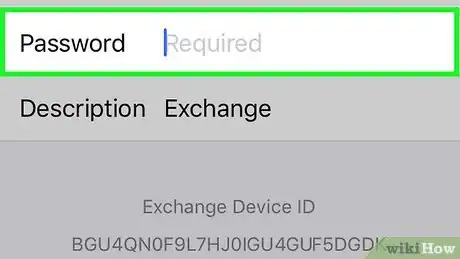
7Enter your password. Tap the "Password" text box, then type in the password associated with your email address.
-
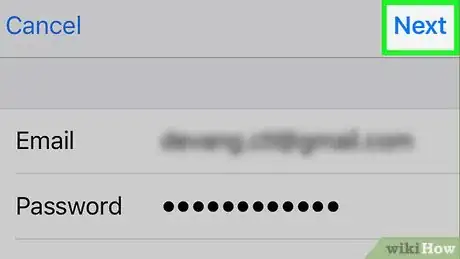
8Tap Next. It's in the upper-right corner of the screen.
-
9Follow any onscreen prompts. Depending on your Exchange account type, you may be asked to update security settings or to give the Mail app permission to access your account.
- If asked to give Mail permission, tap Allow when prompted.
-
10Tap the white "Mail" switch . It's at the top of the menu. Tapping it will turn the switch green , indicating that your Exchange email address has been added to your iPhone's Mail app.
- Slide other types of data, like Calendars and Contacts, to the "On" (green) position to merge them onto your iPhone, as well.
-
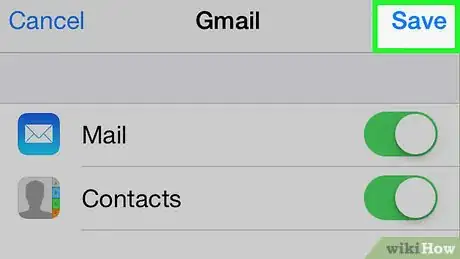
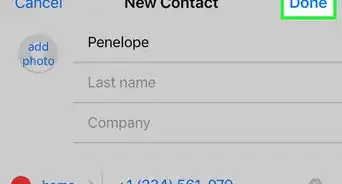
11Tap Save. It's in the upper-right corner of the screen. Now you can send emails from your account using your iPhone's Mail app.
- You can find the inbox for this account on the "Mailboxes" screen.
Advertisement
Method 2
Method 2 of 3:
Using Preset Email Services
-
1Know which services you can use. Your iPhone has preset options for iCloud, Google, Yahoo, AOL, and Microsoft Outlook. If you want to add an account from one of these services to your iPhone's Mail app, proceed.
- If you want to add a different email service, you'll need to skip to the next method.
-
2
-
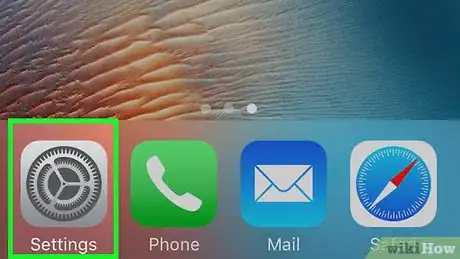
3Scroll down and tap Accounts & Passwords. It's roughly a third of the way down the "Settings" page. You'll find it next to a white key-shaped icon.
-
4Tap Add Account. It's at the bottom of the "ACCOUNTS" section.
-
5Select an account type. Tap one of the account options (e.g., Google) on the "Add Account" page. Doing so opens the sign-in page for your selected service.
-
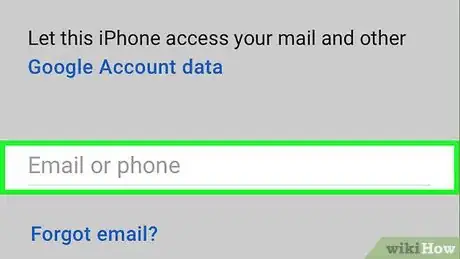
6Enter your email address and password. Tap the "Email" text box and type in your email address, then tap the "Password" text box and type in your email account's password.
- Your selected service may require you to enter your email address, tap Next, and then enter your password.
-
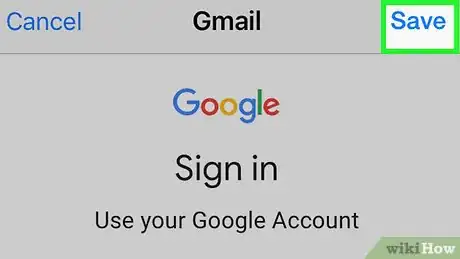
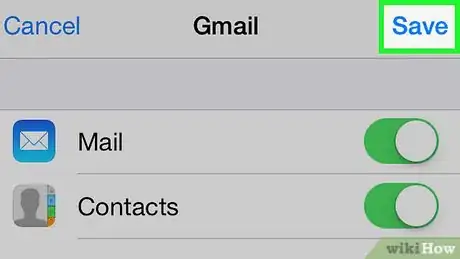
7Follow any on-screen instructions. Depending on your selected email service, the setup process will vary slightly. Once you arrive at the page that has a list of features and switches and a Save option in the top-right corner, you can proceed.
-
8
-
9Tap Save. It's in the top-right corner of the screen. This will save your changes and take you back to the "Accounts & Passwords" page.
- You can find the inbox for your account on the "Mailboxes" screen.
Advertisement
Method 3
Method 3 of 3:
Using Custom Email Services
-
1Obtain your email service's information. When setting up a custom email service on your iPhone, you'll need to enter some information that you probably don't know off the top of your head. You can consult your business' IT department to find the following information:
- Mail server type (IMAP or POP)
- Incoming mail host name and user name
- Outgoing mail host name
- Many IT departments have specific instructions for adding email accounts to an iPhone.
-
2
-
3Scroll down and tap Accounts & Passwords. It's roughly a third of the way down the "Settings" page. You'll find it next to a white key-shaped icon.
-
4Tap Add Account. It's at the bottom of the "ACCOUNTS" section.
-
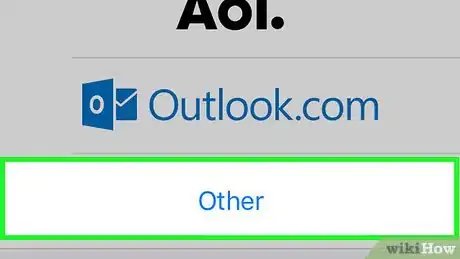
5Tap Other. It's at the bottom of the account options.
-
6Tap Add Mail Account. It's at the top of the screen, under "MAIL".
-
7Enter your name. Tap the "Name" text box, then type in your name as you want it displayed on outgoing messages.
-
8Enter your email address. Tap the "Email" text box, then type in the email address for the account you want to add to your iPhone.
-
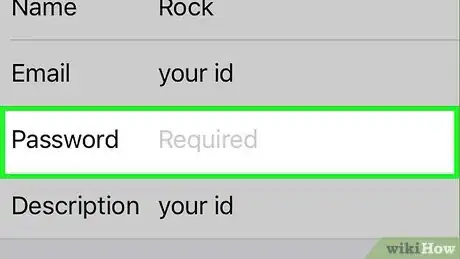
9Enter your password. Tap the "Password" text box, then type in the password associated with your email address.
- You can also enter a description that will be used to label the account's inbox in Mail.
-
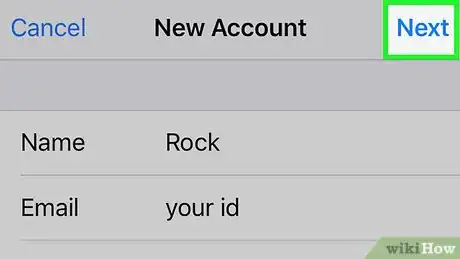
10Tap Next. It's In the upper-right corner of the screen.
-
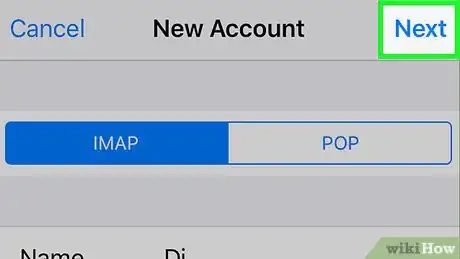
11Choose the type of mail server. Tap either the IMAP tab or the POP tab at the top of the screen.
- Again, if you don't know the information that is needed to fill in the fields on this screen, you should be able to obtain it from your employer's email administrator.
-
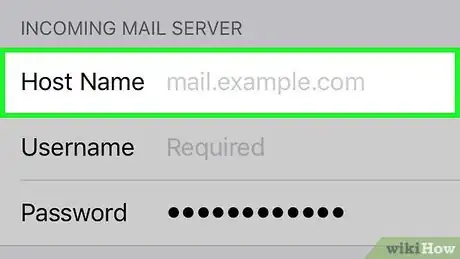
12Enter a Host Name. Type it in the labeled field in the "INCOMING MAIL SERVER" section.
-
13Enter a User Name. This is typically the portion of the email address that comes before the "@" symbol.
-
14Enter a Host Name. Type it in the labeled field in the "OUTGOING MAIL SERVER" section.
- Enter your User Name and Password in this section as well if your email administrator requires it.
-
15Tap Next. It's in the top-right corner of the screen.
-
16
-
17Tap Save. It's in the upper-right corner of the screen. Now you can send emails from your account using your iPhone's Mail app.
- You can find the inbox for this account on the "Mailboxes" screen.
Advertisement
Community Q&A
-
QuestionWhere do I get outgoing mail server information?
 Living ConcreteTop AnswererTypically, you can find this on the help pages of your email provider. If your workplace has no documentation on this sort of thing, submit a help request or ticket to your internal IT help provider.
Advertisement
Warnings
- While Mail supports most account types via the Other email setting, it may take a few days for email from your work server to begin showing up in Mail.⧼thumbs_response⧽
Advertisement
About This Article
Advertisement
