This article was co-authored by wikiHow staff writer, Darlene Antonelli, MA. Darlene Antonelli is a Technology Writer and Editor for wikiHow. Darlene has experience teaching college courses, writing technology-related articles, and working hands-on in the technology field. She earned an MA in Writing from Rowan University in 2012 and wrote her thesis on online communities and the personalities curated in such communities.
This article has been viewed 4,596 times.
Learn more...
Do you want to mark chapters in your YouTube video so your audience can quickly get to the parts they want to see? While your video may cover many subjects, some viewers might only be interested in a specific topic and would rather not watch the entire video to find what they're looking for. Fortunately, you can add timestamps to your YouTube videos to mark chapters so people can skip to the content they want to view. This wikiHow article teaches you step-by-step how to add chapters to your YouTube videos.
Steps
Adding Chapters Manually
-
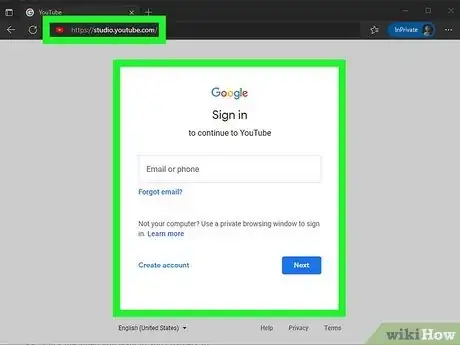
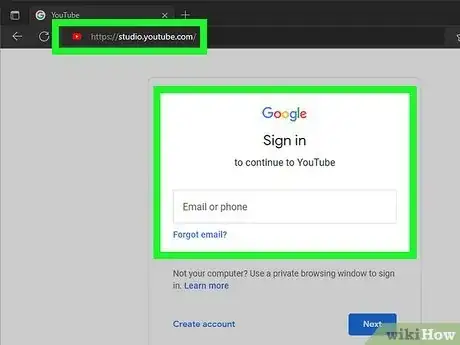
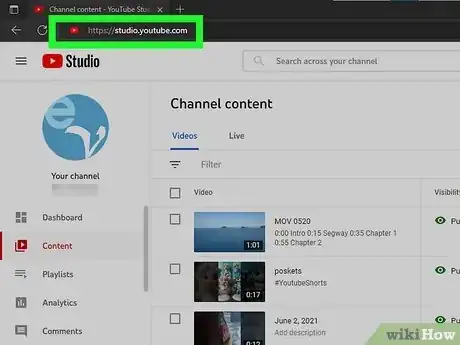
1Go to https://studio.youtube.com/ and sign in. That's the link to YouTube Studio where you can manage your YouTube uploads and channel.
- If you already have automatic chapters on, any manually added chapters will override your automatic ones, so you don't need to worry about turning the feature off before continuing.
-
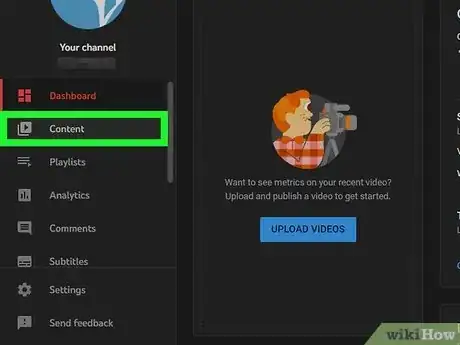
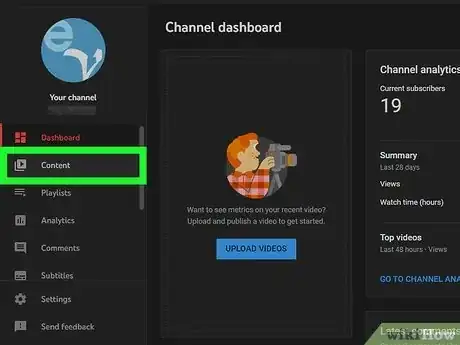
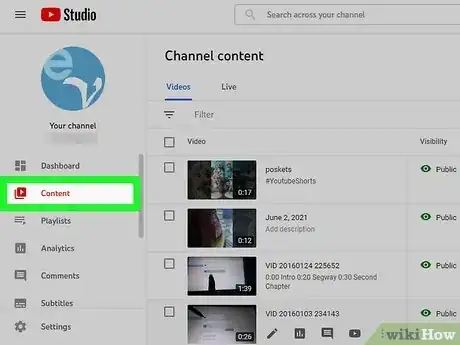
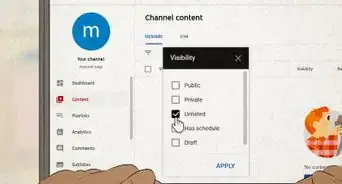
2Click Content. This is in the panel on the left side of your screen next to a play icon inside a square.Advertisement
-
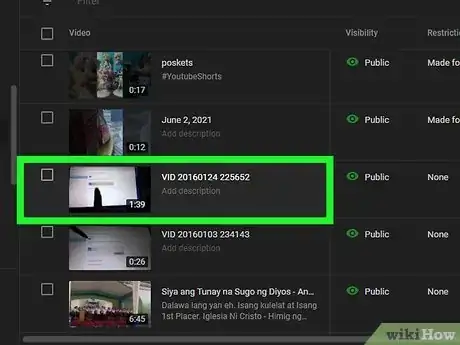
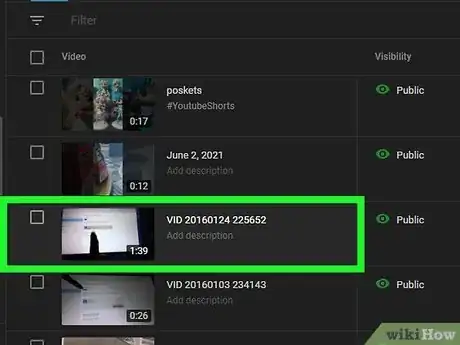
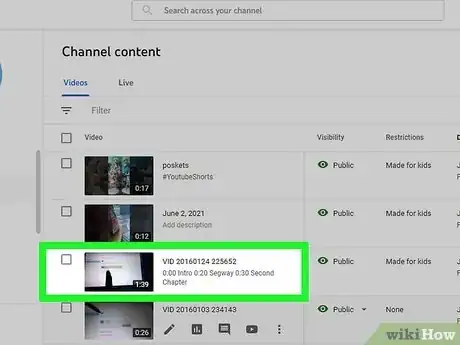
3Click the video you want to add chapters to. Make sure you click the title or thumbnail of the video so you go to the "Video details" page instead of just selecting it.
-
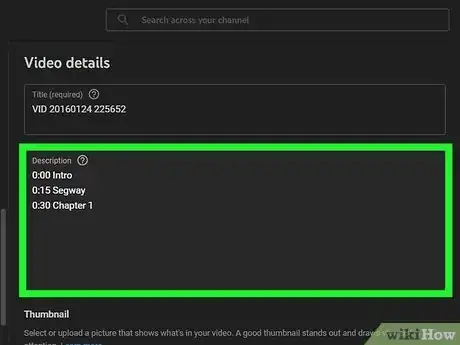
4Add your timestamps. In the "Description" area add a list of timestamps and titles. Enter each on a new line and replace the times and titles with relevant info:
- 0:00 Intro
- 2:10 Segway
- 3:14 Adding Chapters
- You have to start with "0:00," which is the beginning of your video.
- Your video must have at least 3 timestamps, listed in ascending order (you can't have "2:10", "3:15", then "0:00").
- Each chapter must be at least 10 seconds long.
-
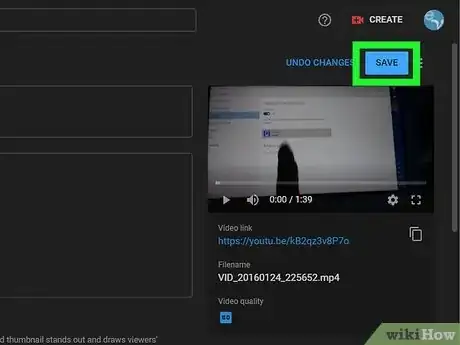
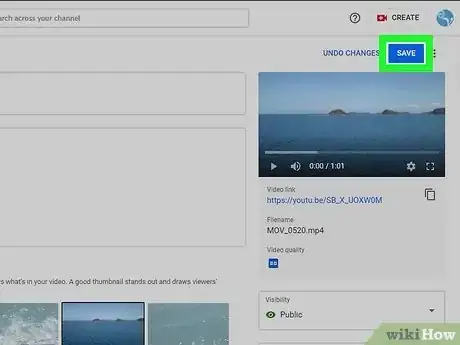
5Click Save. This button is in the top right corner of your browser and is greyed out until you make changes, then turns blue to indicate unsaved edits.
Adding Chapters Automatically
-
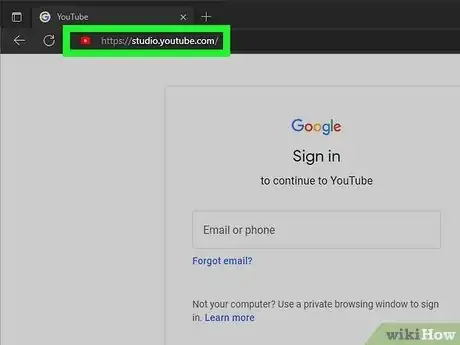
1Go to https://studio.youtube.com/ and sign in. That's the link to YouTube Studio where you can manage your YouTube uploads and channel.
- Not all videos will have automatic chapters. There are a few different factors that determine if your video gets automatic chapters including if the content of your video is considered inappropriate to some viewers or if your channel has any strikes against it.
- Automatic chapters are enabled by default, so you shouldn't have to turn it on unless you've previously turned it off.
-
2Click Content. This is in the panel on the left side of your screen next to a play icon inside a square.
-
3Click the video you want to enable automatic chapters for. Make sure you click the title or thumbnail of the video so you go to the "Video details" page instead of just selecting it.
-
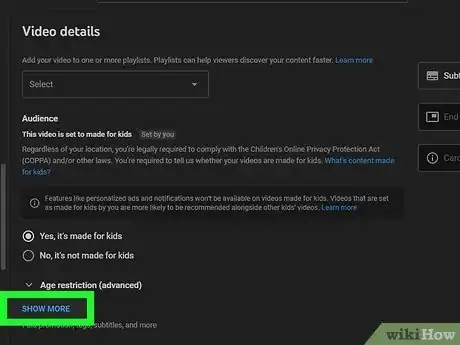
4Click Show More. This is usually at the very bottom of the page and will expand more options.
-
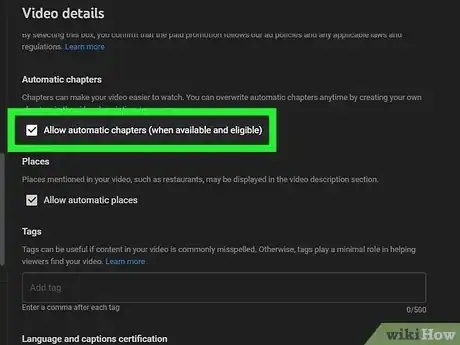
5Click the box next to "Allow automatic chapters" to enable it. By default, this is enabled on new YouTube uploads.
-
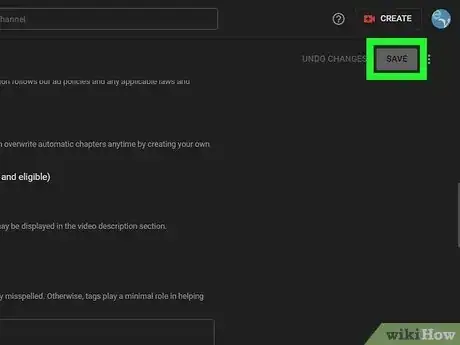
6Click Save. This button is in the top right corner of your browser and is greyed out until you make changes, then turns blue to indicate unsaved edits.
Editing Automatic Chapters
-
1Go to https://studio.youtube.com/ and sign in. That's the link to YouTube Studio where you can manage your YouTube uploads and channel.
- Maybe the automatic chapters were a little off when marking places in your video. This method helps you edit the chapters so they are in the right places.
-
2Click Content. This is in the panel on the left side of your screen next to a play icon inside a square.
-
3Click the video you want to edit. Make sure you click the title or thumbnail of the video so you go to the "Video details" page instead of just selecting it.
-
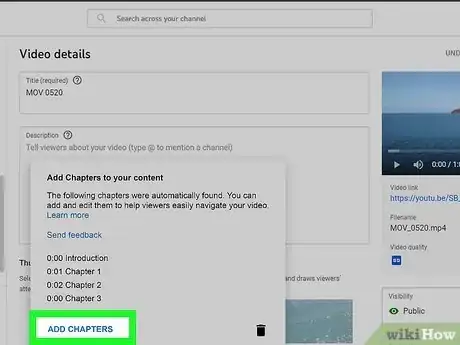
4Click Chapters Available and select Add Chapters. If your videos don't have any automatically added chapters or if you added chapters manually, you won't see this option when you view your video details.
-
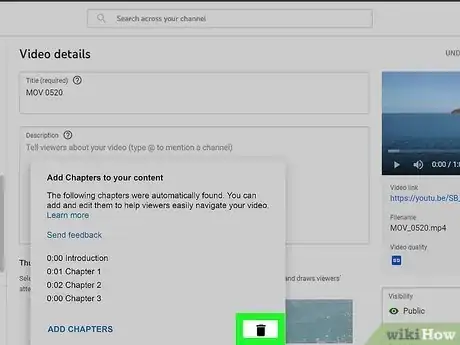
5Edit or delete the automatic chapters. Tap the trashcan icon to delete any chapters that were generated automatically that you don't want.
-
6Click Save. This button is in the top right corner of your browser and is greyed out until you make changes, then turns blue to indicate unsaved edits.
Disabling and Enabling Automatic Chapters on Uploads
-
1Go to https://studio.youtube.com/ and sign in. That's the link to YouTube Studio where you can manage your YouTube uploads and channel.
- Automatic chapters are enabled by default, so you shouldn't have to turn it on unless you've previously turned it off. You can also disable this feature if you don't want any of your future uploads to have this feature.
-
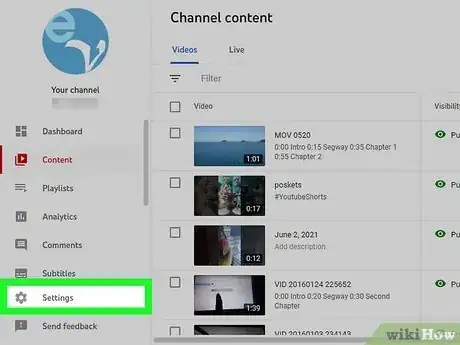
2Click Settings. This is next to a gear icon in the bottom left corner of the page.
-
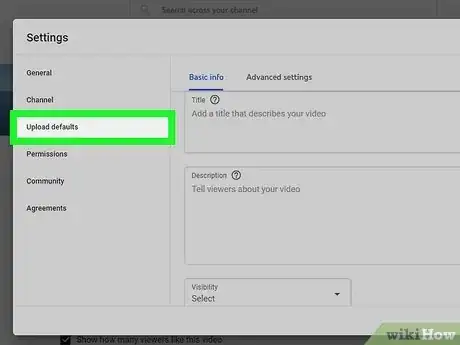
3Click Upload defaults. It's in the panel on the left side of the window.
-
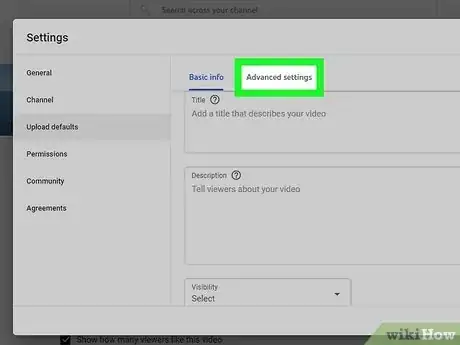
4Click Advanced settings. You'll find this tab near the top of the "Settings" window.
-
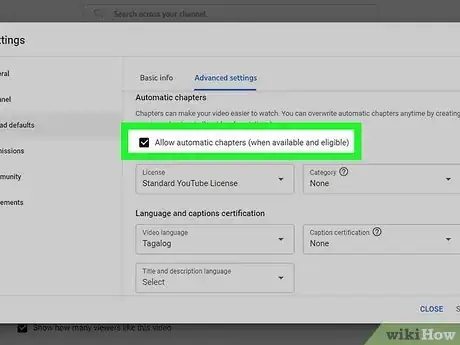
5Click the box next to "Allow automatic chapters" to select or unselect it. A checked box means this feature is active and eligible videos may be marked with automatic chapters. An empty box means this feature is disabled and none of your uploads will get automatic chapters.
-
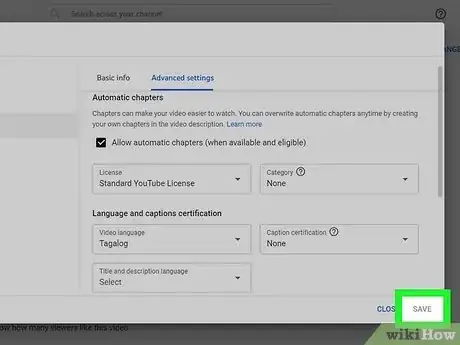
6Click Save. This will turn blue once you have made changes so you know that you have unsaved changes. Clicking this will also close the window.[1]
