This article was co-authored by wikiHow staff writer, Travis Boylls. Travis Boylls is a Technology Writer and Editor for wikiHow. Travis has experience writing technology-related articles, providing software customer service, and in graphic design. He specializes in Windows, macOS, Android, iOS, and Linux platforms. He studied graphic design at Pikes Peak Community College.
The wikiHow Tech Team also followed the article's instructions and verified that they work.
This article has been viewed 27,478 times.
Learn more...
Web cameras (also known as webcams) used to be a novelty. Today, nearly all internet-connected devices come with a webcam. They can be used in a web variety of apps. This wikiHow teaches you how to take pictures and videos using your webcam.
Steps
Using Windows
-
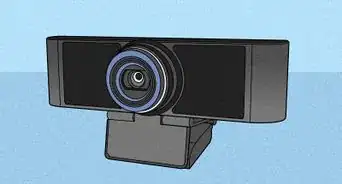
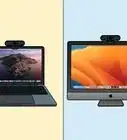
1Locate your webcam. Most computers have a webcam built-in. It's usually located above the screen in the center. Look for a pin-hole lens in the center above the screen.
- If your computer does not have a built-in webcam, you can purchase one and connect it using a free USB port on your computer.
-
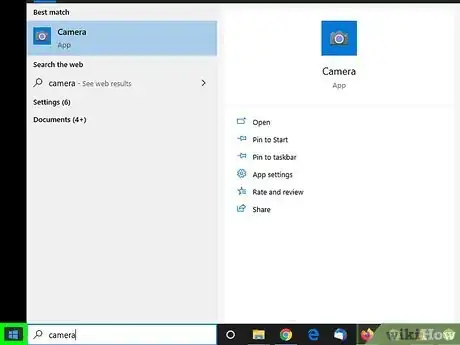
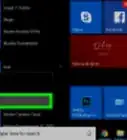
2Click the Windows Start icon . This displays the Windows Start menu. It's in the lower-left corner in the taskbar.Advertisement
-
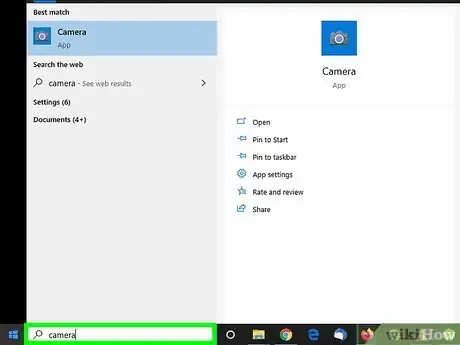
3Type Camera. This displays the Camera app that comes with Windows in the Start menu.
-
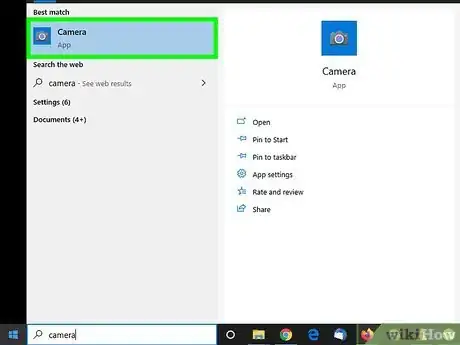
4Click Camera. This opens the camera app. You will see your camera feed displayed on the screen.
- When your webcam is turned on, you will usually see a green light next to the webcam.
-
5Click one of the camera icons to the right. The front-facing camera is used to take photos. The side-facing camera takes videos. Click the camera icon that corresponds to the mode you want to use.
-
6Click the white button on the right. If you are in photo mode, this takes a still picture. If you are in video mode, this starts filming a video.
-
7Click the Stop button. The stop button is the white button with the red square on the side. This stops filming. By default, you can find the images and videos you shoot by opening the Finder and navigating to "Pictures" followed by "Camera Roll".
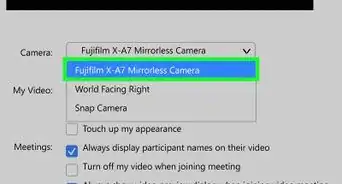
- There are many apps you can use your webcam with, including Skype, and Zoom. You can also do video chats using Messenger apps like Facebook Messenger, Whatsapp, and Viber. These apps should automatically recognize your webcam. If not, you can select it in the Settings.
Using Mac
-
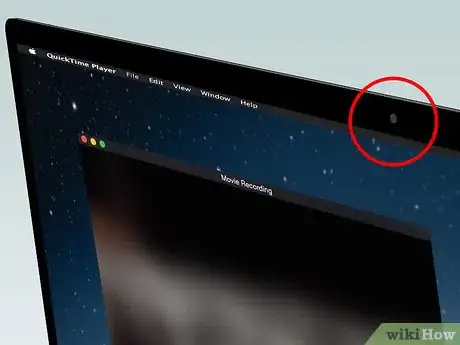
1Locate your webcam. Most computers have a webcam built-in. It's usually located above the screen in the center. Look for a pin-hole lens in the center above the screen.
- If your computer does not have a built-in webcam, you can purchase one and connect it using a free USB port on your computer.
-
2
-
3Type Photo Booth in the search bar and press ↵ Enter. This opens Photo Booth. It's a free webcam app that comes with macOS.
-
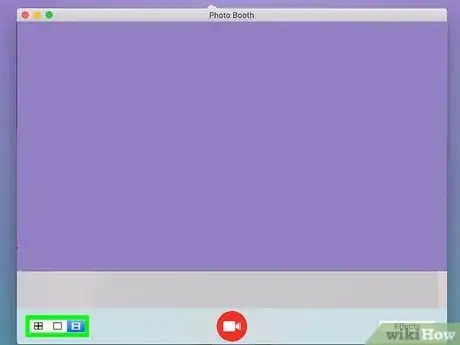
4Select a camera mode. Click one of the three icons in the lower-left corner to select a camera mode. The three modes are as follows:
- Camera: Click the icon with a single square to select camera mode. This mode takes still photographs.
- Video: Click the icon that resembles a filmstrip to select video mode. This mode takes motion videos.
- Mosaic: Click the icon that resembles 4 squares to select mosaic mode. This mode takes 4 pictures and displays them in a 2x2 grid.
-
5Select an effect (optional). If you want to select an effect for your photo or video, click Effects in the lower-right corner. Then click one of the effects displayed on the screen to select an effect. Use the arrow icons at the bottom of the image to browse the different pages of effects.
- Click Normal to go back without selecting an effect.
-
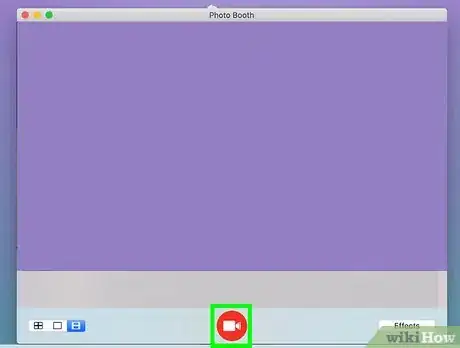
6Click the red button. It's at the bottom-center of the screen. There will be a count down from three and then it will either take a picture or start filming, depending on which mode you have active.
-
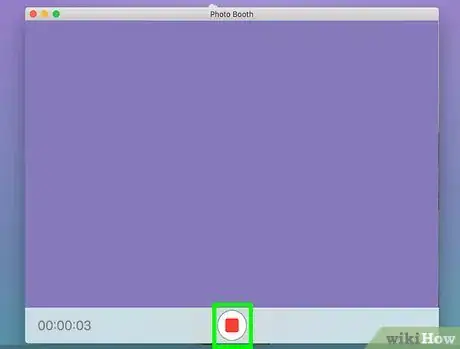
7Click the Stop button. When you are ready to stop filming, click the white button with the red square at the bottom-center of the screen. You can find images and videos you take using Photo Booth in the Pictures folder in the Finder.
- There are many apps you can use your webcam with, including Skype, and Zoom. You can also do video chats using Messenger apps like Facebook Messenger, Whatsapp, and Viber, and Apple's proprietary app FaceTime. These apps should automatically recognize your webcam. If not, you can select it from the Settings menu.
Warnings
- As always, be careful who you speak with online, even if you can see them.⧼thumbs_response⧽
About This Article
1. Locate or connect your webcam to a computer using a USB port.
2. Open Camera on Windows or Photo Booth on Mac.
3. Click the icon to change between photo mode or video mode.
4. Click the large button with the camera icon to shoot a photo or video.
5. Press the stop button to stop filming.

