X
wikiHow is a “wiki,” similar to Wikipedia, which means that many of our articles are co-written by multiple authors. To create this article, volunteer authors worked to edit and improve it over time.
This article has been viewed 33,786 times.
Learn more...
These days, smartphones double as both communication devices and tiny personal computers. To make an Android phone even handier, you can turn it into your own portable hard drive. Though a bit limited when it comes to space, it’s still a viable alternative when you need to carry lightweight digital documents wherever you go. Turning your Android into a portable hard drive is easy, and requires only a few things to get it done.
Steps
-
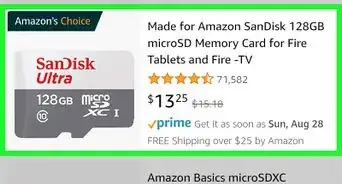
1Buy a microSD card. Only do this step if your phone has a microSD card slot for storage expansion. The memory card acts as the external memory so that the files aren’t mixed with the folders that are essential for some of your apps to function.
- Head to your favorite online store or computer/cell phone accessory store and purchase a microSD card.
- The maximum capacity depends on how much your phone can handle (flagship phones usually take up to 64GB of expanded storage). If you wish to use it for Word documents and other such data, an 8GB microSD should do fine.
-
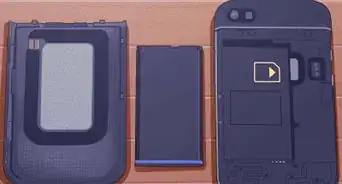
2Insert the card into your Android device. Look for the microSD card slot of your phone, which should either be on the sides of the device, covered by a flap, or at the back of the device, right under the back cover. Check your device’s user manual for an accurate diagram of where the slot is.Advertisement
-
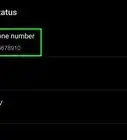
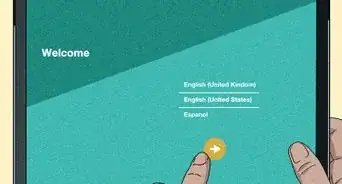
3Connect the Android device to your computer. Now that the microSD card is inserted, your device should display a notification in the status bar at the top that says something along the lines of “Reading media.” Grab the USB cable that comes with your Android device and plug it into the charging slot of your phone.
- Take the USB 2.0 (white), or USB 3.0 (blue) end of the cord and insert it into a vacant USB port on your computer. The computer should detect the phone as a USB device, and install the drivers that will let you view the contents of the data storage.
-
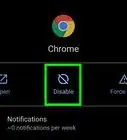
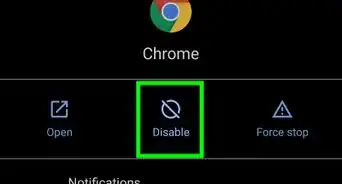
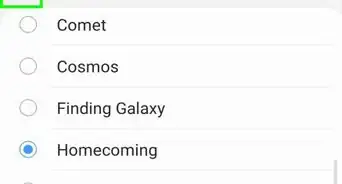
4Enable MTP on the Android device. By default, the phone should connect as an MTP device, which lets it act as a media storage device much like a normal USB drive. If not, swipe down from the notification bar at the top, and tap on the USB icon with the description that says “Connected as a media device.” You will then see a few options. Make sure “Media Device (MTP)” is checked.
-
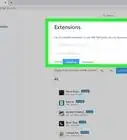
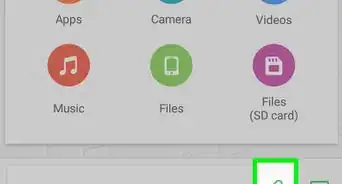
5View the expanded storage. Now that you’ve set up the USB connection, you can access the contents of both the internal and external storage of your Android phone. To view the content, head to My Computer on Windows, or the drive icons that appear on the Mac desktop after you plug the device in.
- Select the SD Card folder, or the internal storage, depending on which storage you would like to store your files. For phones with no microSD slot, you will only be able to use the internal storage for this purpose.
-
6Copy content. Open in another window the directory on your computer that contains the files you wish to copy over to your Android device. Select the files by holding the CTRL key on windows (the Command on Mac), and left-clicking on the files you want to copy over.
- Press CTRL+C, or CMD+C, to copy the files. Click on the window of your phone’s storage, and press CTRL+V, or CMD+V, to copy the files over.
- To retrieve files from the phone and transfer it over to a computer, do the same thing, except that you copy the files from storage on the phone and transfer it to a location on a computer.
- There you have it. A simple way to keep files handy in case there is no Internet for cloud storage, or if you simply want to carry some lightweight data with you to transfer wherever you go.


Advertisement
About This Article
Advertisement