This article was co-authored by wikiHow staff writer, Nicole Levine, MFA. Nicole Levine is a Technology Writer and Editor for wikiHow. She has more than 20 years of experience creating technical documentation and leading support teams at major web hosting and software companies. Nicole also holds an MFA in Creative Writing from Portland State University and teaches composition, fiction-writing, and zine-making at various institutions.
This article has been viewed 25,425 times.
Learn more...
You can use your Android tablet to take quick, convenient notes on the go. Whether you use the on-screen keyboard, voice recording, or your stylus (if supported), your tablet can really make your pen-and-paper notebook look like a relic of the past. To get started, you'll need a note-taking app. Google Keep is a great basic option that's totally free. Another option is Evernote, which is free but also has a paid upgrade option. This wikiHow teaches you how to start taking notes on your Android tablet.
Steps
Google Keep
-
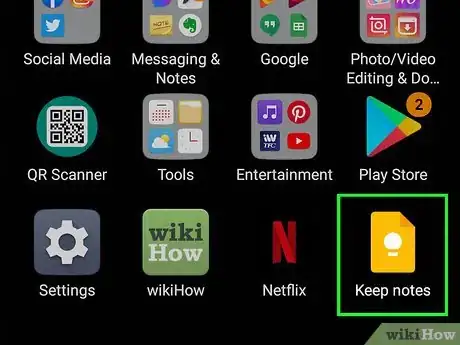
1Open Google Keep. Keep is Google's official, cloud-based note-taking app. Its icon is a yellow sheet of paper with a white light bulb. You can download it for free from the Play Store if you don't already have it.
- Google Keep is a great option for basic notes, but lacks some features of Evernote—namely the ability to maintain separate "Notebooks." If you need something that's more similar to a school binder, Evernote may be a better option for you.
-
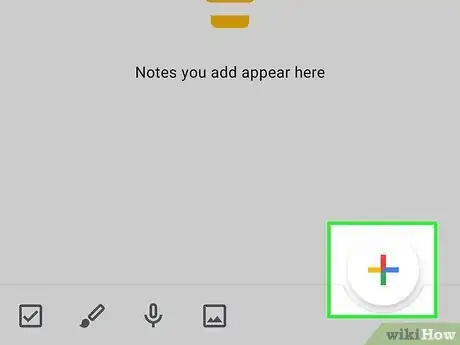
2Tap + to take a new note. It's at the bottom-right corner.Advertisement
-
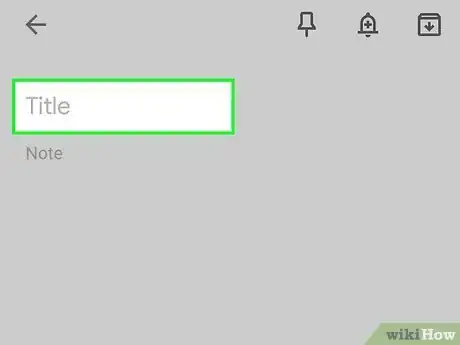
3Enter a title. If you're taking notes for school or work, it'll be helpful to give your notes relevant titles. Tap the "Title" field at the top of the note to enter something that will help you find what you're looking for later.
-
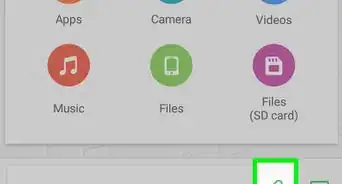
4Tap the + to bring up the note options. It's at the bottom-left corner of the note. If you just want to type your note with regular text, tap the screen to pop open the keyboard and start typing. But you also have plenty of alternatives on this menu:
- Take photo lets you snap a photo with your camera and add it to the note.[1]
- Choose image allows you to select an image from your tablet.
-
Drawing lets you write or draw with your finger (or stylus, if supported by your tablet). Your drawing/writing tools are at the bottom of the screen—you can select the pen, eraser, marker, or highlighter.
- If you write notes by hand, this won't convert it to text—it'll remain handwriting. If you want to be able to convert your handwritten notes to text, you can take photos of paper, a whiteboard, or any other writing using the app using the Take Photo feature.[2] After taking the photo, tap it, tap the three dots at the top-right, and select Grab Image Text to extract the text from the image and add it to the note.
- Recording is for recording notes with your voice. As you speak, your words will be transcribed. You'll also be able to play the recording back by tapping the play button at the bottom of the note.
- Checkboxes inserts checkboxes at the beginning of each line.
-
5Tap the back button to return to the main Keep screen. You may have to tap it several times. The main Keep screen is where you'll find all of your notes.
-
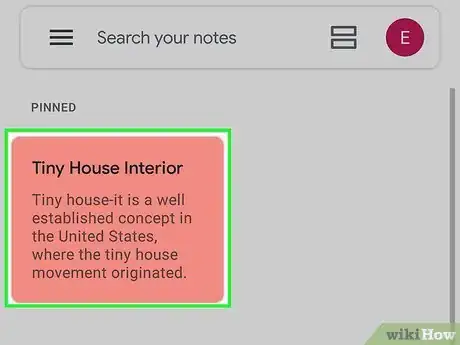
6Organize your notes. Your notes appear like Post-its on the main Keep screen. You can use Keep's tools to keep your notes in order:
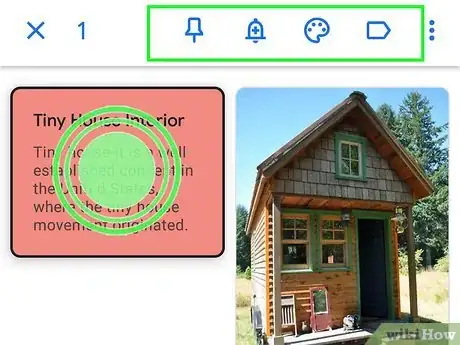
- Tap and hold a note to select it. You can select more than one note at a time.
- Tap the palette at the top to open the color palette, and select a color to apply to the selected note(s).
- To pin a note to the top, select a note or multiple notes, and then tap the pushpin.
- To apply a label to the selected note(s), tap the label icon at the top, and then select a label. You can create a new label by typing it into the "Enter label name" field.
- To move notes around the screen, tap and hold a note, and then drag it to another location.
- You can also use the icons at the bottom of the screen to create quick notes of certain types—tap the checkbox to create a quick checklist, the pencil to write notes with your finger or stylus, etc.
- To search for a specific note, tap the search bar at the top and enter your search criteria.
-
7Tap any note to open it for viewing and editing. You can view or edit your notes at any time. As you make changes, they'll automatically be saved—no need to hit a Save button.
Evernote
-
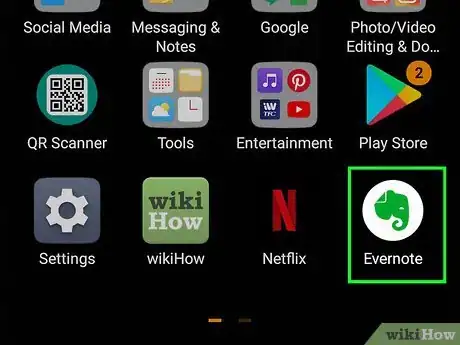
1Open Evernote on your Android tablet. Evernote is a popular note-taking app and organizer available for many platforms, including your Android tablet. It's icon is white with a green elephant. If you don't have the app, you can download it for free from the Play Store.
-
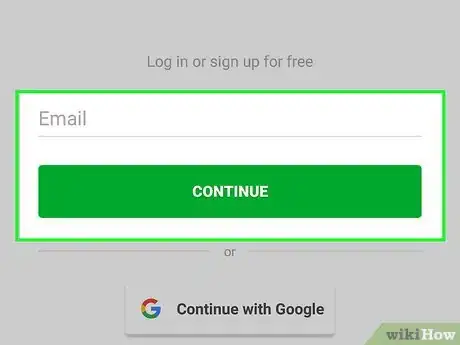
2Sign in or create an account. Evernote saves all of your notes in the cloud, which means you'll need an account to use the service. The first time you open the app, you'll be asked to sign in or create an account.
- Tap Sign in with Google to quickly create an account linked to your Google account. That's one less password you'll need to memorize! Follow the on-screen instructions to create your account.
- To sign up with your email address instead, enter it into the field, tap Continue, and then follow the on-screen instructions to create your account.
- You'll be prompted to sign up for a free trial of Evernote Premium, which has extra features like 10GB of uploads per month, offline notebooks, and syncing to all devices. This is optional—if you don't want to sign up, just tap the X to close the ad.
- After signing up, you'll be prompted to choose a type of note to create. You'll only see this particular screen once, so tap Blank for now, tap the checkmark at the top-left corner, and then tap the back button to go to the main screen before you continue.
-
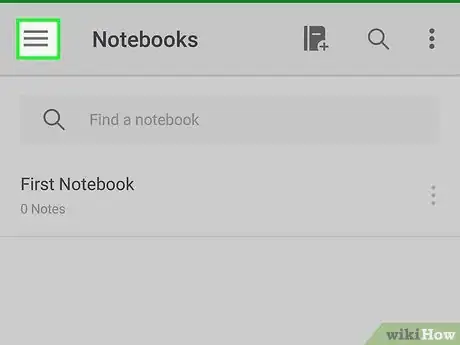
3Tap the navigation menu ☰. It's the three horizontal bars at the bottom-left corner of Evernote.[3] This is where you'll find the following:
- All Notes is where you can view all of your notes at once.
- Shortcuts is where you'll find notes you've starred for easy access.
- Notebooks is a list of virtual notebooks where you can store your notes. This helps keep your notes organized. For example, if you're taking school notes, you can create separate notebooks for each class.
- Shared with Me is where you'll find notes shared from other Evernote users.
- Tags are another option for organizing your notes.
- Tap outside of the menu if you'd like to close it.
-
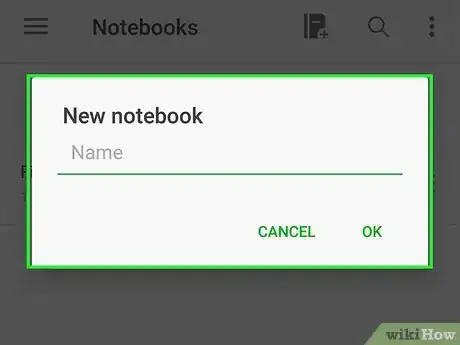
4Create a new notebook. To set up a new notebook for your notes:
- Tap the three-line menu and select Notebooks.
- Tap New notebook.
- Enter a name and tap Create.
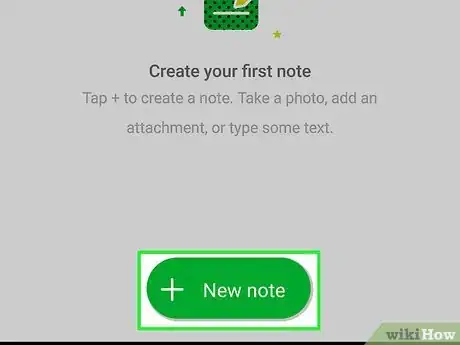
- This takes you to your new notebook, which currently has no notes.
-
5Tap + New note to create a new note. Now that you've opened your new notebook, this creates your first blank note.
- You can create notes from templates if you don't want to create a blank note. To do this, tap the up-arrow to the right of the New Note button.
- If you have handwritten notes in a notebook, on a whiteboard, or anywhere else, and you'd like to insert it as text in Evernote that you can search and edit, you can use Evernote's scanner to do so. Instead of tapping New Note, tap the up-arrow to its right, select Take a photo or scan a document, and scan the note(s).[4] Make sure to choose JPG and not PDF, as only JPGs can be indexed for searching. For best results, stick to clear handwriting.
-
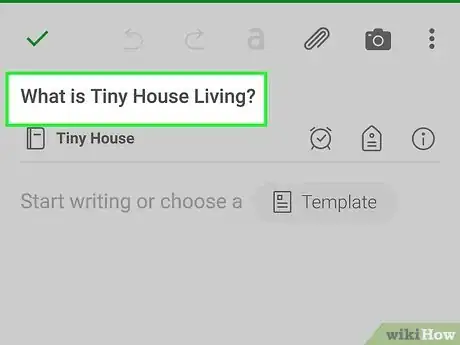
6Enter a title. If you're taking notes for school or work, it'll be helpful to give your notes relevant titles. Tap the "Title" field at the top of the note to enter something that will help you find what you're looking for later.
-
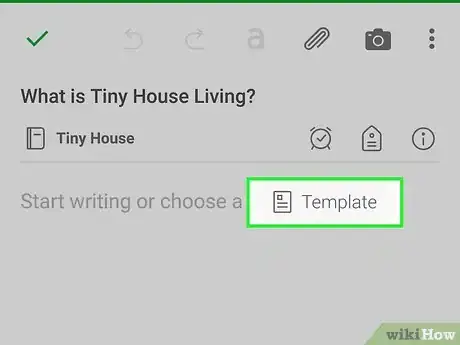
7Tap Template to choose a template. This is optional, but can be helpful for organizing your thoughts. Check out the templates in the list and select one if you're interested, or tap Cancel to return to your blank note.
-
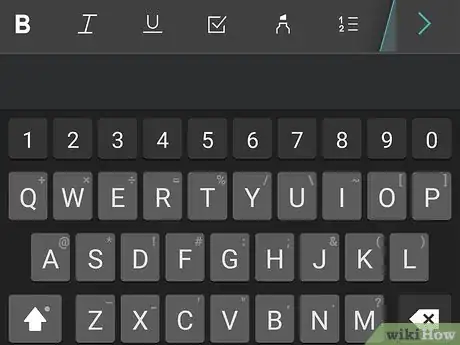
8Take notes with the keyboard. If you want to type your notes, tap the typing area to spring open the keyboard. You can use the different font controls running along the bottom to customize the look of the text.
- Tap the Aa menu to choose a font face, size, color, and various other formatting options.
- To insert a list, tap the list icon in the icon row at the bottom of the note.
-
9Tap + to open the Insert menu. It's at the bottom-left corner.
-
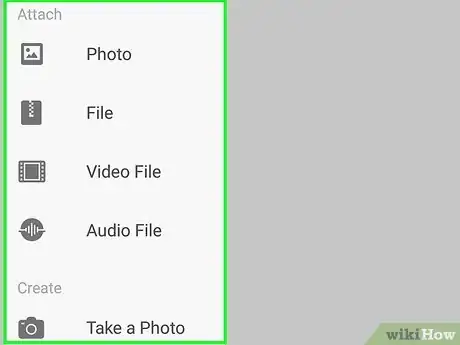
10Insert a note-taking item. If you don’t want to just type your notes in with the keyboard, try some of these helpful options:
- Camera and Image let you take and insert photos into the note, respectively.
- Table lets you enter data into a table with cells and rows.
- Audio lets you record a note with your microphone. After recording, tap the square to stop. You can listen to the recording by tapping it in the note.
- Code Block lets you insert strings of code in a different font than the rest of your note.
- Checkbox inserts checkboxes at the beginning of each line so you can create a checklist.
- Attachment lets you attach a file from your tablet.
- Link can be used to hyperlink any website.
- Divider places a divider to separate areas of the note.
- Sketch is the option you'll need if you want to handwrite your notes with a stylus (if your tablet supports it) or your finger on the screen. You can tap the curved arrow at the top-left to undo the last action at any time. When you're done, tap Done at the top-right to save your sketch or handwriting to the note. This will not convert your handwriting to on-screen text—it will remain as handwriting.
-
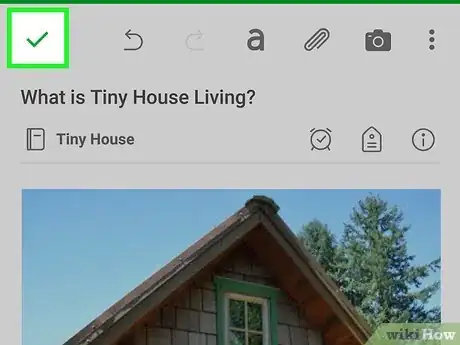
11Tap the checkmark to save your note. It's at the top-left corner of the screen.
- After saving your note, you can edit it again by tapping the Edit button at the bottom of the note.
-
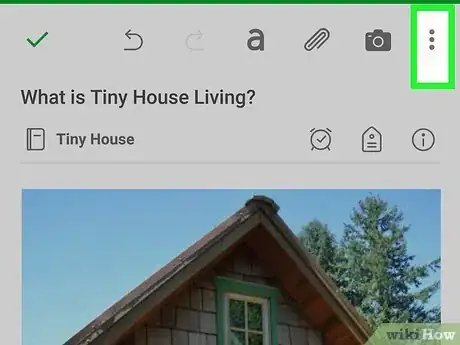
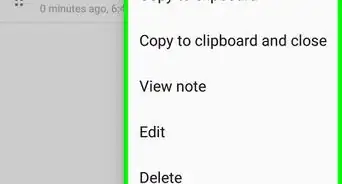
12Tap the three dots to view other options … . It's at the top-right corner of the note. This is where you'll find more general note options for organizing and labeling your notes, including:
- Add tag lets you add descriptive keyword tags to your notes so you can keep them organized.
- Add reminder creates an alert at a certain time.
- Add to shortcuts creates a link to that note in the Shortcuts section of the navigation menu. Use this on notes you reference a lot.
- You can use Move note to move the note to a different notebook, or Duplicate note to create a second copy of the note.
- Tap Delete note at the bottom to delete the note.
References
About This Article
1. Install a note-taking app like Google Keep or Evernote.
2. Create a new note.
3. Insert photos, attachments, checklists, and drawings.
4. Record your voice and attach it to the note.
5. Organize your notes with tags, labels, and/or notebooks.
