This article was co-authored by wikiHow staff writer, Cory Stillman. Cory Stillman is a Technology Writer for wikiHow. Cory has experience writing about Film and TV for several online publications, including Screen Rant and Film Cred. He earned a degree in Film and Media Studies with a minor in Creative Writing and certificates in Global Studies and Children’s Literature from the University of Pittsburgh.
The wikiHow Tech Team also followed the article's instructions and verified that they work.
This article has been viewed 17,615 times.
Learn more...
If you're trying to shorten a YouTube video without editing software, you've come to the right place. This wikiHow article will teach you how to trim YouTube videos in Microsoft PowerPoint. It's a quick and easy way to shorten video clips from the popular site and offers a nice shortcut if you're looking to add a YouTube video to a PowerPoint presentation too. We will walk you through all the ways to shorten a YouTube video using Microsoft PowerPoint.
Steps
Shortening Videos With an Internet Connection
-
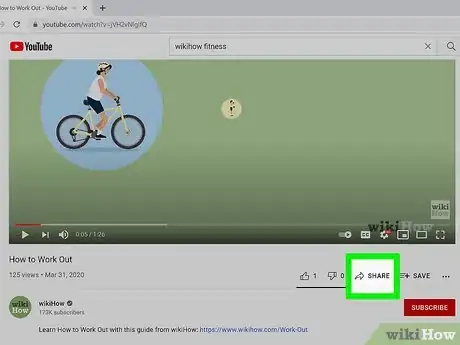
1Find your desired video and click "Share." The "Share" icon is indicated by an arrow, and sits right next to the thumbs-up and thumbs-down icons just beneath your YouTube video.
- No matter where you come across the YouTube video you want to edit, be sure to pull the video up and follow these steps on your desktop, not your mobile device.
-
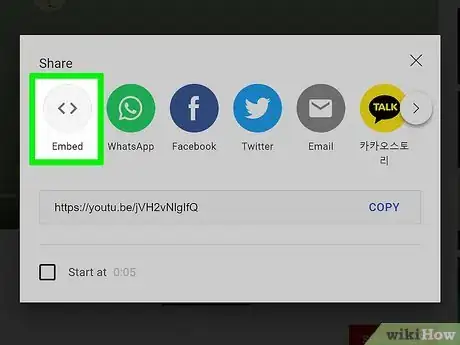
2Click "Embed." It is the leftmost option, and is represented by a greater-than-sign and a less-than-sign pointing away from one another.Advertisement
-
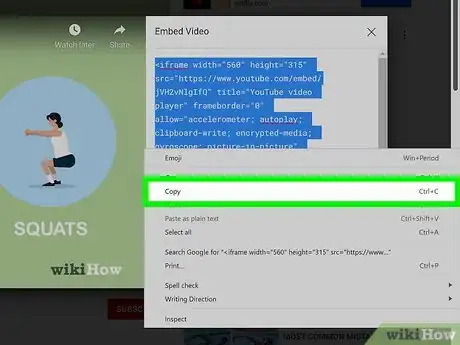
3Copy the entire string of HTML text. Clicking "Embed" pulls up a large body of HTML. Copy the entire text to your device's clipboard.
- Be sure to copy the HTML. Do not copy the link to the YouTube video.
-
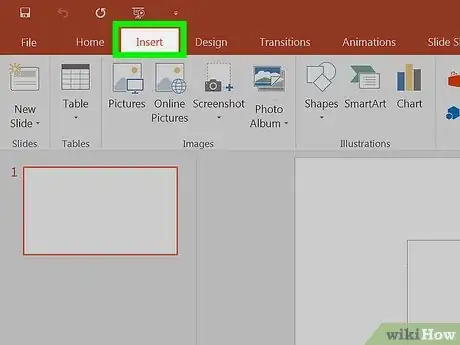
4Open Microsoft PowerPoint and go to the "Insert" tab. It is the third option from the left, just next to the "Home" tab.
- The ordering of the toolbar tabs atop your screen may vary slightly from one version of Microsoft PowerPoint to another.
-
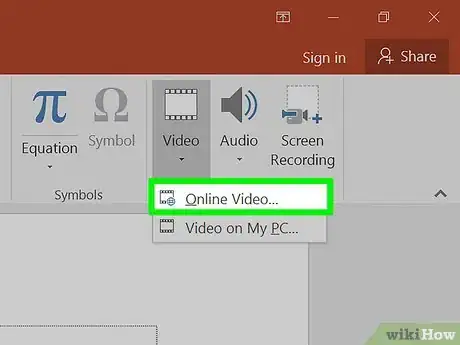
5Click "Video" and then "Online Video." Find the "Video" tab on the far end of the "Insert" toolbar. Click on it, and then choose "Online Video" from the drop-down menu.
-
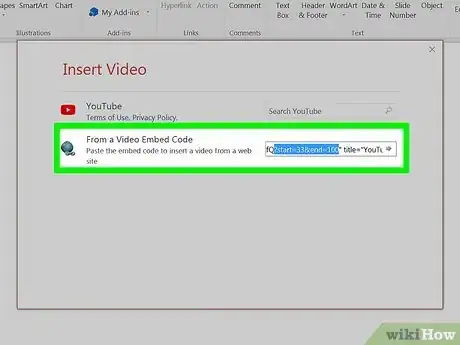
6Paste the HTML code into the "From a Video Embed Code" field. PowerPoint offers two methods for importing videos from the web. You can search YouTube directly via the "Search YouTube" field, but we want to embed our copied HTML code. Paste it into the bottom field, but do not click "Enter" on your keyboard just yet. [1]
- If you want to search for your video directly in PowerPoint, simply type its title or relevant keywords into the search field. You may also decide to use this field to look for other relevant videos should your presentation call for them.
-
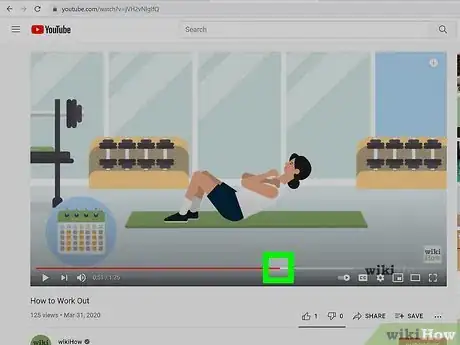
7Determine your desired start and end point. You likely already have these timestamps in mind, but if not, use the YouTube video scrubber to determine where you would like to begin and end the video.
-
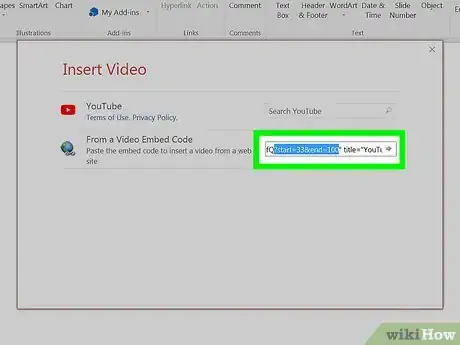
8Edit the HTML code using the format end=__&start=__. Place the text immediately after the URL, towards the beginning of your HTML code. After both "end" and "start," fill in your desired values. [2]
- The HTML code only interprets positive integers, and measures the video length in terms of seconds. If you want your video to start at 0:20 and end at 6:00, enter "end=20&start=360."
- Be sure to add the text inside the quotation marks framing the URL.
-
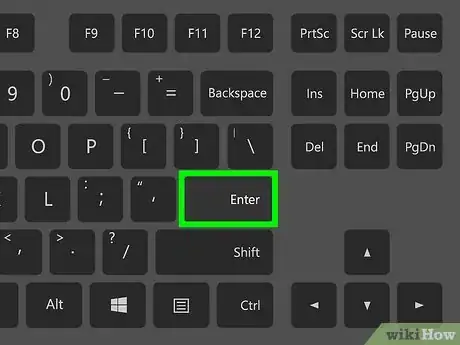
9Hit "Enter" on your keyboard. Your video will then automatically embed into your presentation with your desired parameters applied.
- This method is the easiest way to trim videos for your PowerPoint presentations, but does not allow you to save an edited version of the video. To do so, you must follow the instructions for shortening a video without an internet connection.
Shortening Videos Without an Internet Connection
-
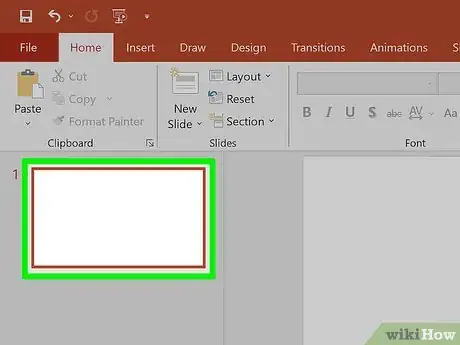
1Open a slide in your PowerPoint presentation. Make sure it is the slide in which you want to place your YouTube video.
-
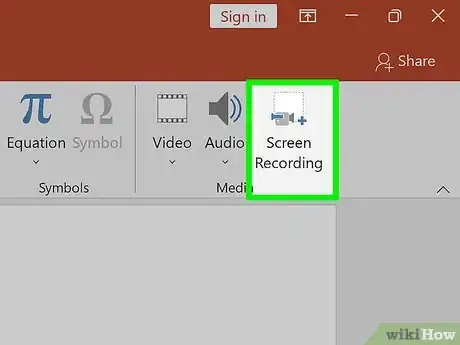
2Go to the "Insert" tab and click "Screen Recording." It should be the furthest option to the right, represented by a small video camera and a box. Your computer will then display an overlay for screen recording.
- The order of the icons may differ across different iterations of Microsoft PowerPoint.
-
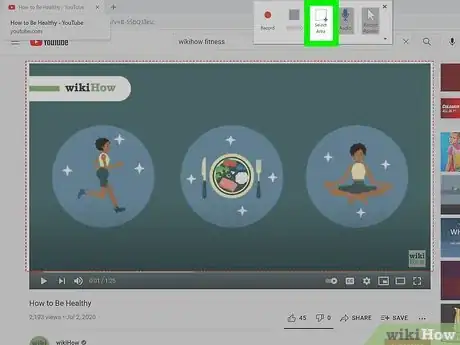
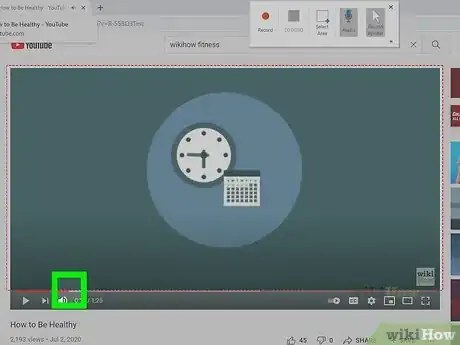
3Open your desired YouTube video and click "Select Area" on the overlay's control menu. Your computer will then display a small cross-haired cursor. Click on it and drag it to create a box around the video.
- PowerPoint will record whatever is inside the box, so be sure to fit it as tightly around your video as possible.
- PowerPoint will automatically record your screen's audio, as well as your cursor if it is within view. To change these settings, simply deselect them on the overlay's control panel.
-
4Determine your desired start point. Prepare to play the video from wherever you would like it to begin. If you want to start the video from the beginning, simply allow it to play normally.
-
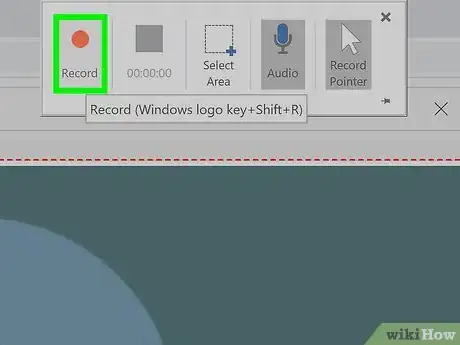
5Click "Record." When you have your desired start point ready, click "Record" and play the video.
- You may click "Pause" at any time to stop the recording temporarily. Remember to pause the YouTube video as well, or it will jump when you play your recording back.
-
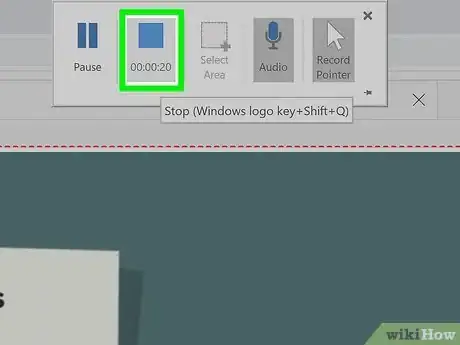
6Click "Stop" when the video reaches your desired end point. This will end your recording.
-
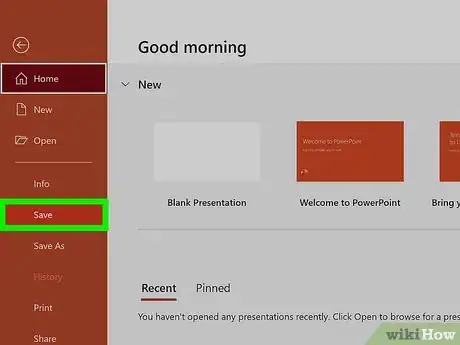
7Save your PowerPoint presentation. Click "File" and then "Save" to save your PowerPoint. Your recording will now be embedded in your intended slide.
- You can save your video separately by opening the PowerPoint in your File Explorer and changing its file extension from ".pptx" to ".zip" and double-clicking on the renamed file. This will open a new File Explorer window listing all of your presentation's content. The edited video can be found under "media." [3]
