wikiHow is a “wiki,” similar to Wikipedia, which means that many of our articles are co-written by multiple authors. To create this article, 12 people, some anonymous, worked to edit and improve it over time.
This article has been viewed 132,154 times.
Learn more...
Remote Desktop is a Windows service that allows users to connect to a host computer from a different location. This allows users to access information stored on a separate computer from any place that allows them to log on to the Remote Desktop application. This has many practical applications in business, but also opens up some obvious security issues. These issues can be remedied by learning how to make a secure Remote Desktop Connection as safe for your needs as possible.
Steps
-
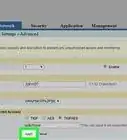
1Limit users who can log on to the host computer. Go to the host computer's system properties and select the Remote tab. If Remote Desktop is set up, the box that reads "Allow Users to Connect Remotely" should be checked. If not, check it now. Click the Select Remote Users button, and add which groups of users that can have access to the computer.
- In most versions of Windows, this will still allow users in the administrator group to access the host computer. If you want to change that, go to the Run box in your Windows Start Menu and enter
-
2%SystemRoot%\system32\secpol.msc /sAdvertisement
-
3Expand the Local Policies tree and select the folder titled User Rights Assignment. Go to the "Allow log on through Terminal Services" option and remove the administrators selection from the local security settings screen. If you want to allow a specific administrator to access the Remote Desktop Connection, you can always add them through the previous step.
-
4Set the number of password attempts until the user is locked out. While still in the local security settings section, expand the Account Policies tree and choose the Account Lockout Policy folder. This folder has three settings that you can alter--Account Lockout Duration, Account Lockout Threshold, and Reset Account Locked After. The Account Lockout Threshold option is the amount of times a person can enter the wrong password before being locked out. The Account Lockout Duration and the Reset Account options allow you to set how long a user will be locked out from the system after passing the number in the Account Lockout Threshold section. Change these to whatever is appropriate for your system.
- In order to manually unlock a user who has been locked out, go to Administrative Tools in the Start Menu and select Computer Management. In the Local Users and Groups setting, you can click on an individual user and restore their access by un-checking the Account is Disable box.
-
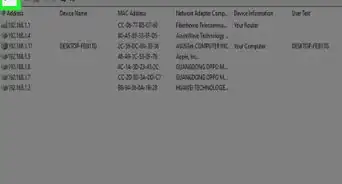
5Allow only certain IP addresses to access the Remote Desktop. IP addresses are a unique series of numbers that identifies a computer, and through Windows it is possible to limit the Remote Desktop Connection to only known and trusted IP addresses. To do so, navigate to your Windows Firewall settings through the Windows Control Panel. In the Firewall options, select the Exceptions tab and highlight Remote Desktop. Click the edit button followed by the Change Scope button.
- This screen gives you the option to limit access to a local network, or create a custom list of IP addresses that are allowed access. Enter the IP addresses and click OK. Your Remote Desktop is now secure.


Warnings
- As with any computer security alteration, there is no way to make anything 100% secure. If you are dealing with incredibly important data, you may want to invest in more powerful firewalls or a commercial remote desktop application tailored to your business. Always research the functions and security that you need and compare it to the applications you have available before making any security decision.⧼thumbs_response⧽