X
wikiHow is a “wiki,” similar to Wikipedia, which means that many of our articles are co-written by multiple authors. To create this article, volunteer authors worked to edit and improve it over time.
The wikiHow Tech Team also followed the article's instructions and verified that they work.
This article has been viewed 109,354 times.
Learn more...
This article will show you how to change your network profile from public to private in Windows 10.
Steps
Method 1
Method 1 of 2:
Using Settings (Version 1709 and Newer)
-
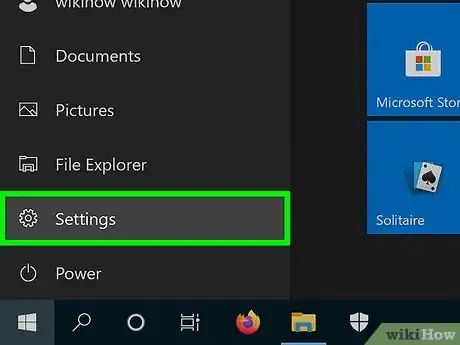
1
-
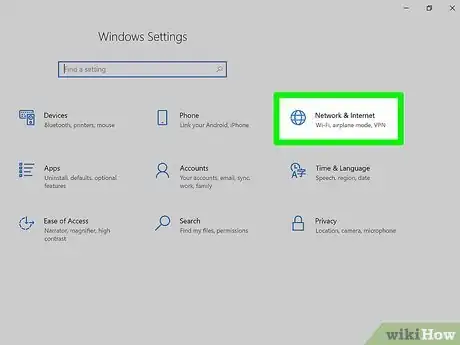
2Go to the Network & Internet category.Advertisement
-
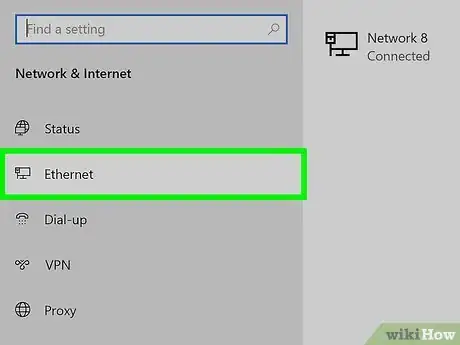
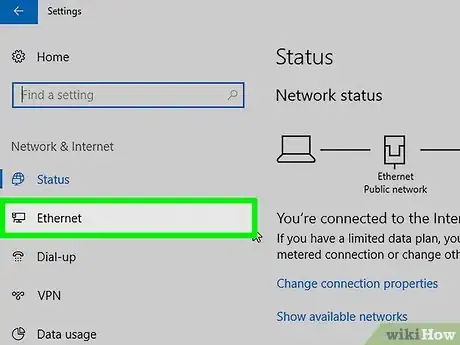
3Go to your network type. Click either Wi-Fi or Ethernet from the left pane.
-
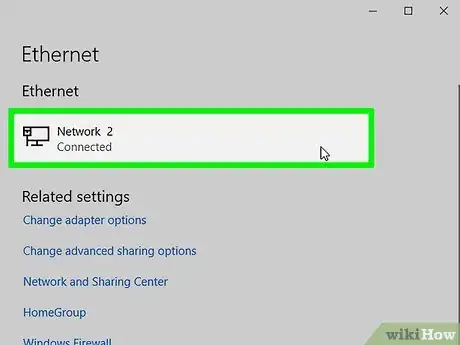
4Open the properties of the current connection. Click the name of the current network box in the center portion of the window.
-
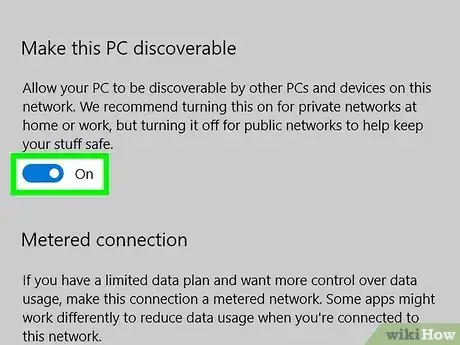
5Change the network profile to private. Click the "Private" radio button under the "Network profile" header.
Advertisement
Method 2
Method 2 of 2:
Using Settings (Version 1703 and Older)
Community Q&A
-
QuestionHow do I uninstall private WiFi?
 Community AnswerOn windows 10, click on network icon on the lower-right corner of the screen. Click "Network Settings", then "Manage Wi-Fi Settings". Select the network you want to delete, and click "Forget". Your wireless network is deleted.
 -
QuestionHow can I make private the internet WiFi?
 Joseph PurcellCommunity AnswerSelect Settings > Network & internet > Wi-Fi. On the Wi-Fi settings screen, select Manage known networks, and then select the Wi-Fi network you want to change. On the Wi-Fi network screen, under Network profile type, select Public (Recommended) or Private.
Advertisement
Things You'll Need
- Device running Windows 10
About This Article
Advertisement
