X
wikiHow is a “wiki,” similar to Wikipedia, which means that many of our articles are co-written by multiple authors. To create this article, volunteer authors worked to edit and improve it over time.
This article has been viewed 78,254 times.
Learn more...
All-in-One and Three-in-One printers allow you to print, scan, copy and even fax. You will need to connect your printer correctly to use the scanning function. The Canon MX410 can produce high-resolution scans to Windows and Apple computers or to USB devices.[1]
Steps
Part 1
Part 1 of 3:
Connecting the Scanner
-
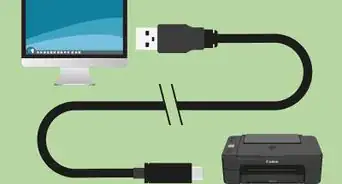
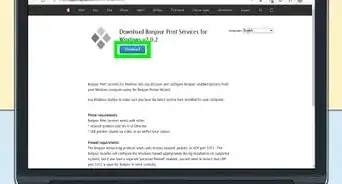
1Ensure that your multi-function machine is connected to your computer, the wall outlet and to the Internet. If you have a strong Wi-Fi connection, you may not need to use the HDMI cable that came with the Internet to connect the two devices
-
2Follow the installation prompts when you first connect it. Many computers will alert you that you have connected a new device, and they will help you install it.Advertisement
-
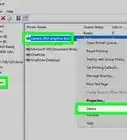
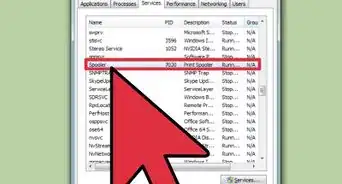
3Go to the System Preferences or Control Panel sections of your computer. This is usually accessible through the Applications or My Computer section. Choose “Printers and Scanners” or “Devices” to add a device on your own.
-
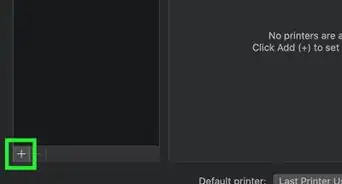
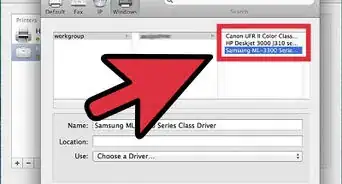
4Click “Add Printer/Scanner.” This may also be truncated in the form of a plus button. Once clicked, allow the computer to register any devices.
-
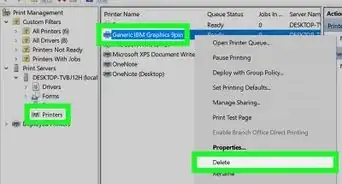
5Click on the Canon MX410 Scanner. Add the scanner to your list of available devices.


Advertisement
Part 2
Part 2 of 3:
Scanning to Computer on the MX410
-
1Go to your list of programs/applications. Double click the Canon MX410 to start the Quick Menu.
-
2Select the corner button or Main Menu. Then, choose to scan text or scan a photo from the list of options.[2]
- If the Canon printer just shows a small list of options, click on the side arrows to access the hidden options.
-
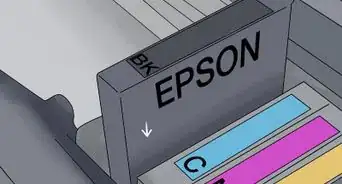
3Place your item in the document feeder or on the flattop. Then, select the source as either location.
-
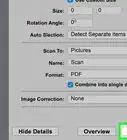
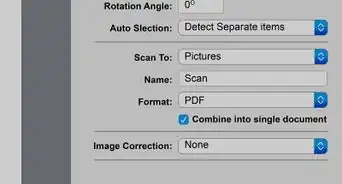
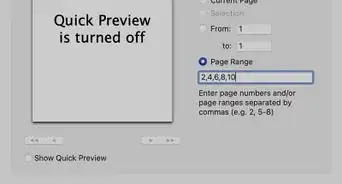
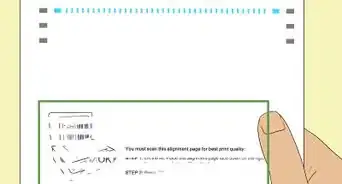
4Click the button to preview the scan. Adjust the scan resolution, save location and other items.
-
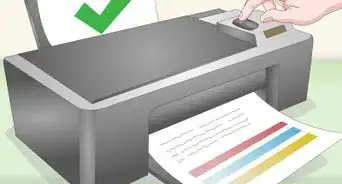
5Click “Scan.” It should scan the image or text document to your computer in the specified location.


Advertisement
Part 3
Part 3 of 3:
Scanning to USB on the MX410
-
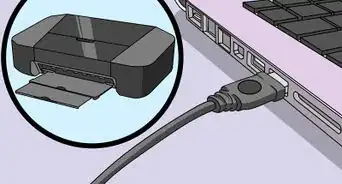
1Turn on your multi-function printer. Locate the area where you can plug in a USB directly to the machine.[3]
-
2Insert your USB drive.
-
3Place your photo or text on the flatbed and close the top. You can also use the document feeder for text.
-
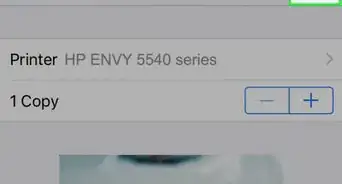
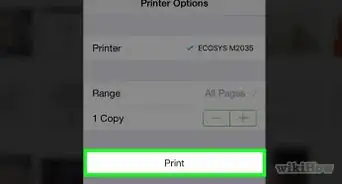
4Press the “Scan” button. Choose the option to scan to USB, rather than onto a connected computer.
-
5Adjust the options on the small printer screen. Then, press Enter to scan to your USB drive. Remove the drive once the scan has been completed.
-
6Test this function by inserting the USB drive into your computer and searching through the images or documents. It should show up in the main screen of your USB drive contents.


Advertisement
Community Q&A
-
QuestionCan I scan directly onto the connected PC instead of USB?
 Community AnswerYes, of course.
 -
QuestionWhat are reasons for scanned pictures being all blotchy black and white?
 Community AnswerYou may be letting too much light in when you are scanning the document. Make sure that you firmly press down the top of the scanner.
 -
QuestionWill I be able to place multiple scanned documents into one folder?Community AnswerYes, you can. Make sure you use MS Paint. This can only be done with a Windows computer.
Advertisement
Things You'll Need
- Computer
- USB drive
- HDMI cable
References
About This Article
Advertisement