This article was co-authored by wikiHow staff writer, Darlene Antonelli, MA. Darlene Antonelli is a Technology Writer and Editor for wikiHow. Darlene has experience teaching college courses, writing technology-related articles, and working hands-on in the technology field. She earned an MA in Writing from Rowan University in 2012 and wrote her thesis on online communities and the personalities curated in such communities.
The wikiHow Tech Team also followed the article's instructions and verified that they work.
This article has been viewed 34,544 times.
Learn more...
Is someone's Facebook cover photo catching your eye and making you want to download it to your own computer, phone, or tablet? The banner picture at the top of a profile page is publicly viewable, which makes it easy for anyone to download. This wikiHow article will teach you how to download and save anyone's cover photo on Facebook using a PC or Mac, and using the Facebook mobile app on an Android, iPhone, or iPad. We'll also show you how to upload a cover photo to your own Facebook profile.
Steps
Downloading a Cover Photo on a Computer
-
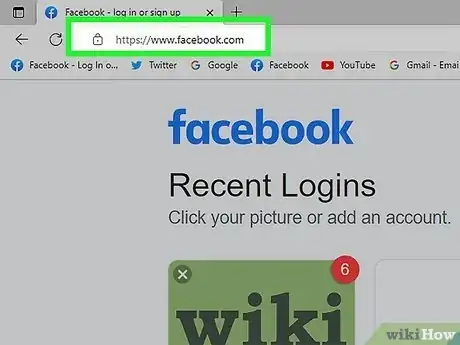
1Go to Facebook and log in. Visit https://www.facebook.com from any web browser, and sign in if you haven't already.
-
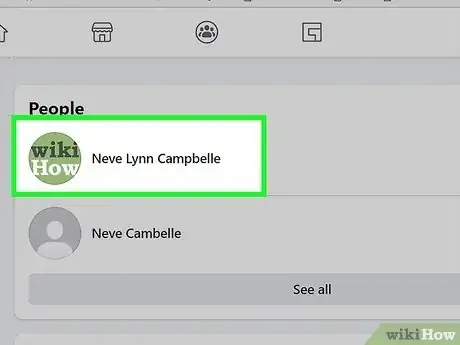
2Go to the profile with the cover photo you want to save. You can either browse for the profile in your News Feed or you can search for the profile by using the search bar in the top left corner of the page.Advertisement
-
3Click the cover photo to view the full picture. The cover photo is at the top of the page and will open in the image viewer.
-
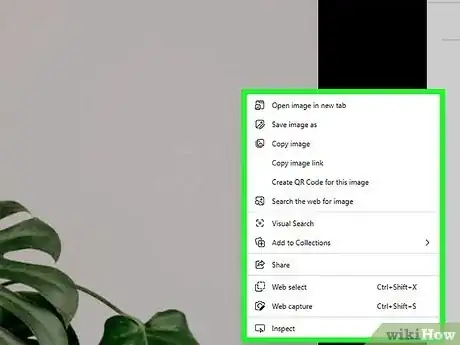
4Right-click the image. A menu will appear on your cursor.
-
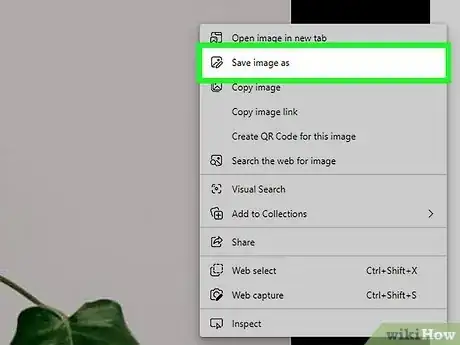
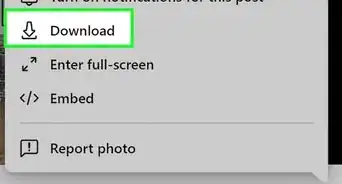
5Click Save image as…. Your file manager will open and prompt you to save the file.
- You can also use this method to save pictures from anywhere on Facebook.
-
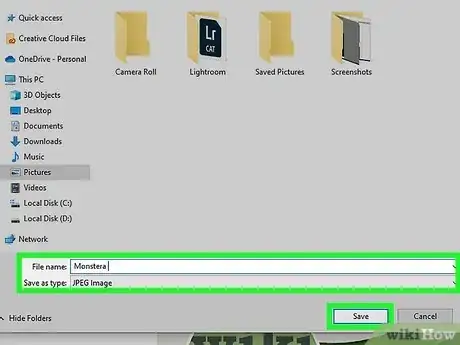
6Save the file. Select a location from your file manager, then click Save again to download and save the image.
- You'll be able to find this image in the location that you picked. The default location is the "Downloads" folder.
Downloading a Cover Photo on the Mobile App
-
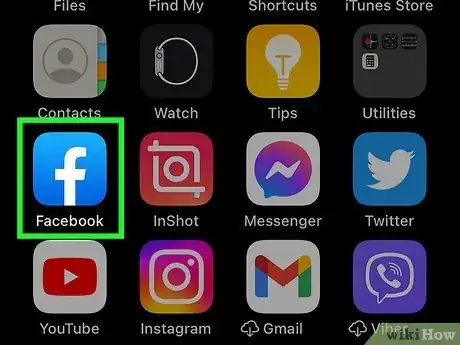
1Open Facebook on your Android, iPhone, or iPad. This app icon looks like a lowercase "f" on a blue background.
-
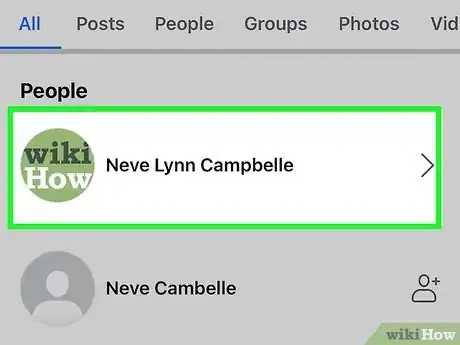
2Navigate to the profile with the cover photo you want to save. You can scroll down your News Feed to find that friend or you can tap the magnifying glass to search.
-
3Tap their cover photo. It's at the top of your screen and will open the image in a new page.
- Tap the screen again to remove the buttons, comments, captions, and any text from the photo.
-
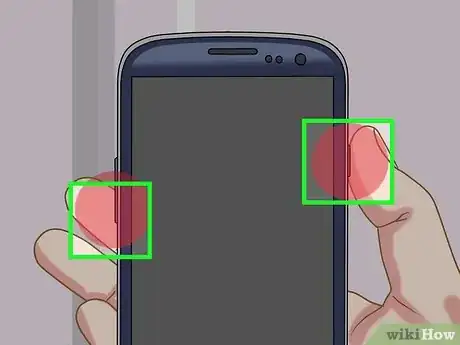
4Take a screenshot. There are lots of different ways to take a screenshot, but there are a few similarities.
- If you're using an iPhone without a Home button, press the Side button and the Volume Up buttons at the same time. iPhones with a Home button press either the Wake/Sleep button or the Side button and the Home button at the same time.
- If you're using an Android, press the Power button and the Volume Down button at the same time.
- The screenshot of the cover photo is located in your gallery or camera roll of your phone.
Uploading a Cover Photo on a Computer
-
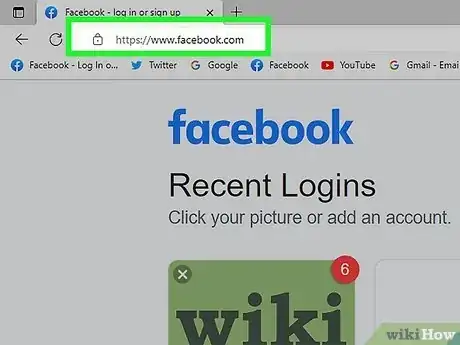
1Go to Facebook and log in. Visit Facebook’s home page from any web browser.
- You can't upload a group cover photo unless you're an admin of that group.[1]
-
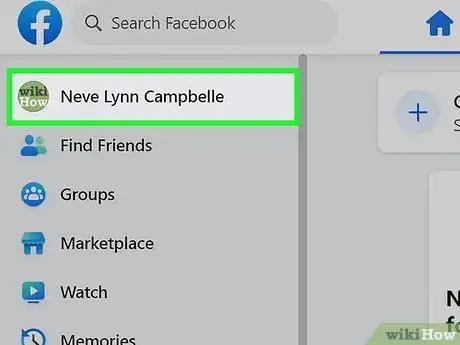
2Click your profile picture. You'll see this in the panel on the left side of the page or you can click your profile picture in the top right corner of your page and click your profile name.
-
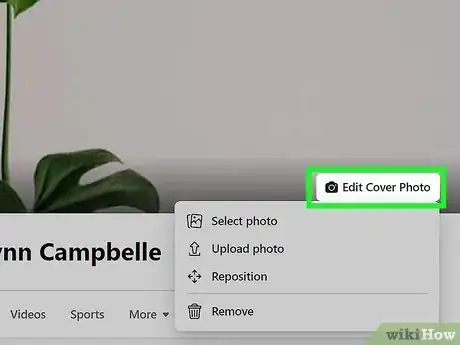
3Click Edit cover photo. A menu will drop down.
-
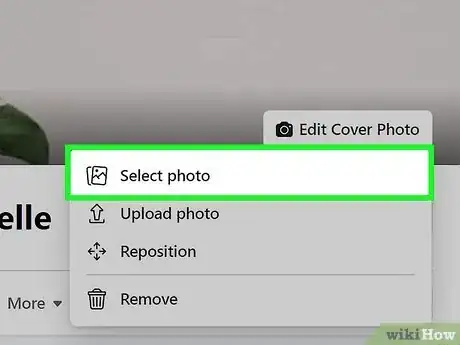
4Choose your photo's location. If the photo you want to use is already on Facebook, click Select Photo, but if the photo is on your local storage, click Upload Photo instead.
- Click a file to select it from your file manager if you decided to upload a photo. Click “Open” on the file manager window, and the selected image file will be uploaded to Facebook as your new cover photo.
-
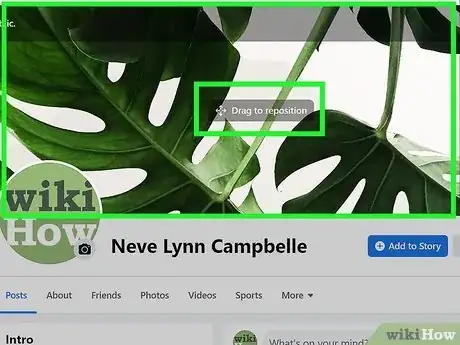
5Reposition the photo. Once uploaded, you can immediately see your new cover photo. You will be given an option to reposition your photo. Drag the photo to reposition it properly. Since the cover photo is horizontal, you have to ensure that the area covered can fit in the allocated cover photo box.
- The image has to be at least 720 pixels wide.[2]
-
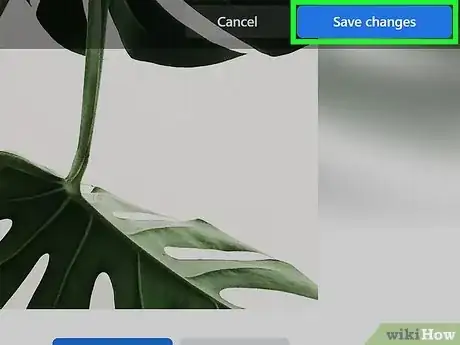
6Click Save Changes. You'll see this in the top right corner of the cover photo box. This will save the new cover photo you’ve uploaded. It will also be saved under your “Cover photos” album on Facebook.
- The feature to not share your update to the News Feed is only available on mobile. If you're using a web browser, you can find the update post and delete it.
Uploading a Cover Photo on the Mobile App
-
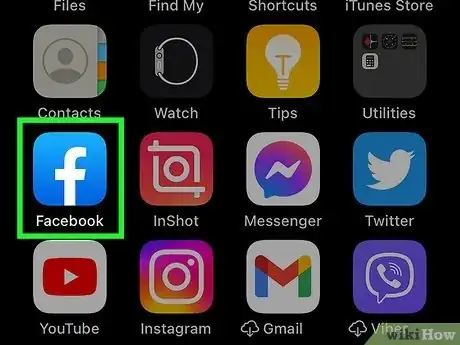
1Open Facebook on your Android, iPhone, or iPad. This app icon looks like a lowercase "f" on a blue background.
- You can either upload a new image from your local storage, or you can select one that's already on Facebook to change your cover photo.
-
2Tap the profile icon tab. It looks like a general profile icon and is usually in the center of the tabs that are near the top of your screen.
- This will take you to your profile.
-
3Tap your cover photo. A menu will pop up from the bottom of your screen.
-
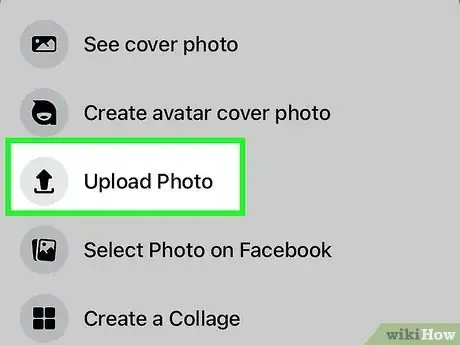
4Choose what you want to do. To use an existing photo that's on Facebook, tap Select photo on Facebook. If you want to open your storage and use a photo in your local storage, tap Upload photo instead.
- If you selected to upload a photo, tap the folder where the photo you want to be used as your new cover photo is located. Browse through your pictures, and tap the one you want to use to upload it.
-
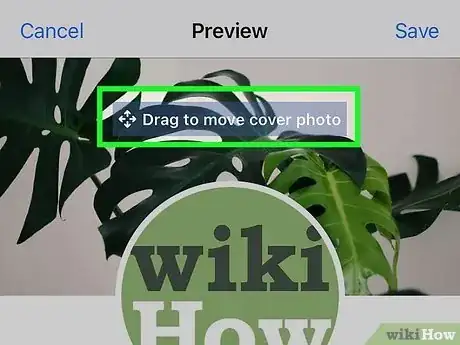
5Reposition the photo. Once it’s uploaded, you can immediately preview your new cover photo. You will be given an option to reposition your photo. Tap and drag the photo to reposition it properly. Since the cover photo is horizontal, you have to ensure that the area covered can fit in the allocated cover photo box.
-
6Tap Save. It's in the top right corner of the screen. This will save the new cover photo you’ve uploaded. It will also be saved under your “Cover photos” album on Facebook.[3]
- If you don't want to share the new cover photo in your News Feed, tap to uncheck the box next to Share your update to News Feed.
