X
This article was co-authored by wikiHow staff writer, Nicole Levine, MFA. Nicole Levine is a Technology Writer and Editor for wikiHow. She has more than 20 years of experience creating technical documentation and leading support teams at major web hosting and software companies. Nicole also holds an MFA in Creative Writing from Portland State University and teaches composition, fiction-writing, and zine-making at various institutions.
This article has been viewed 45,562 times.
Learn more...
This wikiHow teaches you how to upload high-quality photos to Facebook when you’re using a computer.
Steps
-
1Go to https://www.facebook.com in a web browser. If you’re not already signed in to your account, enter your login details to do so now.
-
2Click your username. It’s at the top of the screen toward the right edge. This opens your profile.Advertisement
-
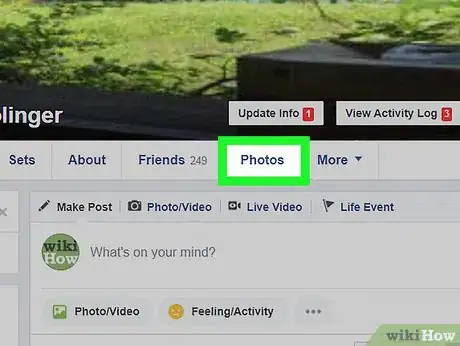
3Click Photos. It’s right below your cover image.
-
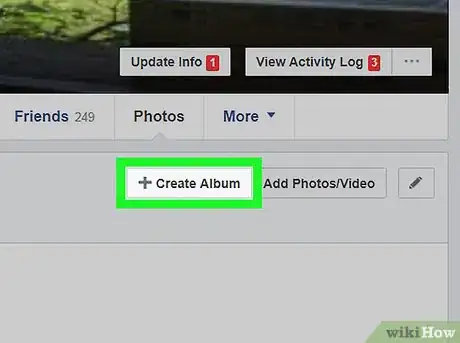
4Click + Create Album. It’s in the gray area above your existing photos. This opens your computer’s file browser.
-
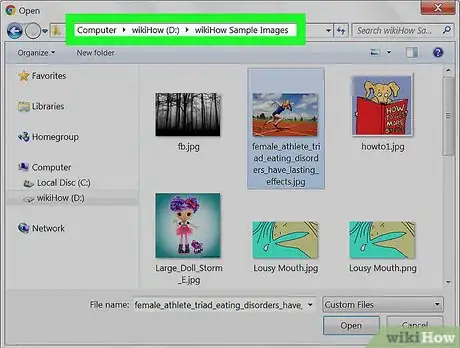
5Navigate to the folder containing your high-resolution photos.
-
6Select the photo(s) you want to upload. To select multiple photos, hold ⌘ Command (macOS) or Control (Windows) as you click each file.
-
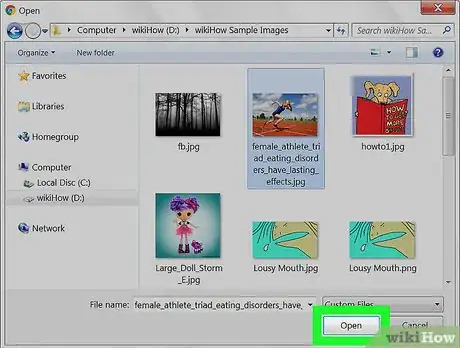
7Click Open. This shows a preview of the photos in the “Create Album” window.
-
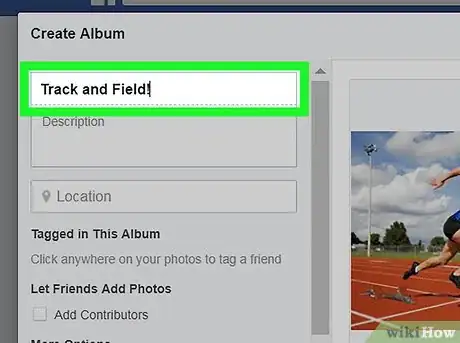
8Type a name and description for the album. This information goes into the boxes at the top-left corner of the window.
-
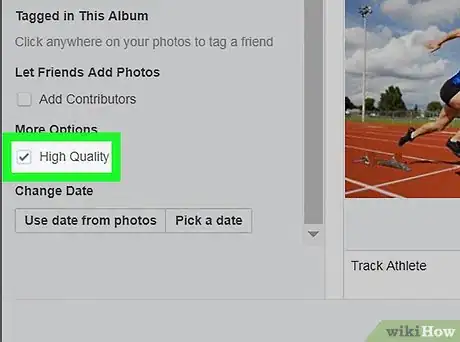
9Check the box next to “High Quality.” It’s under the “More Options” header in the left column.
-
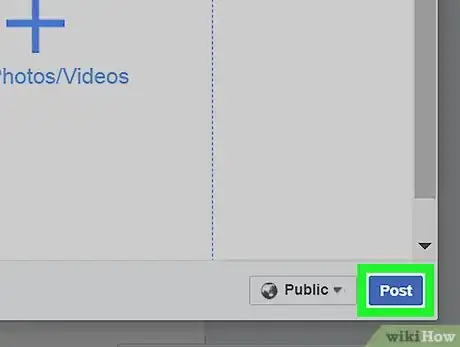
10Click Post. It’s at the bottom-right corner of the window. The selected photos will now be uploaded in a high-resolution format.
Advertisement
About This Article
Advertisement


