X
wikiHow is a “wiki,” similar to Wikipedia, which means that many of our articles are co-written by multiple authors. To create this article, 12 people, some anonymous, worked to edit and improve it over time.
This article has been viewed 57,676 times.
Learn more...
If you need to clear permissions or wipe a Chromebook clean before selling it, there are a couple different ways you can clean it out. If your Chromebook is managed by an Admin account, the Chromebook will need to be put into Developer Mode in order to wipe and re-enroll it. If you're using the Chromebook as a personal Chromebook, you can wipe it with a simple tool in the Settings menu.
Steps
Method 1
Method 1 of 2:
Managed Chromebooks
-
1Understand the process. If the Chromebook is managed by an enterprise account, such as in a school or workplace setting, you won't be able to reset the device unless you have administrator access. If you are the administrator, you can use this method to reset the device. If your Chromebook is for personal use, see the next section.
-
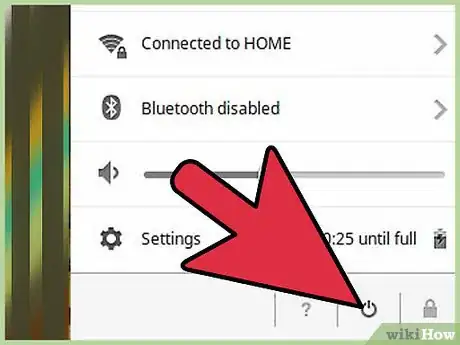
2Power off the Chromebook. Make sure that the power adapter isn't plugged in.Advertisement
-
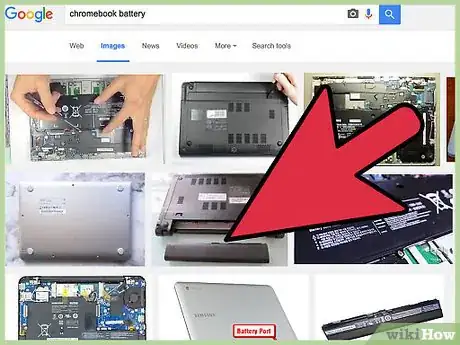
3Remove the battery and then reinsert it after several seconds. Take the battery out of the back of the laptop, and leave it out for at least five seconds. After five seconds have passed, put the battery back in.[1]
-
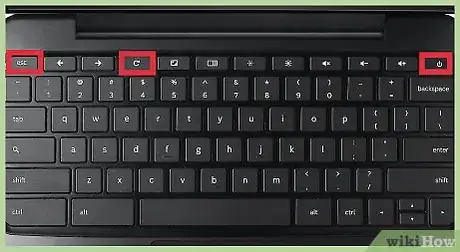
4Press and hold "Power"+"Esc"+"Refresh". The Refresh button looks like an arrow in a circle. Press and hold these three buttons until the "!" page appears.
-
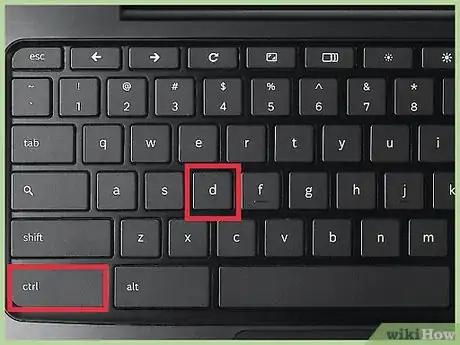
5Press .Ctrl+D on the page with the yellow "!". Press this on the screen that reads "Chrome OS is missing or damaged". Press ↵ Enter to confirm. This will restart the Chromebook and allow access Developer Mode.
- If "Forced re-enrollment" is enabled (which it is by default on newer versions of ChromeOS), you'll see a notice that you won't be able to enter Developer Mode. This process will still wipe the device, and you'll be forced to enroll the device before you can use it.
-
6Press .Ctrl+D again after rebooting. Do this on the screen that reads "OS verification is OFF". This will boot the Chromebook into Developer Mode, which will take about 15-20 minutes to complete.
-
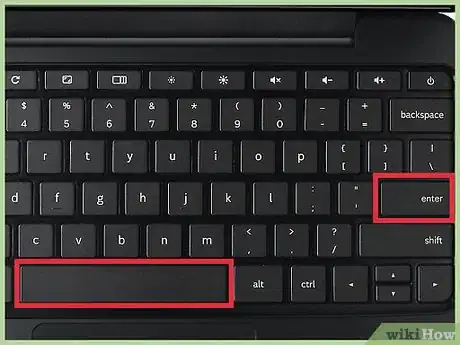
7Return to Verified Mode. After the wipe process is complete, you'll be prompted to reboot the Chromebook and enter Verified Mode. Press Space and then ↵ Enter to wipe the data.
-
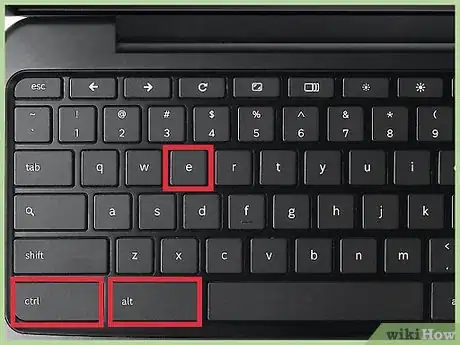
8Re-enroll the computer. Before any user signs in, including an administrator, you will need to enroll the computer. Press Ctrl+Alt+E at the Google sign-in screen. This will open the Enterprise sign-in page.
- If you log in with a regular user account before enrolling, you won't be able to enforce any of your group rules on that Chromebook, and will need to restart the process. If forced re-enrollment is enabled, you'll have to log into the enterprise account before you can sign in as a user.
-
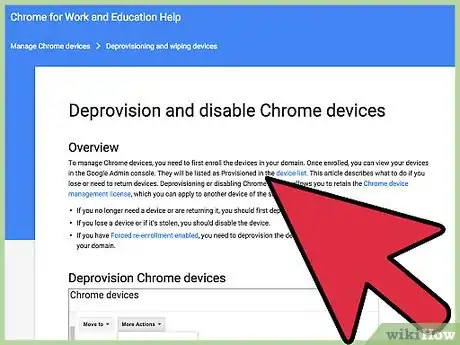
9Deprovision devices that your organization no longer uses. If you're planning on selling or donating some of your Chromebooks, make sure that you have deprovisioned them through the administrator dashboard. This will allow other people to sign into the Chromebook without having to enroll through your enterprise.[2]
- Log into your dashboard and select your Device List. Check the boxes next to the Chromebooks that you want to deprovision, click the "More Actions" button, and select "Deprovision".
Advertisement
Method 2
Method 2 of 2:
Personal Chromebooks
-
1Sign into the Chromebook. You can use the Powerwash tool to quickly wipe and reset the Chromebook.
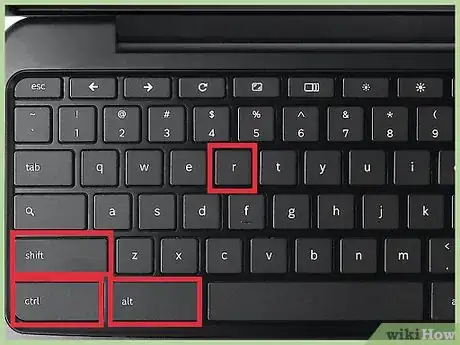
- If you can't sign into your Chromebook, press Ctrl+Alft+⇧ Shift+R while on the Login screen to start the Powerwash process. You won't be able to backup any data unless you are able to login.[3]
-
2Backup any important data. Any data that is stored locally on the Chromebook will be deleted when you reset it. Save all of your important data to Google Drive before proceeding with the reset process.
-
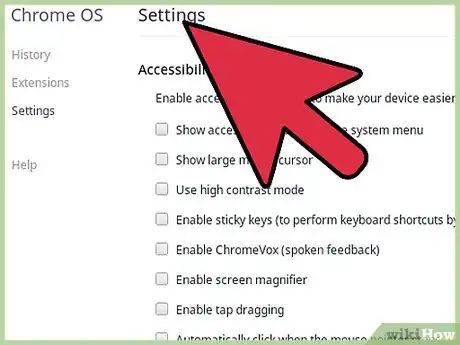
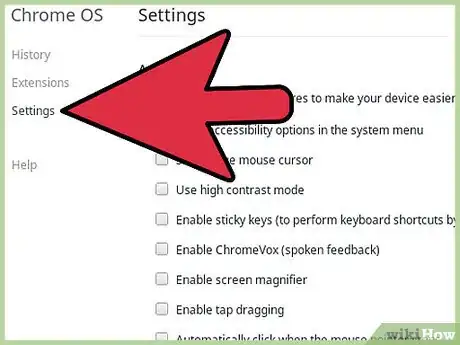
3Click your account picture and select "Settings". This will open the Chromebook Settings menu.
-
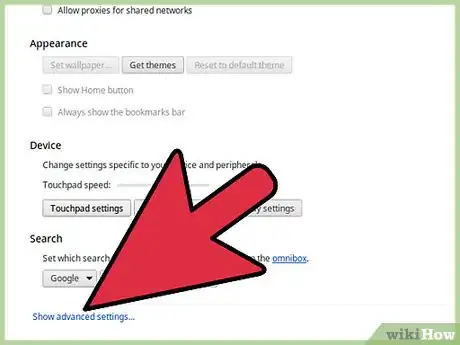
4Click the "Show advanced settings" option. Additional settings will be displayed.
-
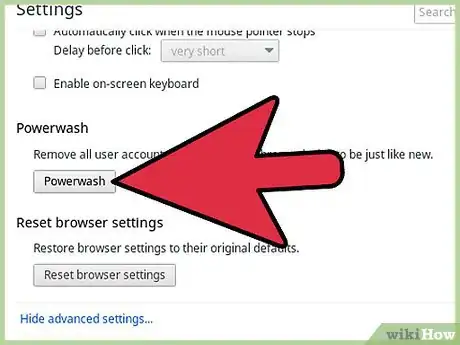
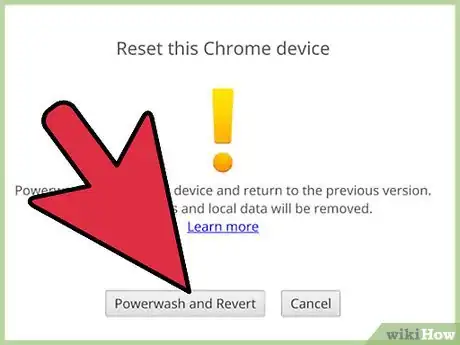
5Find the "Powerwash" section and click "Powerwash". Click "Restart" to confirm.
-
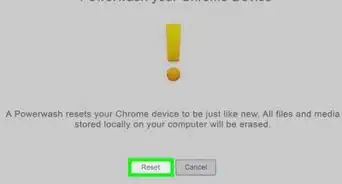
6Click "Reset" in the new window that appears. This is the last chance to back out of the reset process.
-
7Wait for the setup screen to appear. After a few moments, you'll be taken to the Chromebook's Setup screen. You can setup the Chromebook as if it was new and enter in your Google account information.
-
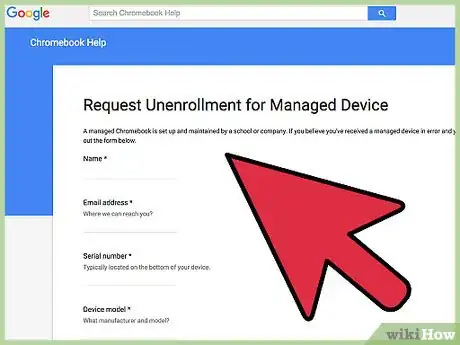
8Request for your device to be un-enrolled (if necessary). If you've picked up your Chromebook secondhand and are faced with the Enroll screen, you'll need to request for the device to be un-enrolled. This will remove the device's serial number from whatever organization is managing it, allowing you to use it as you wish. You can fill out the un-enrollment request form here.
Advertisement
Community Q&A
-
QuestionMy Lenovo Thinkpad T61 has lost the settings. Please tell me a way to reset factory data.
 Community AnswerSave all your files and shut down the computer. Remove the battery and the power supply for at least five seconds. Put back the battery and the power supply and switch on the computer. When the message, "To interrupt normal start up, press the blue ThinkVantage button," appears, push the ThinkVantage button. The Rescue and Recovery workspace appears. Click on Restore your system and follow the instruction on the screen.
 -
QuestionWhat if it doesn’t have a refresh button and you have already removed the battery?
 Community AnswerTry a hard reset only after other ways to fix the problem have failed. It will restart. When your Chromebook starts up, release Refresh. On tablets: For some Chromebooks, reset the hardware by pressing a special reset button, unplugging the power cable, or removing and re-inserting the battery.
 -
QuestionI have no reset button to my Lenovo Thinkpad x131e Chromebook any other ways?
 Community AnswerPress and hold "Power"+"Esc"+"Refresh". Then your Lenovo Thinkpad x131e Chromebook will automatically reset.
Advertisement
References
About This Article
Advertisement

