This article was co-authored by wikiHow staff writer, Travis Boylls. Travis Boylls is a Technology Writer and Editor for wikiHow. Travis has experience writing technology-related articles, providing software customer service, and in graphic design. He specializes in Windows, macOS, Android, iOS, and Linux platforms. He studied graphic design at Pikes Peak Community College.
The wikiHow Tech Team also followed the article's instructions and verified that they work.
This article has been viewed 230,165 times.
Learn more...
Watermarks are often used to prevent photos and images from being reused without permission from their owners. They can be difficult to remove. If you find yourself in a situation in which you need to use a watermarked photo, you can remove the watermark using tools such as Photoshop, or GIMP, which is a free alternative to Photoshop. This wikiHow teaches you how to remove a watermark from an image.
Steps
Using Photoshop
-
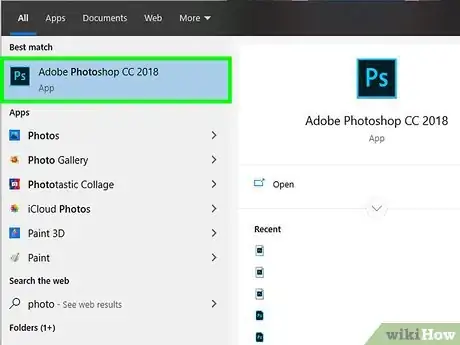
1Launch Photoshop. Photoshop has a blue icon that says "Ps" in the middle. Click the icon to open Photoshop.
- You need a subscription to use Photoshop. A subscription to Adobe Creative Cloud starts at $20.99 per month for a single app. You can purchase a subscription here. A free 7-day trial is also available.
-
2Open an image in Photoshop. Use the following steps to open an image in Photoshop:
- Click File.
- Click Open
- Navigate to an image file and click it to select it.
- Click Open.
Advertisement -
3Select the Magic Wand tool. It's in the toolbar to the left. It's the icon that resembles a wand with sparks around the tip.
-
4Set the tolerance to around 15 or so. Use the field next to "Tolerance" in the panel at the top to change the magic wand tolerance. Set the tolerance to a lower number like 15.
- If the Magic Wand tool selects areas outside of the watermark, press Ctrl + Z' or "Command + Z to undo the selection and lower the tolerance further.
-
5Click inside the watermark. This selects the area inside the watermark. The area that is outlined with a moving dotted line is the selected area. Most likely, it will not select the entire watermark. That's okay as long as it doesn't select the area outside the selection.
-
6Hold ⇧ Shift and click to add to your selection. With the Magic Wand tool selected, hold shift and click another area inside the watermark to add it to your selection. Continue until you have the entire watermark selected.
- Alternatively, you can use one of the Lasso tools and trace an outline around the watermark image. The Lasso Tools resemble a lasso. They are in the toolbar to the left.
-
7Hold Alt or ⌘ Command and click to deselect an area. If the Magic Wand tool selects any area outside the watermark, lower the tolerance and hold Alt or Command and click the area to deselect it.
- You can also use the Quick Select tool with a low tolerance setting and click and drag over the selected area to deselect it.[1]
-
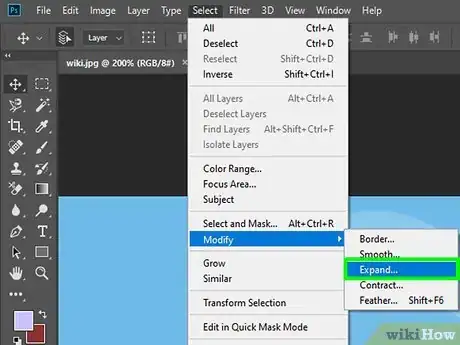
8Expand the selection by 2 or 3 pixels. Once you have the entire watermark selected, use the following steps to expand the selection outside the watermark by a few pixels.
- Click Select in the menu bar at the top.
- Click Modify.
- Click Expand.
- Enter 1 - 3 in the box next to "Expand by".
- Click Ok.
-
9Use a content-aware fill. This will fill the watermark selection with the surrounding area. Use the following steps to add a content-aware fill:
- Click Edit in the menu bar at the top.
- Click Fill.
- Select Content aware in the drop-down menu next to "Use".
- Click Ok.
-
10Select the Clone Stamp tool. It's the icon that resembles a rubber stamp in the toolbar to the left. The content-aware fill area may leave some noticeable alterations to the image below the watermark. You can use the Clone Stamp tool to fix this.
-
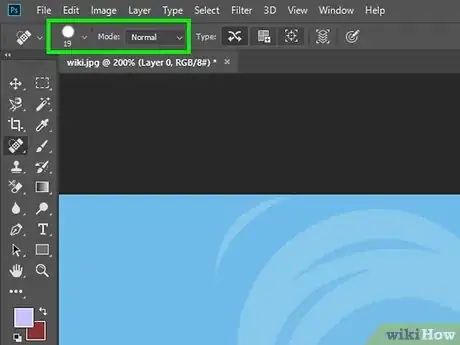
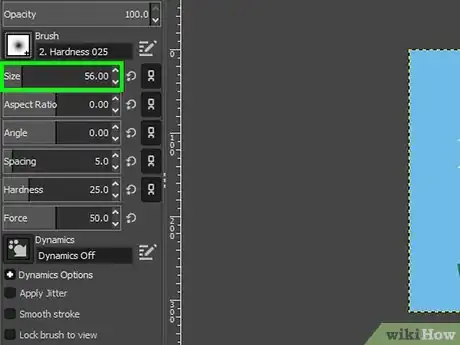
11Adjust the size and hardness of the brush. Use the following steps to adjust the size and hardness of the Clone Stamp brush:
- Click the round dot (brush) icon in the upper-left corner.
- Use the slider bar to adjust the size of the brush. You can also change the brush size by pressing [ or ].
- Lower the hardness to 0.
-
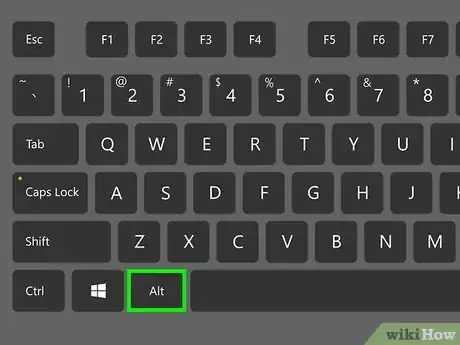
12Hold Alt or ⌘ Command and click the area next to the messed up part. This samples what the area is supposed to look like. Don't sample the area that is messed up. Sample the area next to the messed up area.
-
13Click the messed up area. This stamps over the messed up area with area you sampled. Make sure the area you stamp over lines up with the surrounding area as much as possible.
- Don't click and drag to paint over the area. Just use single clicks. If there are any other areas that need repair, sample a new area next to the area and single-click over the messed up area.
-
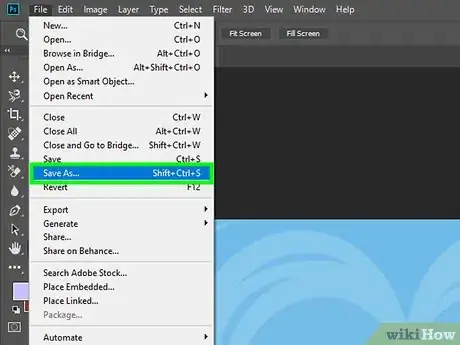
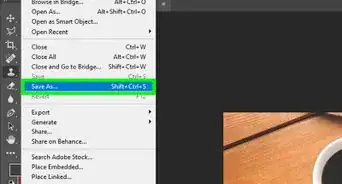
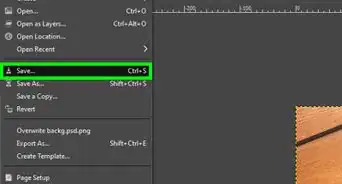
14Save the image. When you are happy with how the image looks, use the following steps to save the image:
- Click File.
- Click Save as.
- Type a name for the image next to "File name".
- Select JPEG in the drop-down menu next to "Format".
- Click Save.
Using GIMP
-
1Download and install GIMP. GIMP is an image editor that is similar to Photoshop, but unlike Photoshop, GIMP is completely free to download and use. Use the following steps to download and install GIMP:
- Go to https://www.gimp.org/ using a web browser.
- Click Download 2.10.18.
- Click Download GIMP 2.10.18 Directly.
- Open the GIMP setup file in your Downloads folder or web browser.
- Follow the instructions to complete the installation.
-
2Open GIMP. GIMP has an icon that resembles a fox with a paintbrush in its mouth. Click the GIMP icon to open GIMP.
-
3Open an image file in GIMP. Use the following steps to open an image file in GIMP.:
- Click File.
- Click Open
- Navigate to an image file and click it to select it.
- Click Open.
-
4Select the clone tool. It's the icon that resembles a clone stamp icon in the toolbar to the left.
-
5Select a soft brush. Click the brush icon in the upper-left corner of the Tool Options panel and select a brush that has a faded/gradient edge.
-
6Press [ or ] to adjust the brush size. This increases and decreases the brush size.
-
7Hold Ctrl or ⌘ Command and click next to the watermark. This samples the area next to the watermark.
-
8Click over the watermark. This stamps over the watermark area with the sampled area next to the watermark. Use single clicks until the watermark is completely stamped. Try to make sure the area you sample lines up with the area stamp over as much as possible.
-
9Repeat until the watermark is completely colored over. You may need to sample multiple areas to stamp over the entire watermark. Keep the sample area as close to the area you are stamping over as possible.[2]
-
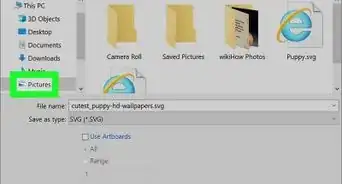
10Export the image. Once you are satisfied with how the image looks, use the following steps to export your image:
- Click File
- Click Export As.
- Type a file name next to "Name".
- Click Select File Type (By Extension) at the bottom.
- Select JPEG Image.
- Click Export.
Community Q&A
-
QuestionCan I remove stickers from photos?
 Ahmed FawserCommunity AnswerNo software can remove stickers from photos. Once a sticker is attached to a photo and sent, no one can remove that sticker.
 -
QuestionWhere is the " Export " button in step 10?
 Community AnswerIf you are talking about for Photoshop, it should be in the top right of the application.
References
About This Article
1. Open the image in Photoshop.
2. Use the Magic Wand tool with a lower tolerance to select the watermark.
3. Expand the selection by 2 or 3 pixels by clicking Select followed, by Modify and Expand.
4. Click Edit' followed by Fill.
5. Select Content aware in the drop-down menu next to Use and click Ok.
6. Select the Clone Stamp tool and sample the area next to any damaged areas.
7. Click over the damaged area.
8. Save the image as a JPEG.
