This article was co-authored by wikiHow staff writer, Rain Kengly. Rain Kengly is a wikiHow Technology Writer. As a storytelling enthusiast with a penchant for technology, they hope to create long-lasting connections with readers from all around the globe. Rain graduated from San Francisco State University with a BA in Cinema.
Learn more...
Do you want to show your appreciation to other Twitch users who raid your stream? When you get raided on Twitch, a user sends their current viewers to your live stream. This can help build your community and earn you more subscribers. As a thanks, you can send a shout out to the raiding user with random clips of their own streams to encourage your viewers to visit their channel. This wikiHow will show you how to play a random clip from a streamer when raided on your Windows or Mac computer.
Things You Should Know
- Go to https://www.twitch.guru/tools/clips.html. Enter the raiding user's channel name.
- Adjust the volume, then copy the link to your clipboard.
- In OBS, add a new Browser source. Enter the link in the "URL" field, then click "OK".
Steps
Creating a Source Link
-
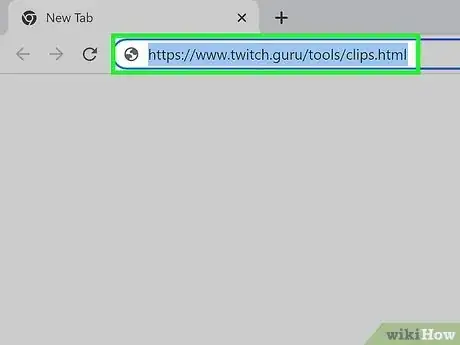
1Open https://www.twitch.guru/tools/clips.html in a web browser. This is the free version of "Random Clip Player" by Twitch.Guru.[1]
- The free version is limited to 20 clips. The clips will be watermarked with the Twitch.Guru logo.
- Use this method to play a random clip from a Twitch streamer raiding your channel's stream. Supporting other communities is a great way to grow your Twitch channel.
-
2Enter the streamer's channel name. You'll see this notice in your Twitch chat: [user] is raiding with a party of [number of viewers].
- In a website link, this is the name that follows after www.twitch.tv/.
- When you enter this name, Twitch.Guru will generate available clips.
Advertisement -
3Adjust clip settings. If applicable, you can select the time in which clips were created. Click Period to open a drop-down menu and select from the list.
- If you want to the clip's sound to remain off as it plays, click the Sound drop-down menu and select Mute.
- To adjust the volume, use the slider beside Master Volume. Drag the circle towards the left to lower the volume.
-
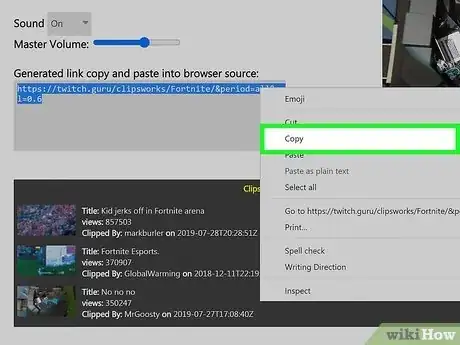
4Copy the generated link. You'll need to copy and paste this link into OBS.
- Highlight the link, right-click, and click Copy or CTRL + C (Windows)/Command + C (Mac).
Adding New Browser Source
-
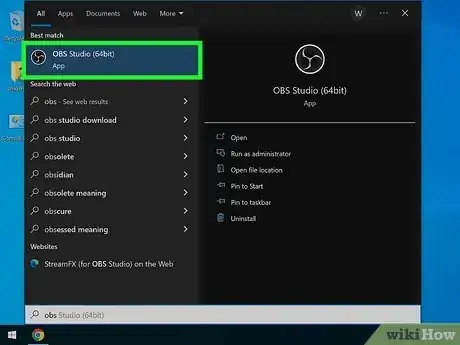
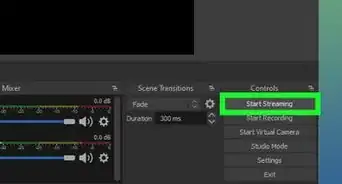
1Launch OBS. If you're currently streaming live, this should already be open. This is the program used to manage, broadcast, and record your stream. It's one of the first things you should download if you want to become a streamer and start streaming.
-
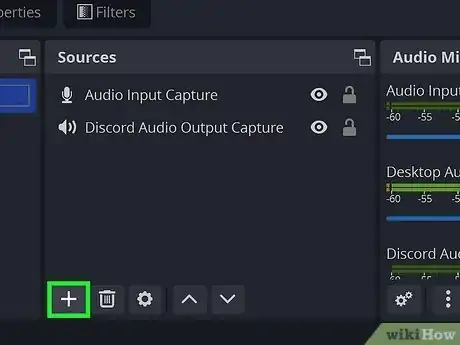
2Click + in "Sources". This is the box to the right of Scenes.
- A pop-up menu will open.
-
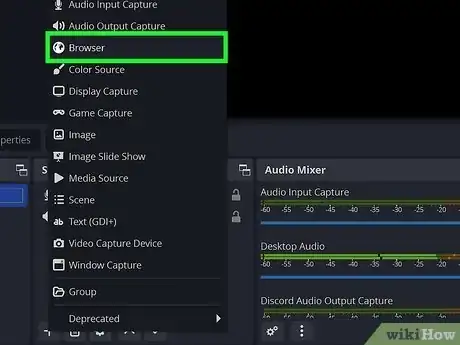
3Click Browser. This is the third option from the top, next to a globe icon.
-
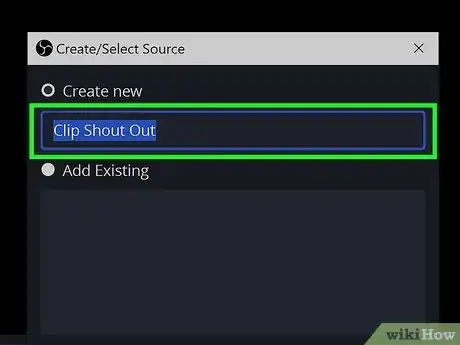
4Name your new browser source. You can name it something along the lines of "Clip Shout Out".
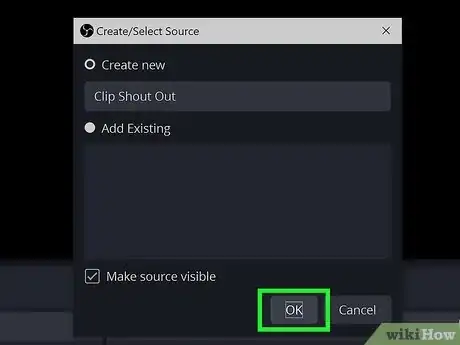
- Be sure to check the box next to Make source visible.
-
5Click OK. A new browser source window will open.
-
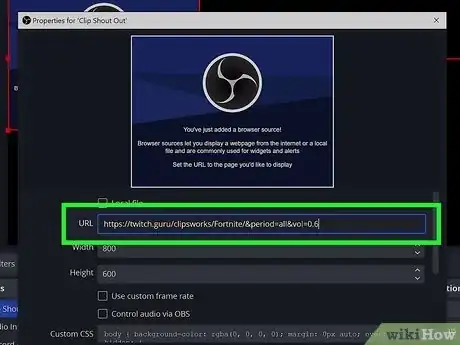
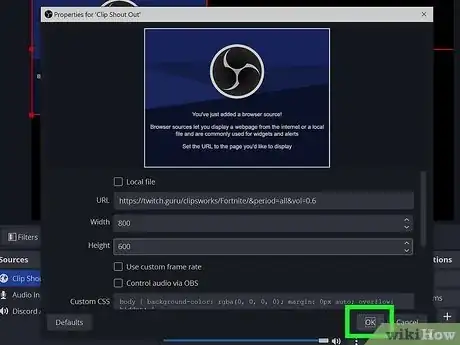
6Paste the Twitch.Guru link into the URL field. This is the first field in the window.
- Highlight the sample link, right-click, then click Paste. Alternatively, use CTRL + V (Windows) or Command + V (Mac).
- You can also adjust the Width and Height if you have certain stream elements that you don't want to obstruct.
-
7Click OK. The new browser source will be added. There may be a few seconds of delay before the clip plays.
- Use this short delay to welcome the raid and introduce the streamer to your audience.
- You can repeat these steps for any additional Twitch raids to your channel.
