X
wikiHow is a “wiki,” similar to Wikipedia, which means that many of our articles are co-written by multiple authors. To create this article, volunteer authors worked to edit and improve it over time.
This article has been viewed 17,400 times.
Learn more...
Facebook is a great social media site that allows you to share your status, adventures, and of course, your photos. When you share your photos on Facebook, you will be given multiple photo-album arrangement options. You can create a new album, move a photo to a new album, or even delete photo from your album.
Steps
Method 1
Method 1 of 6:
Creating a New Album
-
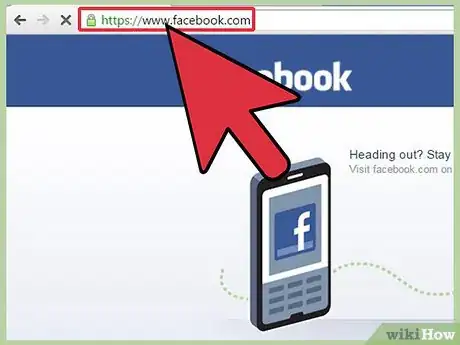
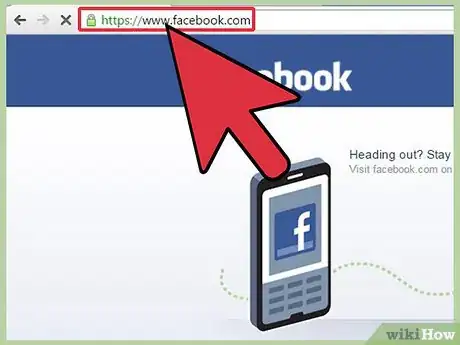
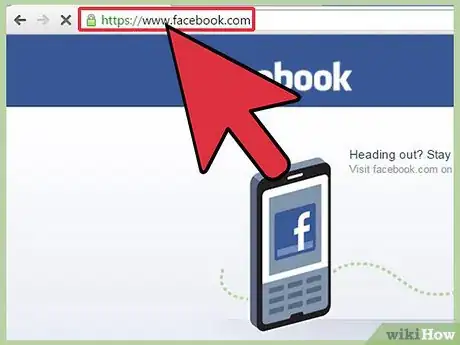
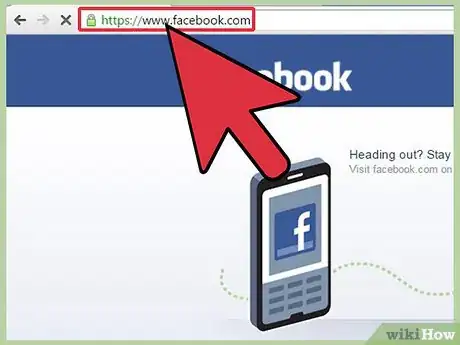
1Visit Facebook. Open a new web browser tab or window on your computer, and visit the Facebook website.
-
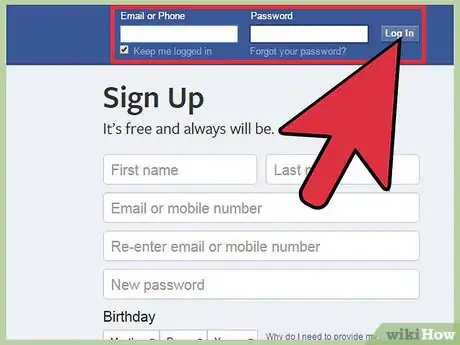
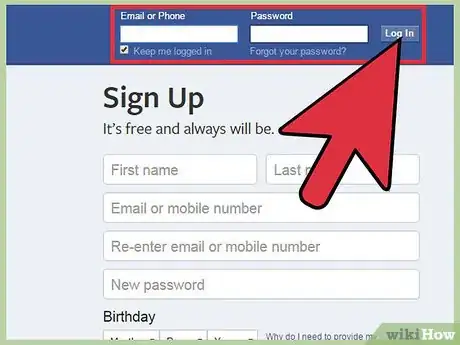
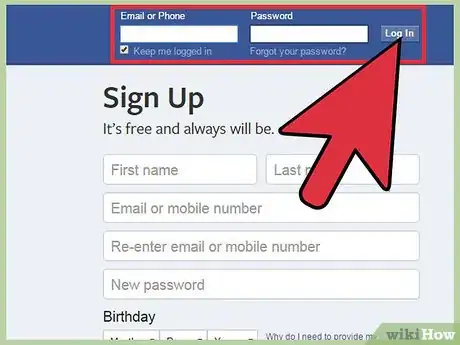
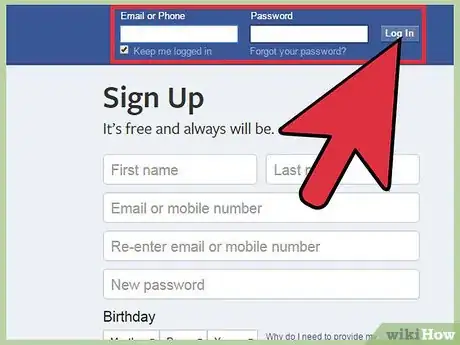
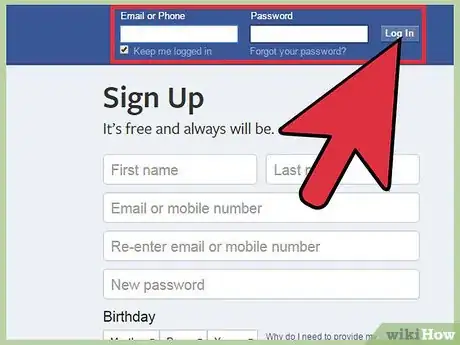
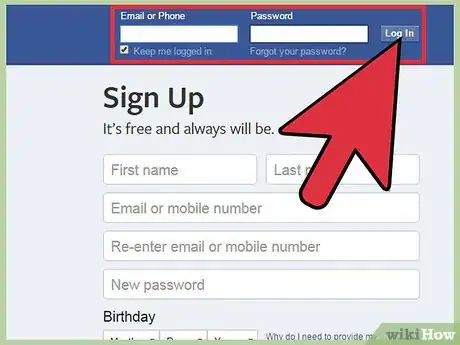
2Log into your Facebook account. Enter your email address and password into each respective box on the top left side of the screen, then click “Login.” After the login, you will be on your Facebook news feed.Advertisement
-
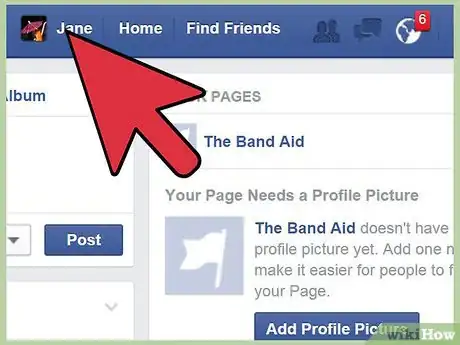
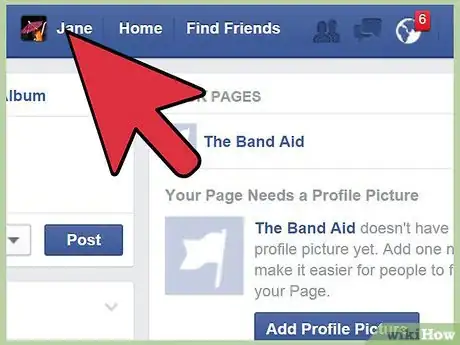
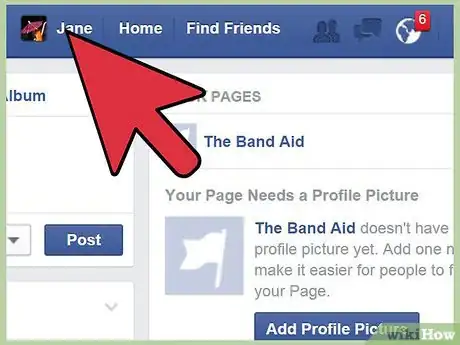
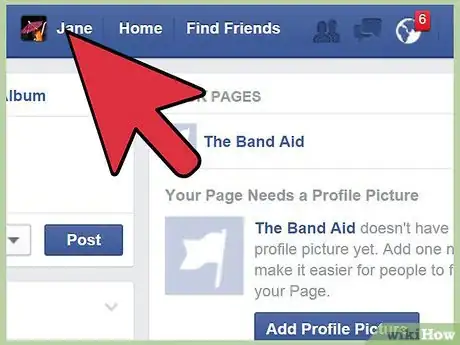
3Click your name with your profile image on the top right side of the screen. This will load your profile as other people see it.
-
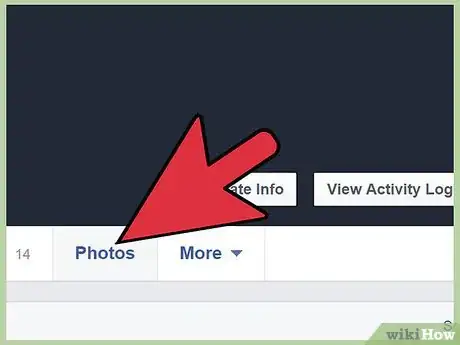
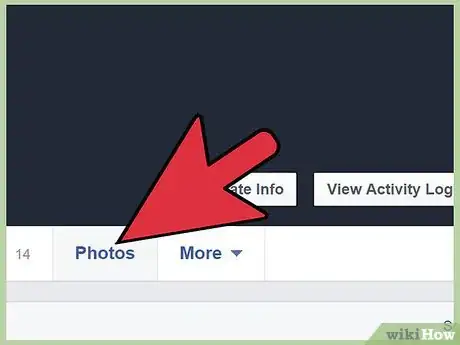
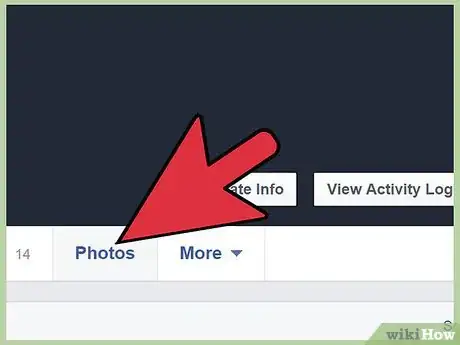
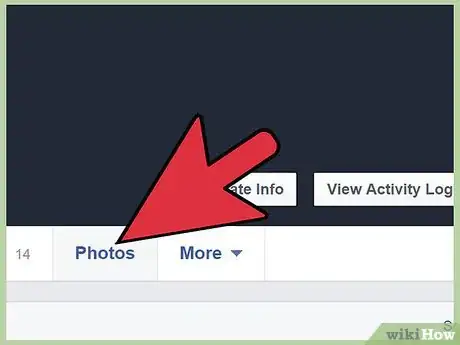
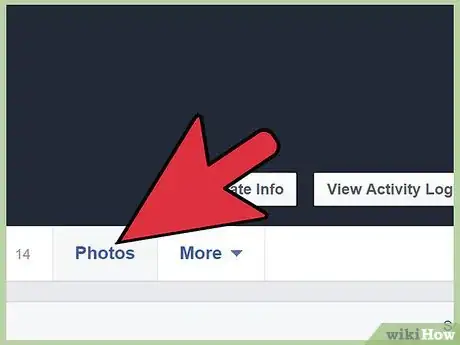
4Look to the right of your full profile picture for the tab that says “Photos,” and click it. Clicking on photos will load all your tagged photos and albums.
-
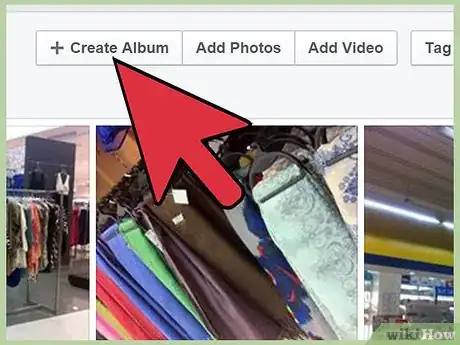
5Begin creating a new album. Do this by clicking the “Create a New Album” button that appears at the top of the Photos tab.
-
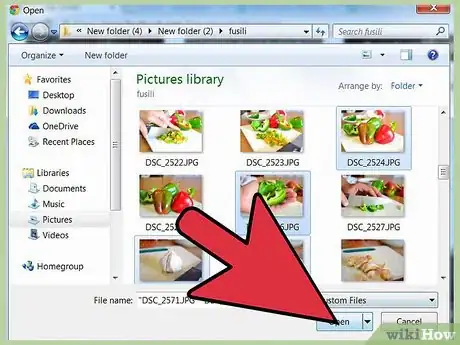
6Upload photos. A file explorer window will appear. Navigate through your computer files and folders until you find the photos you want to upload. Select multiple photos by holding the CTRL key as you click each image file.
- When you’re done selecting, click “Okay” to begin uploading the photos. Depending on the size of the photos and your Internet connection speed, this could take a while. Wait for it to finish.
-
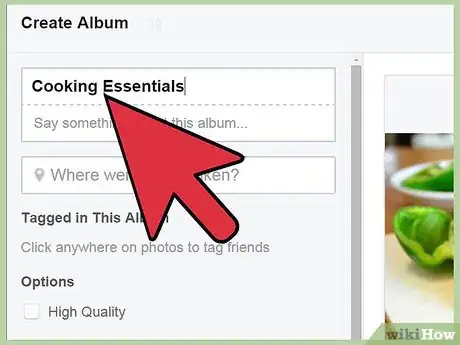
7Name the album. Once the photos have uploaded, you will see them as thumbnails on the next screen. This screen has all the information that you need to fill out before you can create the new album. The top box says “Untitled Album.” If you click inside there, you can rename the album to anything that you want.
-
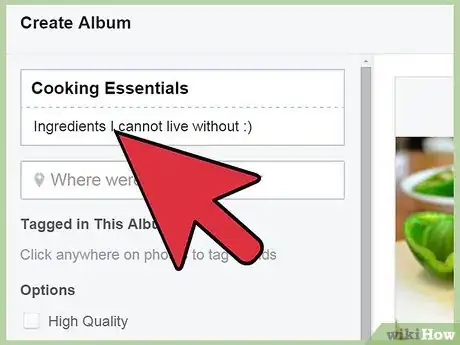
8Add a description. Click below the title, and type in a little something about what the album is about. For example, “First Birthday Party” if the photos are of your child’s first birthday.
-
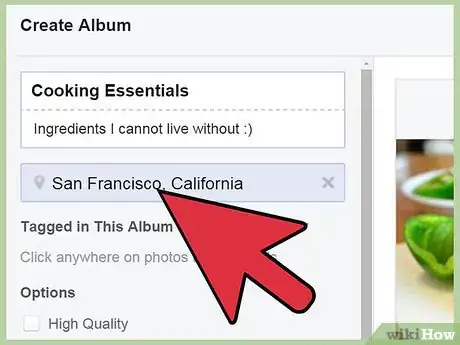
9Add a location. Select the box below the information about the album if you want to tag your location to these photos. For example, you could enter “State Lake, OH” if the birthday party was set there.
-
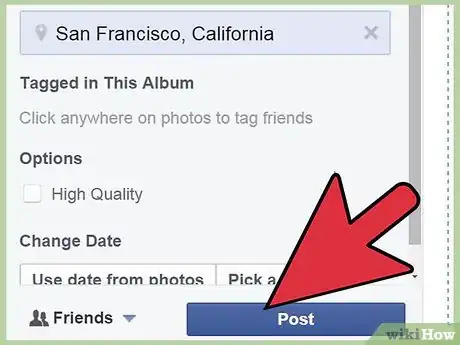
10Click the blue “Post” button when you’re done. The button can be found at the bottom of the page; clicking this will create the new album and post it to your wall so your friends and family can know about it.
Advertisement
Method 2
Method 2 of 6:
Deleting Photos from an Album
-
1Visit Facebook. Open a new web browser tab or window on your computer, and visit the Facebook website.
-
2Log into your Facebook account. Enter your email address and password into each respective box on the top left side of the screen, then click “Login.” After the login, you will be on your Facebook news feed.
-
3Click your name with your profile image on the top right side of the screen. This will load your profile as other people see it.
-
4Look to the right of your full profile picture for the tab that says “Photos,” and click it. Clicking on photos will load all your tagged photos and albums.
-
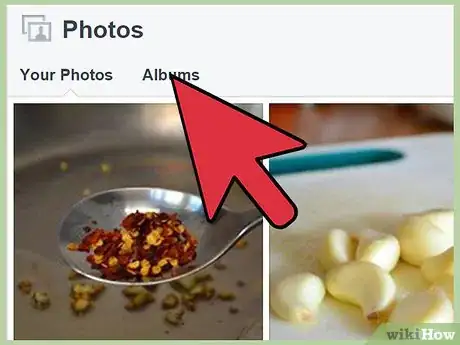
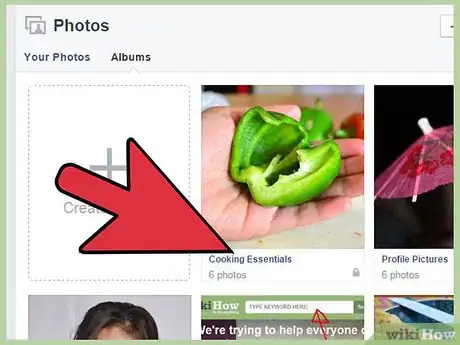
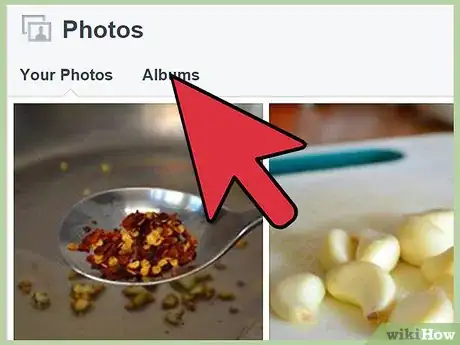
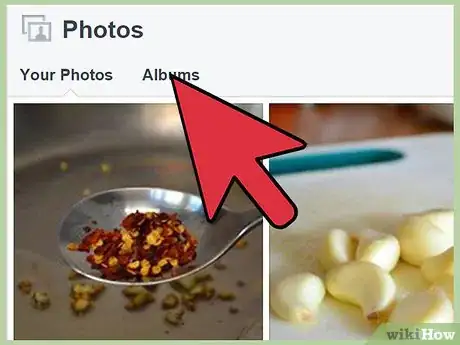
5Click the Albums tab at the top. This will open a page with all the albums you created, with the most recently used one at the top.
-
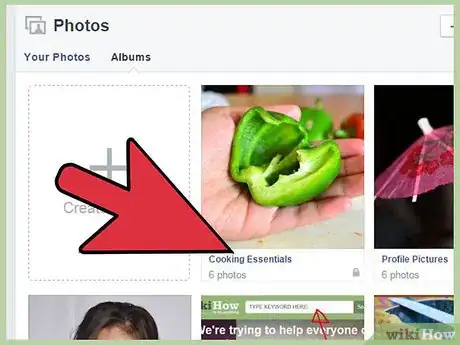
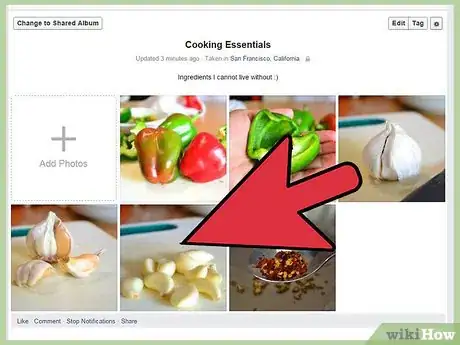
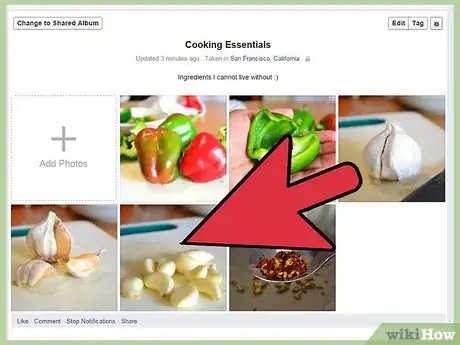
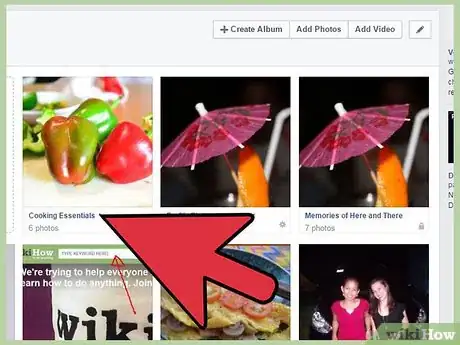
6Select the album with the photos you want to delete. Scroll down the albums list and click on the one that contains the photos you want to remove. The screen will load all the photos in the album.
-
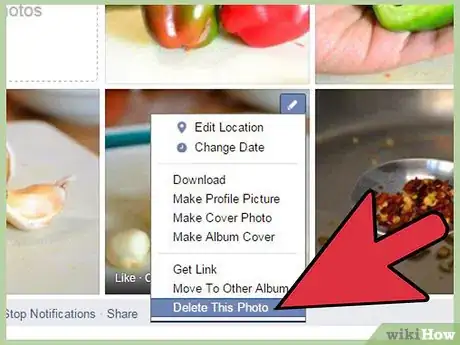
7Find the photo to delete. Scroll through the photos in the album, and when you find the photo you want to delete, hover your mouse over it and you will see a box with a pen in it on the right side of your picture.
-
8Delete the photo. Do this by clicking on the box with the pencil and selecting “Delete.”
Advertisement
Method 3
Method 3 of 6:
Moving Photos from One Album to Another
-
1Visit Facebook. Open a new web browser tab or window on your computer, and visit the Facebook website.
-
2Log into your Facebook account. Enter your email address and password into each respective box on the top left side of the screen, then click “Login.” After the login, you will be on your Facebook news feed.
-
3Click your name with your profile image on the top right side of the screen. This will load your profile as other people see it.
-
4Look to the right of your full profile picture for the tab that says “Photos,” and click it. Clicking on photos will load all your tagged photos and albums.
-
5Click the Albums tab at the top. This will open a page with all the albums you created, with the most recently used one at the top.
-
6Select the album that contains the photos you want to move. Scroll down the albums list and click on the one that contains the photos you want to move. The screen will load all the photos in the album.
-
7Find the photo to move. Scroll through the photos in the album, and when you find the photo you want to move, hover your mouse over it and you will see a box with a pen in it on the right side of your picture.
-
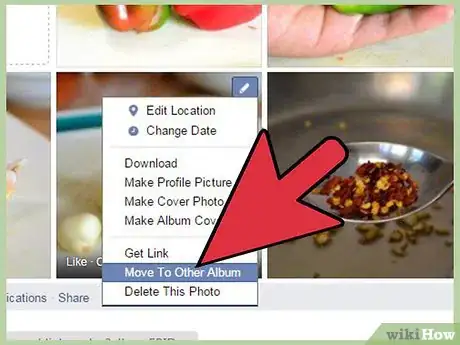
8Move the photo. Click the pen icon to open a context menu, and select “Move to Another Album.” A pop-up will appear with a drop-down list of your albums. Scroll through the list and click the one you want to move the photo to. Once you’ve chosen an album, click “Move to” to move the photo to the selected album.
Advertisement
Method 4
Method 4 of 6:
Deleting a Whole Album
-
1Visit Facebook. Open a new web browser tab or window on your computer, and visit the Facebook website.
-
2Log into your Facebook account. Enter your email address and password into each respective box on the top left side of the screen, then click “Login.” After the login, you will be on your Facebook news feed.
-
3Click your name with your profile image on the top right side of the screen. This will load your profile as other people see it.
-
4Look to the right of your full profile picture for the tab that says “Photos,” and click it. Clicking on photos will load all your tagged photos and albums.
-
5Click the Albums tab at the top. This will open a page with all the albums you created, with the most recently used one at the top.
-
6Select an album. Look through your photo albums list until you find the one you want to delete. Once your find it, click on it and the whole album will open up.
-
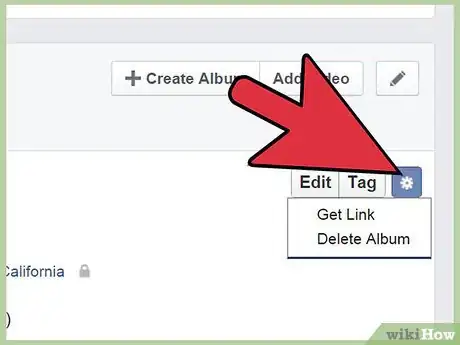
7Click the gear icon at the top right of the album page. It should be right next to the “Edit” and “Tag” buttons. A short, 2-option menu will drop down.
-
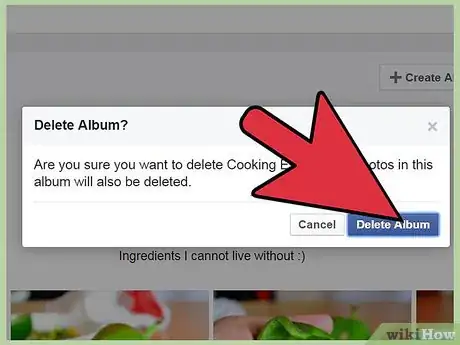
8Delete the entire album. Click “Delete Album” from the list and you will get a confirmation pop-up window. If you are sure you want to delete the entire album, select “Delete album” from the pop-up.
- Please remember that deleting albums cannot be undone. You will lose all the photos in the album.
Advertisement
Method 5
Method 5 of 6:
Arrange Your Albums
-
1Visit Facebook. Open a new web browser tab or window on your computer, and visit the Facebook website.
-
2Log into your Facebook account. Enter your email address and password into each respective box on the top left side of the screen, then click “Login.” After the login, you will be on your Facebook news feed.
-
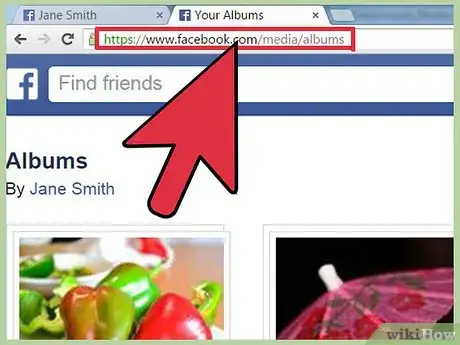
3Go to www.facebook.com/media/albums. This will send you to a screen where you will see all of your albums displayed in a grid.
-
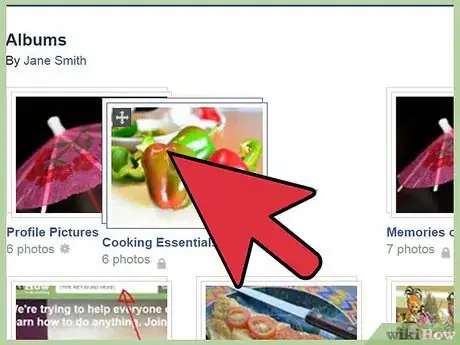
4Click, hold, and drag the album you want to move. Decide where you are going to move your album, click on it, hold it, and drag the album to it’s new position. You can do this as many times as you want, so no decision is final.
Advertisement
Method 6
Method 6 of 6:
Change the Privacy Settings of an Album
-
1Visit Facebook. Open a new web browser tab or window on your computer, and visit the Facebook website.
-
2Log into your Facebook account. Enter your email address and password into each respective box on the top left side of the screen, then click “Login.” After the login, you will be on your Facebook news feed.
-
3Click your name with your profile image on the top right side of the screen. This will load your profile as other people see it.
-
4Look to the right of your full profile picture for the tab that says “Photos,” and click it. Clicking on photos will load all your tagged photos and albums.
-
5Click the Albums tab at the top. This will open a page with all the albums you created, with the most recently used one at the top.
-
6Look for the icon on the bottom right hand corner of the album. Depending on the type of album it is, it will either be a gear icon or the silhouettes icon, like the one that shows on Friends Requests.
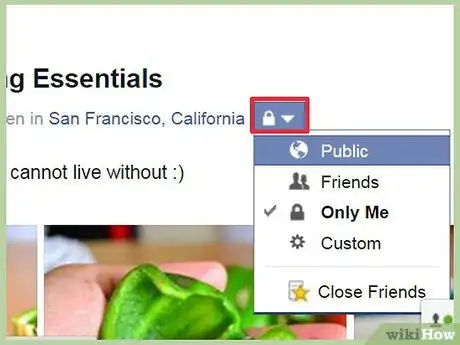
- If it’s the silhouettes icon, when you click it, a drop down menu will appear with the following options: Public, Friends, Only Me, Custom. Depending on what other lists you have on your Facebook account, the first two lists will appear and at the end it will say “See other lists…”. Here you can change and personalize the privacy settings on the album.
- If it’s a gear icon, when you place your mouse over it, a message will appear. The message reads ”You can change the audience for each photo in this album”. What that means is that you will have to enter the album and change picture by picture the privacy settings you want for them.
Advertisement
About This Article
Advertisement
