wikiHow is a “wiki,” similar to Wikipedia, which means that many of our articles are co-written by multiple authors. To create this article, volunteer authors worked to edit and improve it over time.
This article has been viewed 76,801 times.
Learn more...
The floating window feature has been present as an out-of-the-box only in the Samsung Note line of phones. With a few modifications, you can experience the sweetness of multi-window on your own Android device! You’ll need root access, however, which you’ll achieve by looking for guides around the web for your particular device.
For this to work, we’ll be using the Xposed Framework, which requires root access. It’s a free application with plenty of available modules that enable cool and useful features at the system file level, which means you won’t be having icons in your notification bar like most apps do with the same purpose. If you’re rooted, then you can start at Step 1.
Steps
Installing the Xposed Framework
-
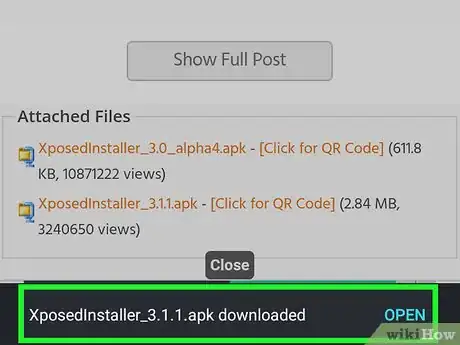
1Download the installer. First you’ve have to get the Framework installer, which you can find in the Xposed Module Repository site (http://repo.xposed.info/module/de.robv.android.xposed.installer).
-
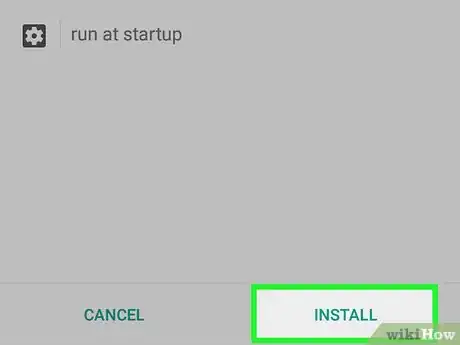
2Install the .apk file. Before you can install the Framework, you have to make sure that “Unknown Sources” is checked in Settings > Security > Device Administration. This enables installing third-party application not found in the Google Play store. Then you can directly install the .apk file if you downloaded it onto your device.
- If you got the file from your PC or Mac, you’ll have to transfer it somewhere to your phone memory or SD card, then install it. It should look like the typical Android application installation procedure.
Advertisement -
3Install/Update the Framework itself. Locate the app icon and press it. Once it has loaded, go to Framework. Here you can install or update the Framework in case yours is outdated.
- Once that is done, reboot your device.
- There is a "Soft Reboot" button at the bottom of the screen, which will reboot that device more quickly.
-
4Download your desired mod. Please refer to the next part.
Downloading the XHaloFloatingWindow Module
-
1Go to "Download" in the main app screen of Xposed.
-
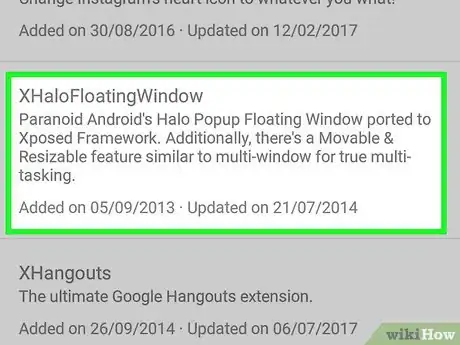
2Scroll down until you see the XHaloFloatingWindow module. Tap it when you find the button.
-
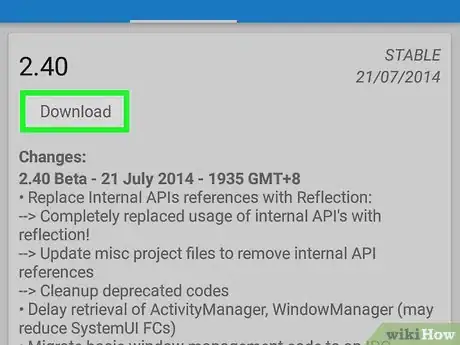
3Read the description and other info. This is optional. Once you’ve finished reading, tap "Download."
-
4Tap "install" once it’s done downloading.
