This article was co-authored by wikiHow staff writer, Travis Boylls. Travis Boylls is a Technology Writer and Editor for wikiHow. Travis has experience writing technology-related articles, providing software customer service, and in graphic design. He specializes in Windows, macOS, Android, iOS, and Linux platforms. He studied graphic design at Pikes Peak Community College.
The wikiHow Tech Team also followed the article's instructions and verified that they work.
This article has been viewed 36,106 times.
Learn more...
This wikiHow teaches you how to edit video on a Chromebook computer. Although Chromebooks are not intended to edit videos professionally, there are a few apps you can use to edit video files. For this tutorial, we're going to be using Cyberlink PowerDirector which is a free app that has optional paid add-ons. Your Chromebook will need to be updated to the latest version of Chrome OS and must have access to the Google Play Store.
Steps
Download and Install Cyberlink PowerDirector
-
1Download and install Cyberlink PowerDirector. It's available in the Google Play Store. Use the following steps to download Cyberlink Power Director.[1]
- This app is only available for Chromebooks that have the Google Play Store available.
-
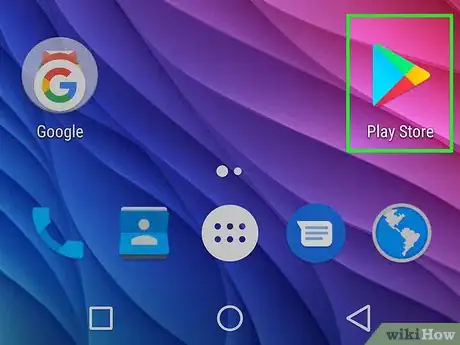
2Open the Google Play Store . It's the app that has an image of a colorful triangle. You can access the Google Play Store in the apps drawer. It's the icon with 9 squares in the lower-left corner of the desktop.Advertisement
-
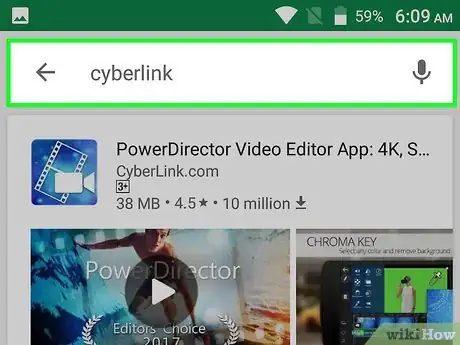
3Type Cyberlink in the search bar. The search bar is at the top of the Google Play Store. You will see a list of apps that match your search.
-
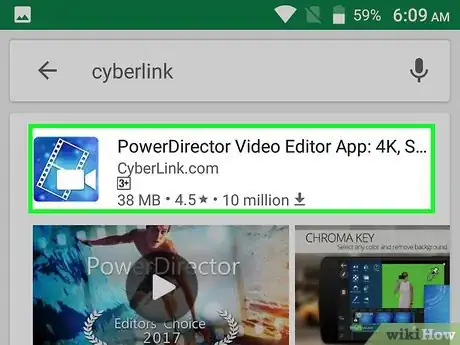
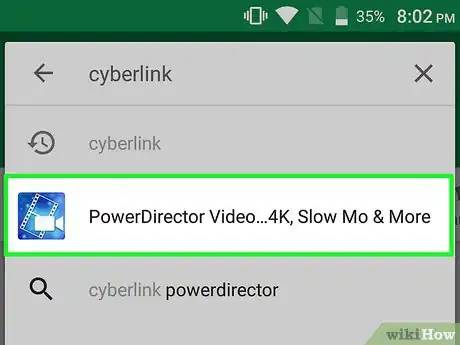
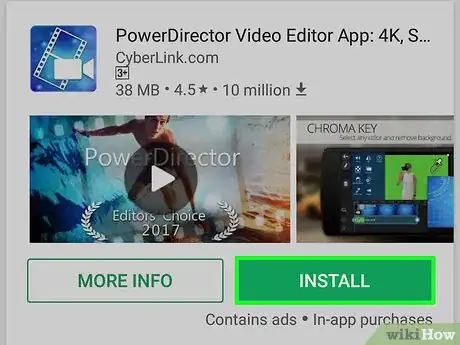
4Click PowerDirector Video Editor App. It's the app that has a blue icon with an image of a camera and a film strip.
-
5Click Install. It's the green button across from the app name and icon.
Create a New Project
-
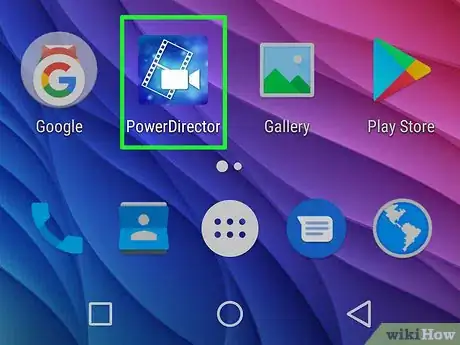
1Open Cyberlink PowerDirector. It's the app that has a blue icon with a camera and a film strip on it. You can open it by clicking on the icon on the desktop or app drawer, or click "Open" in the Google Play Store
-
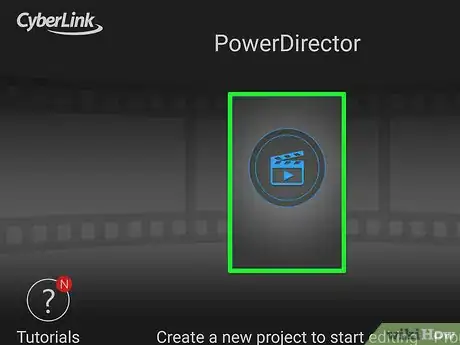
2Click or tap New Project. It's the option that has an image of a clapboard with a play triangle on it. It's at the bottom center of the screen.
-
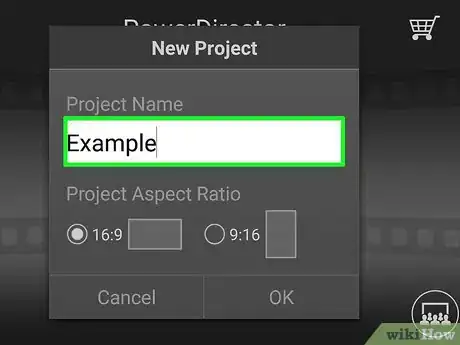
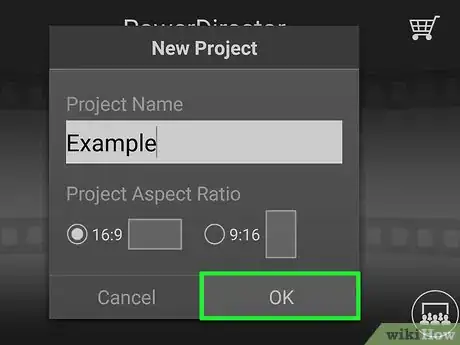
3Type a name for the project. Click the white box below "Project Name" and type a name for the project.
-
4Select an aspect ratio and click OK. Your aspect ration options are 16:9 (widescreen), or 9:16 (phone screen). Click "Ok" in the lower-right corner of the popup when you are done.
Import and Edit Video Clips
-
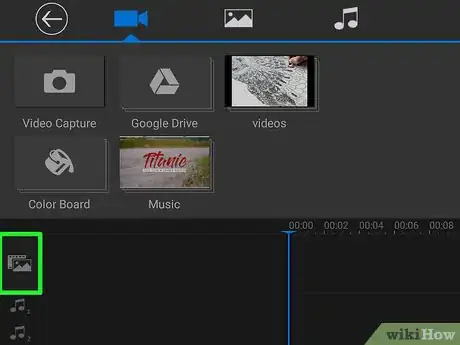
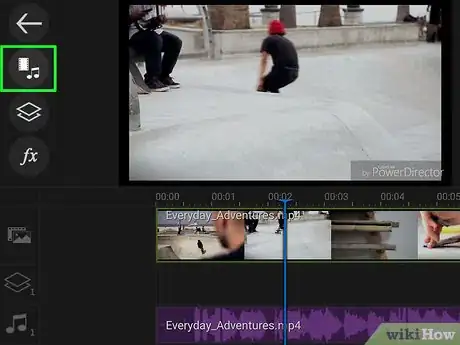
1Click or tap the icon that has music notes and a film strip. This is the media import menu.
-
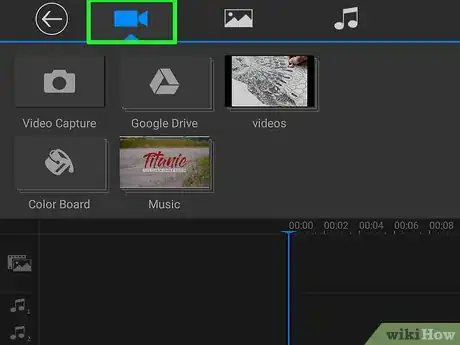
2Click or tap a video folder or icon. There are several options you have for importing video. You can open a local video folder on your computer, or import a video from Google Drive, or shoot a video with your camera.
-
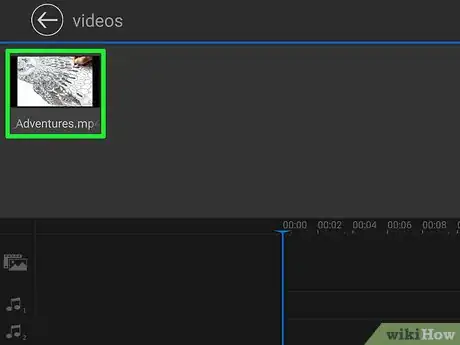
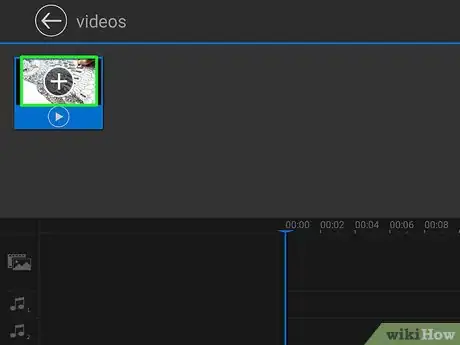
3Click or tap a video. You will see a plus sign overlay on the video thumbnail.
-
4
-
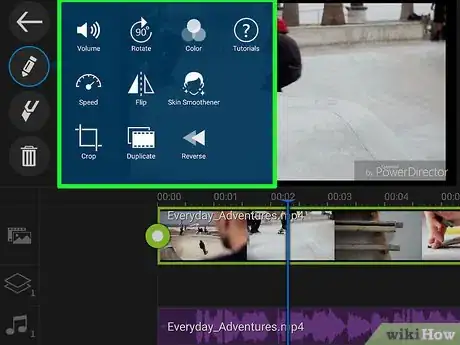
5Click or tap video clip at the bottom of the screen. This will put the video clip in edit mode. Here are the tools you have access to in edit mode:
- Trim the video. To trim the video, click and drag the green dots on either side of the video. This will shorten the video shorten or lengthen the video without deleting any part of the video.
- Split video. Cutting the video will split the video clip into two clips where the playhead (the blue line at the bottom of the screen) is at. It's the icon that resembles a razor.
- Delete video. To remove a video clip, click tap the video clip in the timeline and then tap the trashcan icon to the left.
-
Edit Tools. Click or tap a video clip in the timeline, and then tap the icon that resembles a pencil to reveal more tools. These tools include:
- Volume control
- Flip video
- Reverse video
- Speed control
- Duplicate video
- Tutorials
- Crop video
- Color adjustment
- Rotate video
- Skin Smoother
Import and Edit Images
-
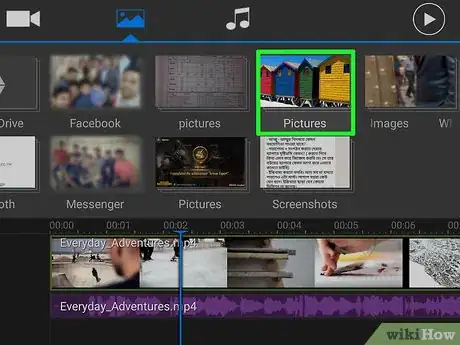
1Click or tap the icon with the filmstrip and music notes. It's in the left sidebar.
-
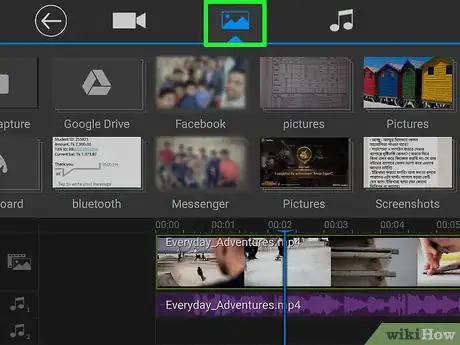
2Click or tap the image icon. It's the icon that resembles a picture of mountains and a sunset. This will display image folders you can import images from.
-
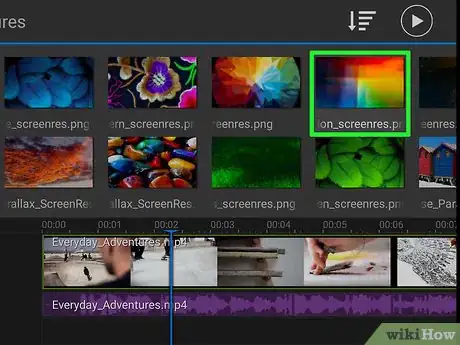
3Click or tap an image folder. You can click images stored on your computer, import images from Google Drive, or take a picture with your camera.
-
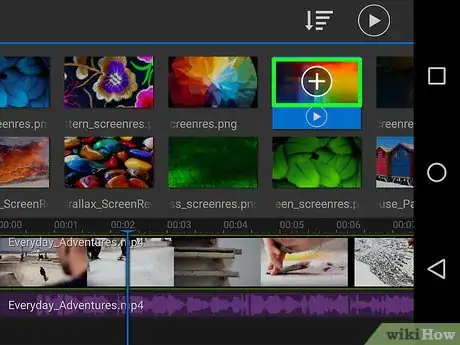
4Click or tap an image. You will see a plus sign overlay over the image thumbnail.
-
5
-
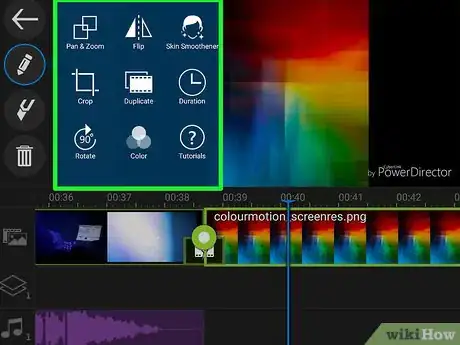
6Edit the image. Click or tap on the image in the timeline to put it in editing mode. There are a few options you have to edit the image.
- Trim image. Drag the green dots on the side of the image to adjust the duration the image stays in the video timeline.
- Delete image. To remove an image from the timeline, click or tap the image, and then tap the trashcan icon on the left.
-
Edit Tools. Tap the icon that resembles a pencil for more edit tools. The edit tools under the pencil icon are as follows:
- Pan and Zoom.
- Duplicate.
- Crop the image.
- Color adjustment.
- Rotate.
- Skin Smoother.
- Flip the image
- Image duration.
Import and Edit Sound Clips
-
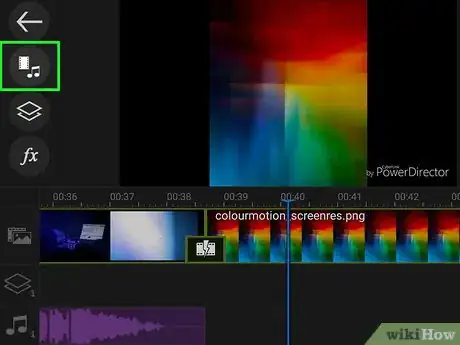
1Click or Tap the icon with the filmstrip and music notes. It's in the left sidebar.
-
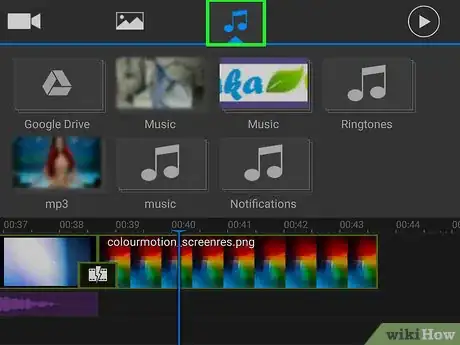
2Click or tap the music icon. It's the icon with two music notes in at the top of the app. This will display music folders you can import music from.
-
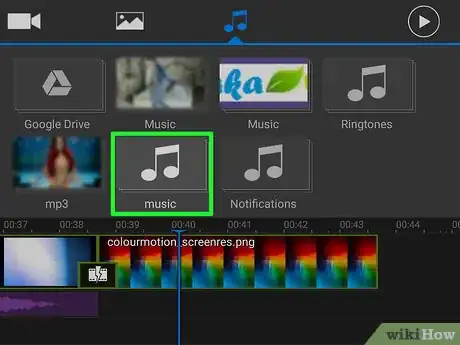
3Click or tap a sound folder. You can use music from your music folder, or Google Drive. You can also do a voice-over with your microphone, or click "Get Sound Clips" to download sound effects.
-
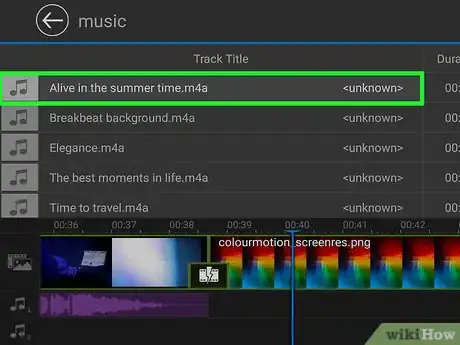
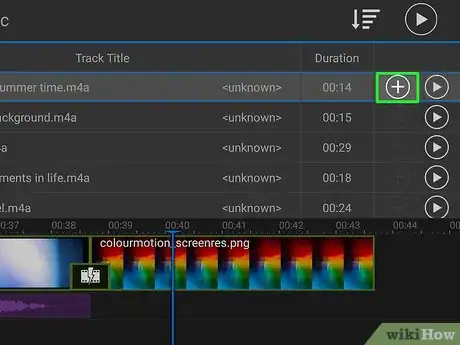
4Click or tap a music track. You can hear a sample of what the music track sounds like by clicking or tapping the Play triangle all the way to the right.
-
5
-
6Edit sound file. Tap the sound file in the timeline to put it in editing mode. There are a few options you have to edit the sound clip.
- Trim the clip. Drag the purple dots on the side of the sound clip to shorten or lengthen the sound clip without deleting any part of it.
- Split audio clip. Click or Tap the icon that resembles a razor to split the sound clip in to two parts at the playhead.
- Delete audio clip. Tap the trashcan icon to remove the audio clip from the timeline.
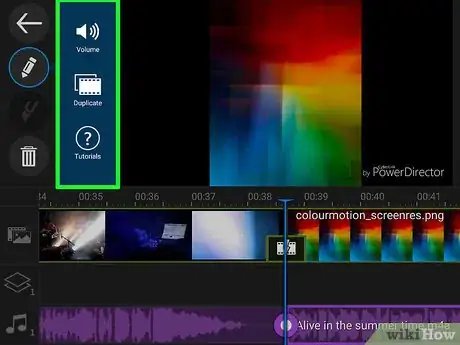
- Edit Tools. The only two edit tools for audio clips are volume and duplicate.
Save and Produce a Project
-
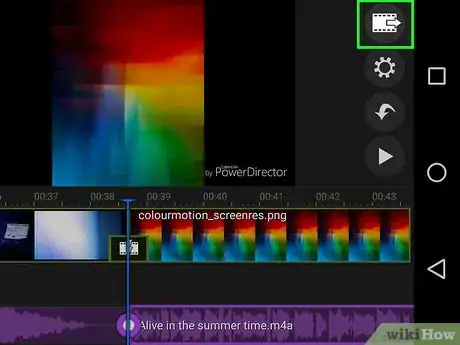
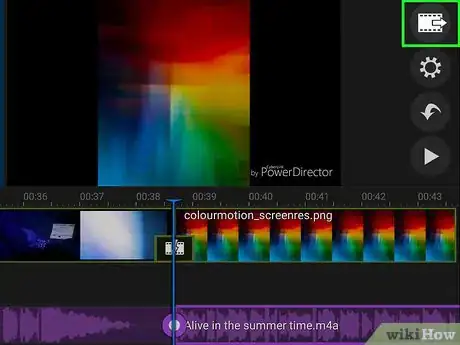
1Click or tap the video file icon. It's the icon with a film strip and an arrow pointing right.
-
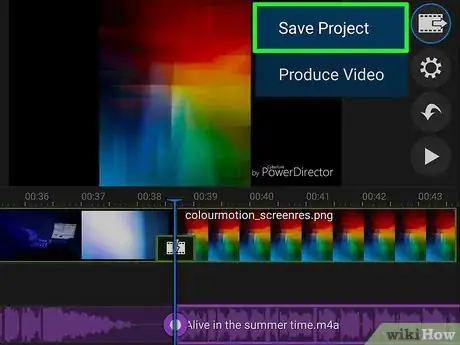
2Click or tap Save Project. This will save the video project so you can edit it more at a later date.
-
3Click or tap the video file icon. It's the icon with a film strip and an arrow pointing right.
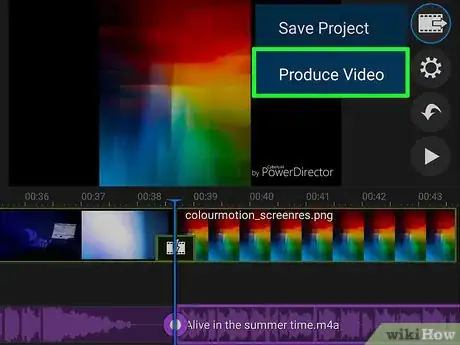
-
4Click Produce Video. It's the second option in the video file menu. This will render the video to a single video output file that can be uploaded to a streaming site like YouTube.[2]
