This article was co-authored by wikiHow staff writer, Jack Lloyd. Jack Lloyd is a Technology Writer and Editor for wikiHow. He has over two years of experience writing and editing technology-related articles. He is technology enthusiast and an English teacher.
The wikiHow Tech Team also followed the article's instructions and verified that they work.
This article has been viewed 898,884 times.
Learn more...
This wikiHow teaches you how to connect your MacBook Pro laptop to your HDTV. You can use cables such as HDMI and Thunderbolt to perform this process on virtually any HDTV, or you can broadcast your Mac's screen's contents to the TV if you have an Apple TV.
Steps
Using a Cable on an HDTV
-
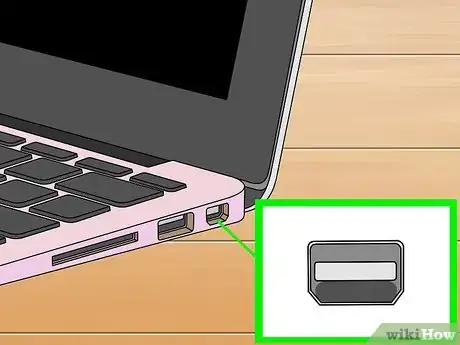
1Determine your Mac's video output type.
- MacBook Pro 2016 and up - These computers use Thunderbolt 3 outputs, which need USB-C connections. You can buy a USB-C to HDMI cable that has a USB-C connector on one end and an HDMI connector on the other.
- MacBook Pro 2015 and down - These computers have HDMI ports, so you can use a standard HDMI to HDMI cable.
-
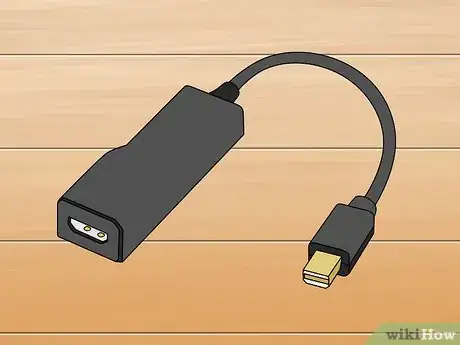
2Buy a video cable. Depending on your Mac, you'll need to buy either a Thunderbolt 3 to HDMI cable or a standard HDMI cable.Advertisement
-
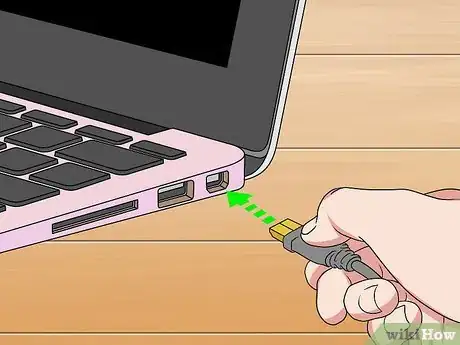
3Plug one end of the cable into your Mac. Plug the USB-C end of the cable (MacBook Pro 2016 and up) or one of the cable's HDMI ends (MacBook Pro 2015 and down) into the appropriate port on the right or left side of your MacBook Pro's housing.
- The cable should fit snugly into the port, but don't force it.
-
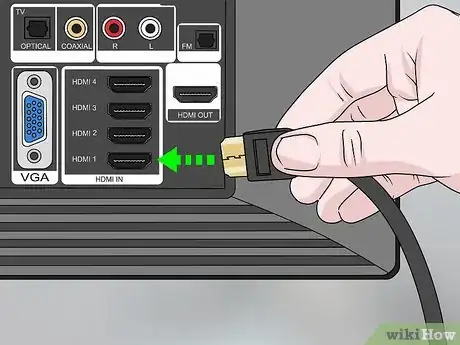
4Plug the other end of the cable into your HDTV. The HDMI end of the cable should plug into one of your TV's HDMI slots, which are 5-sided ports usually found on the back or the side of the TV.
- Depending on your TV's number of HDMI ports, you may have to unplug a different HDMI cable in order to attach your Mac to the TV.
-
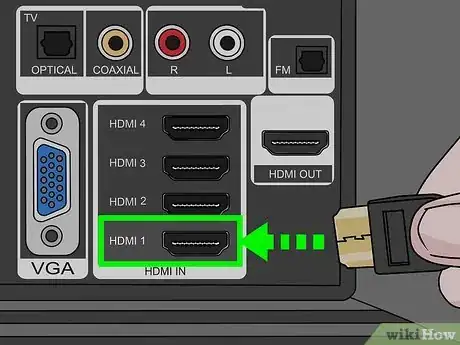
5Note the HDMI input number. There should be a name or a number next to the HDMI port into which you plugged the cable; you'll need to know this number in order to select the correct channel.
-
6
-
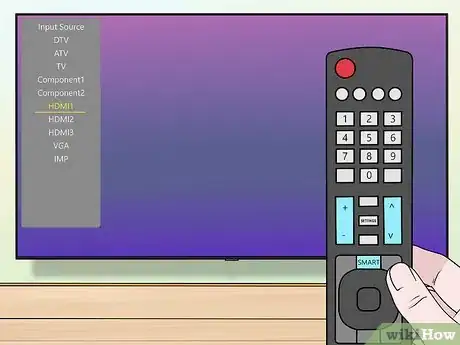
7Change the TV's input. Switch your TV's input channel to the HDMI input's number (e.g., HDMI 3). You can usually do this by pressing the TV's Input or Video button until you arrive at the correct input, or by using the Input or Video button on your TV's remote.
- Once you arrive at the correct input, you should see your MacBook Pro's screen appear on the TV screen after a moment.
-
8Change your Mac's sound and video settings if need be. If the image on the TV isn't correct or the sound is playing through your Mac's speakers instead of the TV's, you can tweak the relevant settings from with your Mac's System Preferences menu.
Using AirPlay on an Apple TV
-
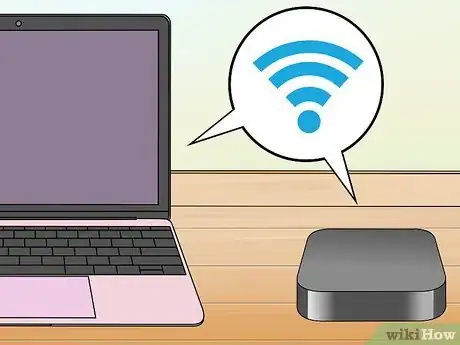
1Make sure that both your Apple TV and your MacBook Pro are on the same network. In order for AirPlay to work between your Mac and your Apple TV, you'll need both of them to be on the same Wi-Fi network.
-
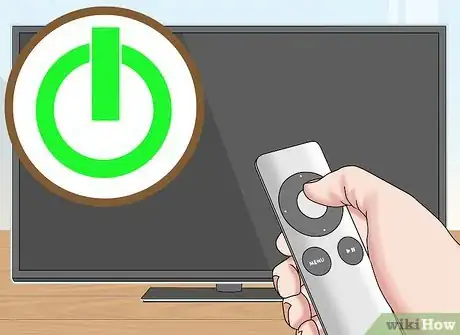
2Turn on your Apple TV. Turn on your HDTV and make sure that the input is set to the Apple TV, then press any button on the Apple TV's remote.
-
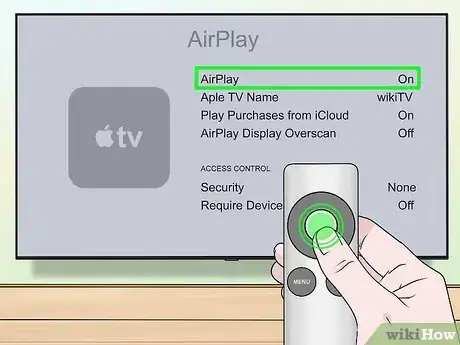
3Enable AirPlay on your Apple TV. To do so:
- Open your Apple TV's Settings
- Select AirPlay
- Select AirPlay at the top of the screen.
- Select Everyone
-
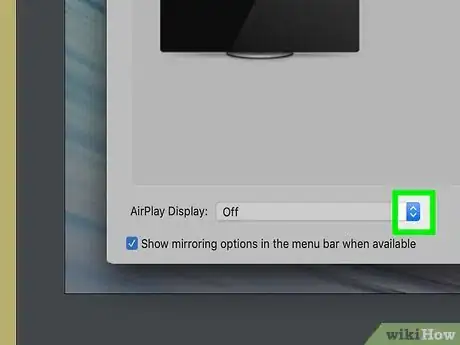
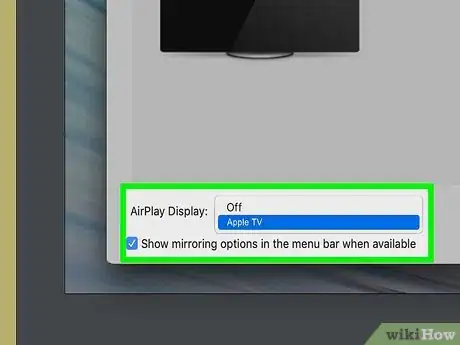
4
-
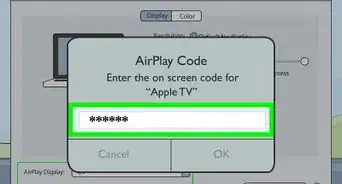
5Click the "AirPlay" menu. It's a box with a triangle in it that's located in the upper-right corner of your Mac's screen. A drop-down menu will appear.
-
6Select your TV's name. Under the "AirPlay To" heading, click the name of the Apple TV to which you want to mirror your Mac's screen. You should see your Mac's screen appear on your TV.[1]
- You can turn off AirPlay by clicking the "AirPlay" menu icon and then clicking Turn AirPlay Off in the drop-down menu.
Changing Sound and Video Settings
-
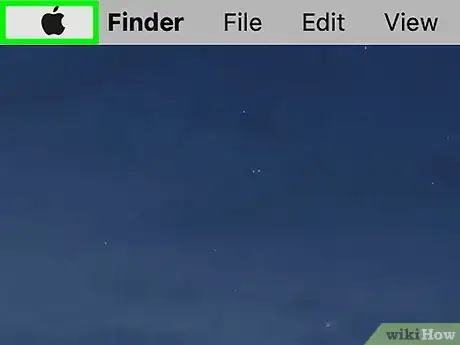
1
-
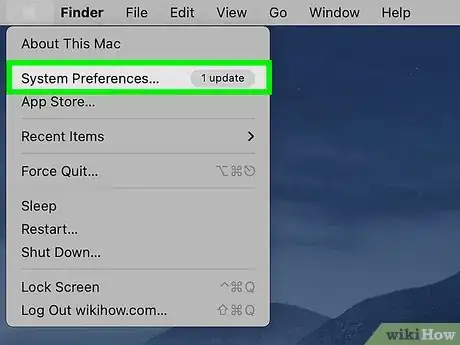
2Click System Preferences…. It's near the top of the drop-down menu. Doing so opens the System Preferences window.
-
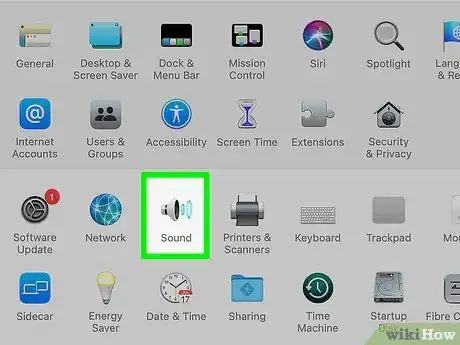
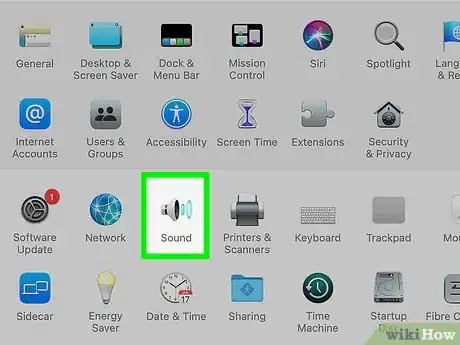
3Click Sound. You'll find this speaker-shaped icon in the System Preferences window. The Sound window will open.
-
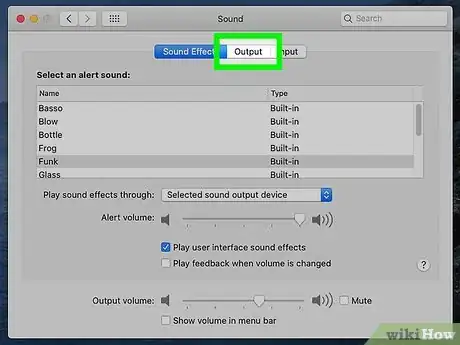
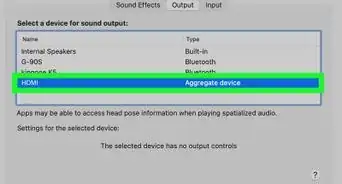
4Click Output. This tab is at the top of the Sound window.
-
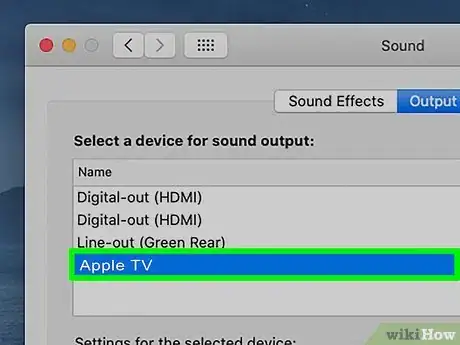
5Select your TV's speakers. Click the TV or HDMI option at the top of the page. This will ensure that sound is delivered through your TV's speakers and not through your MacBook Pro's speakers.
-
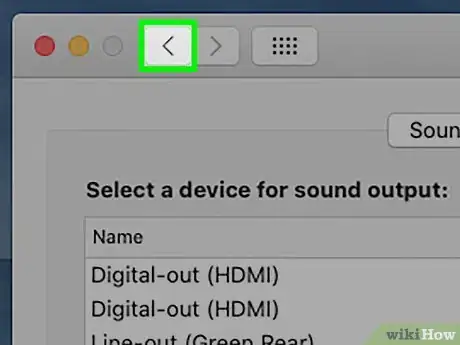
6Return to the System Preferences page. Click the "Back" button in the upper-left side of the window to do so.
-
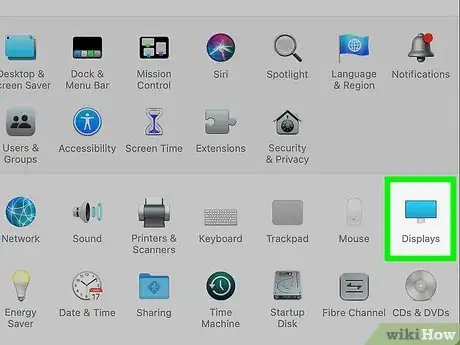
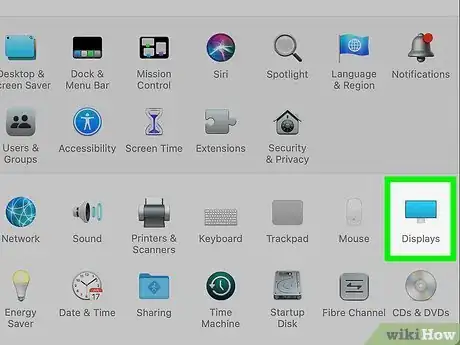
7Click Displays. This computer monitor-shaped icon is in the middle of the System Preferences window.
-
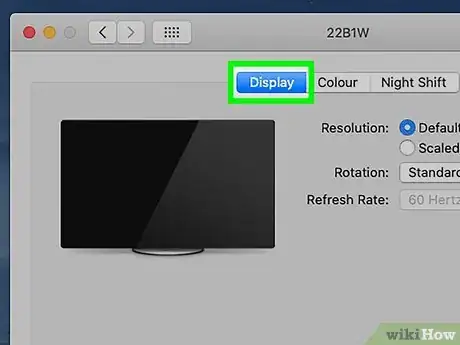
8Click the Displays tab. It's in the upper-left corner of the window.
-
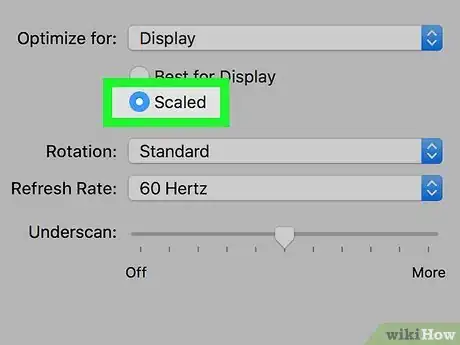
9Change the TV's resolution. Check the "Scaled" box, then click a resolution.
- You can't use a resolution that's higher than your TV's built-in resolution (e.g., 4K).
-
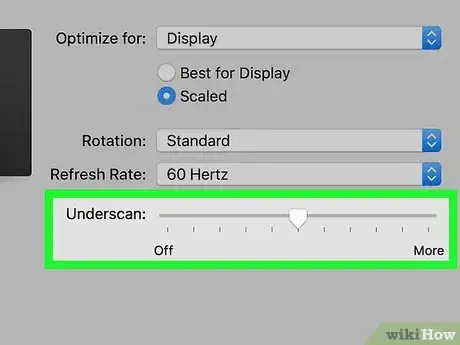
10Change the screen scaling. Click and drag the "Underscan" slider that's at the bottom of the page left to show more of your Mac's screen on the TV or right to zoom in the screen.
- This will help you fit your Mac's screen to your TV if the image on the TV is too large or too small.
Community Q&A
-
QuestionWhich gives a better video playback? VGA or HDMI?
 Community AnswerHDMI has superior image quality, as its video signal is digital in comparison to VGA's analog one. It is hot-pluggable and also transmits audio.
 -
QuestionI have the early 2015 MacBook Pro, which has an HDMI port Will the sound go through the HDMI cable?
 Community AnswerYes, sound will go through the HDMI port.
 -
QuestionCan I close my MacBook and still get the image on the tv?
 Community AnswerWhen using the HDMI cable method you can't, because it will trigger your MacBook to turn off.
Warnings
- USB 3.0 ports cannot transmit video.⧼thumbs_response⧽
About This Article
1. Determine your Mac's video output type.
2. Buy a cable that can connect the Mac to the TV.
3. Plug one end into the Mac.
4. Plug the other end into the TV.
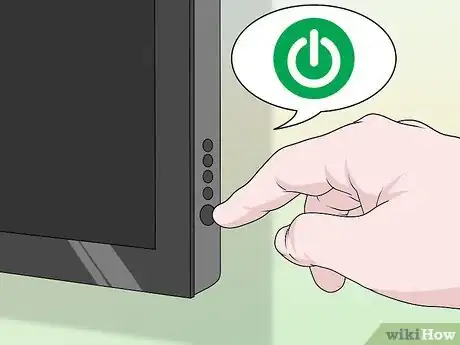
5. Turn on the TV.
6. Switch the input to the HDMI port.
7. Change your Mac's sound settings if necessary.
