X
This article was co-authored by wikiHow Staff. Our trained team of editors and researchers validate articles for accuracy and comprehensiveness. wikiHow's Content Management Team carefully monitors the work from our editorial staff to ensure that each article is backed by trusted research and meets our high quality standards.
The wikiHow Tech Team also followed the article's instructions and verified that they work.
This article has been viewed 34,818 times.
Learn more...
This wikiHow teaches you how to remove a song from your playlist queue on Spotify, using Android.
Steps
Method 1
Method 1 of 2:
Deleting Songs from the Queue
-
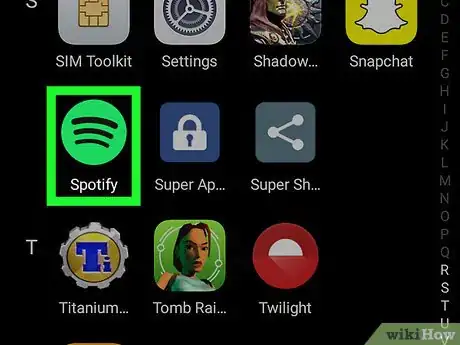
1Open Spotify on your Android. The Spotify icon looks like a green circle with three black horizontal lines on it. You can find it on your Apps menu.
-
2Tap your current song at the bottom. The song you're currently playing shows up at the bottom of your screen. Tap the song's name to open it in full-screen.Advertisement
-
3Tap the queue icon on the top-right. This button looks like three horizontal lines in the upper-right corner of your window. It will open a playlist of all the songs queued after your current one.
-
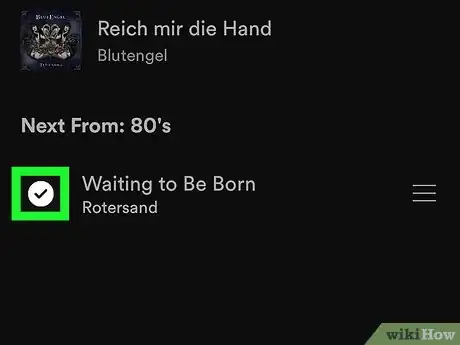
4Tap the circle icon next to a song on your queue. A checkmark will appear in the circle when you tap.
- If you want to remove multiple songs from your queue, you can select as many songs as you want here.
-
5Tap REMOVE. This button is located in the lower-left corner of your screen. It will remove all the selected songs from your queue.
Advertisement
Method 2
Method 2 of 2:
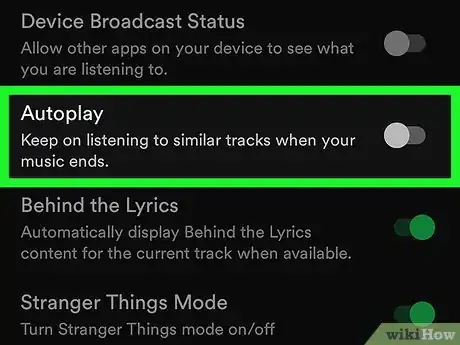
Disabling Autoplay
About This Article
Advertisement
