This article was co-authored by wikiHow staff writer, Nicole Levine, MFA. Nicole Levine is a Technology Writer and Editor for wikiHow. She has more than 20 years of experience creating technical documentation and leading support teams at major web hosting and software companies. Nicole also holds an MFA in Creative Writing from Portland State University and teaches composition, fiction-writing, and zine-making at various institutions.
The wikiHow Tech Team also followed the article's instructions and verified that they work.
This article has been viewed 876,331 times.
Learn more...
This wikiHow teaches you how to improve the speed of your Windows PC by using a USB flash drive as virtual RAM. As long as you're using Windows 10, 8, 7, or Vista, Windows comes with a built-in feature that makes it super easy to allocate the entirety of your flash drive as extra memory that can be accessed when needed. Unfortunately there's no equivalent option for macOS.
Steps
-
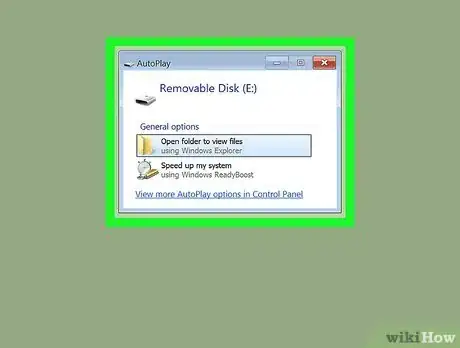
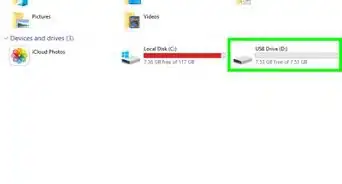
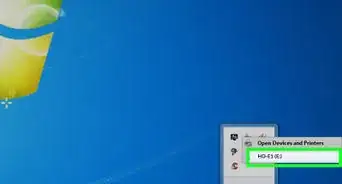
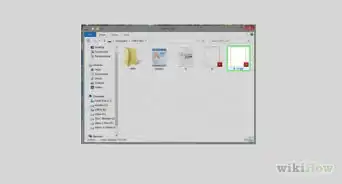
1Insert your blank USB flash drive into the PC. In most cases, a window called "AutoPlay" will pop-up automatically.
- If no such window appears, press ⊞ Win+E to open the File Explorer, right-click the drive in the left panel, then click Open AutoPlay.
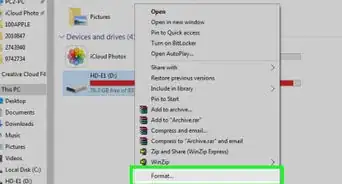
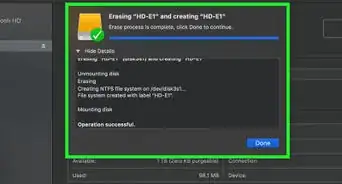
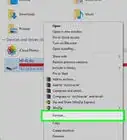
- If the drive is not blank, you should format it before you continue. Press ⊞ Win+E to open the File Explorer, right-click the drive in the left panel, and then select Format. Once formatted, right-click the drive and select Open AutoPlay.
-
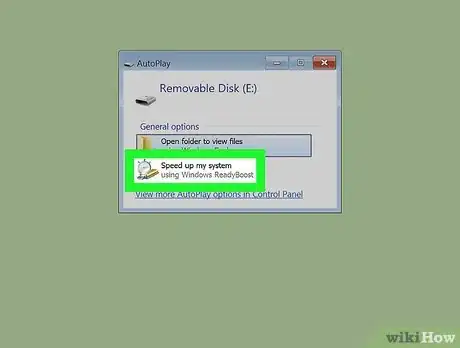
2Click Speed up my system on the "AutoPlay" window. This opens your USB flash drive's properties to the ReadyBoost tab.
- If you see an error on the tab says that your drive is not suitable for ReadyBoost, you may have plugged the drive into a USB port that isn't fast enough. Try a different port. If that doesn't help, you'll need to use a different USB flash drive.
- If you see an error that says the computer is fast enough that ReadyBoost won't provide any benefits, it's usually because you're using an SSD (solid-state drive). No performance gains would be possible with a USB flash drive in this case.
Advertisement -
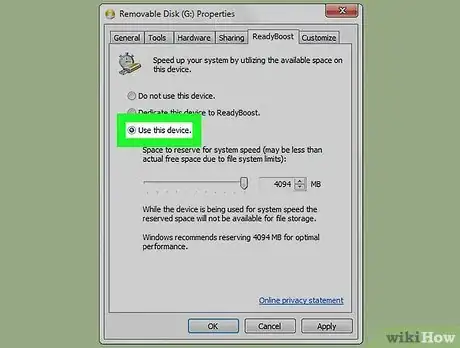
3Select Dedicate this device to ReadyBoost or Use this device. You'll see one of these two options near the top of the ReadyBoost tab.
- If you're using Vista, drag the "Space to reserve for system speed" slider all the way to the right.
-
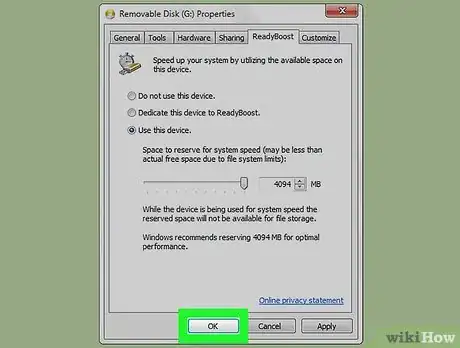
4Click OK. This adds a special cache file to the USB flash drive that allows it to be used by Windows as additional RAM.
- Windows will start using the drive as RAM immediately, although you may not notice speed improvements until you've populated the new cache file by running your normal tasks.
Community Q&A
-
QuestionIs this method adding the RAM or replacing the laptop RAM?
 Community AnswerIt's not replacing your laptop's RAM. It's using the pen drive as RAM memory along with your real RAM.
 -
QuestionHow do I stop using my pen drive as RAM and use it as a data storage device?
 Community AnswerJust go to ready boost again and tick the mark on "Do not use this device" and you can use it as a data storage device.
 -
QuestionHow do I remove the pendrive after completing my work?
 Community AnswerJust go to computer Properties and deselect the virtual memory. Then go to the USB setting and remove the ready-boost (do not use this device) then apply and format. Then restart your PC.
About This Article
1. Insert blank USB drive.
2. Click Speed up my system.
3. Click Dedicate this device to ReadyBoost.
4. Click OK.
