This article was written by Scott St Gelais and by wikiHow staff writer, Jack Lloyd. Scott St Gelais is an IT Consultant and the Owner of Geeks in Phoenix, Arizona. With over two decades of experience, Scott specializes in computer service and repair, development, computer graphics, and website authoring. Scott received his Technical Associates Degree from High Tech Institute and completed the IT Support Professional Certificate by Google. Geeks in Phoenix is a member of the Microsoft Partner Network and an Intel Technology Provider Gold Partner.
The wikiHow Tech Team also followed the article's instructions and verified that they work.
This article has been viewed 1,044,973 times.
This wikiHow teaches you how to change your flash drive's default file format. Formatting your flash drive will typically remove any files or folders on the drive, so make sure you back up your files before formatting your drive.
Things You Should Know
- The exFAT format supports larger files and is cross-compatible with most versions of Windows and macOS.
- On Windows, right-click the drive in File Explorer and select Format to open the formatting tool.
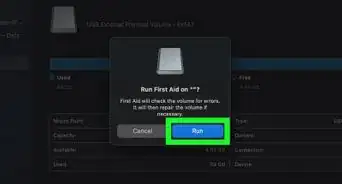
- If you're using a Mac, use the "Erase" function in Disk Utility to format the drive.
Steps
Windows
-
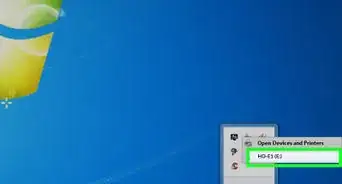
1Connect the USB flash drive to your computer. To do so, plug it into one of your PC's USB ports, which resemble thin, rectangular slots on your computer's housing.
-
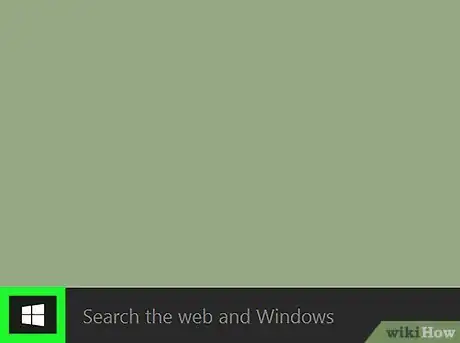
2Open Start . Do so either by clicking the Windows logo in the bottom-left corner of the screen, or by pressing the ⊞ Win key.Advertisement
-
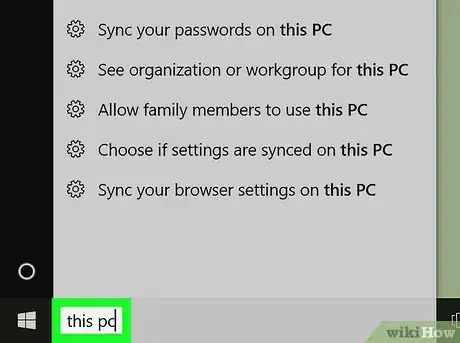
3Type "this pc" into Start. A computer monitor-shaped icon will appear at the top of the Start window.
- On Windows 7, click Computer on the right side of the Start window.
-
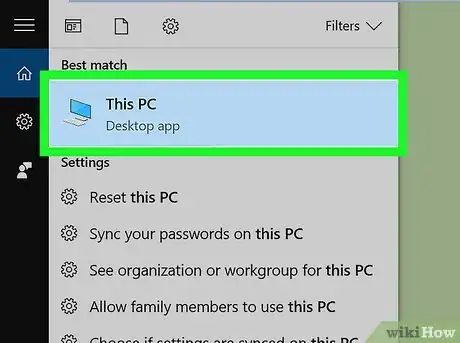
4Click This PC. It's a monitor-shaped icon at the top of the Start window. The This PC app will open.
- Skip this step on Windows 7.
-
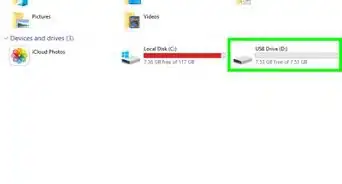
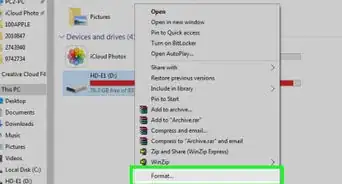
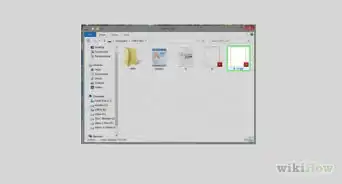
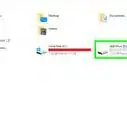
5Right-click the flash drive's icon. It's beneath the "Devices and drives" heading in the middle of the page. This will bring up a drop-down menu.
- On a laptop with a trackpad, use two fingers to tap the trackpad rather than right-clicking.
-
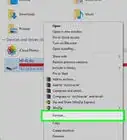
6Click Format. This option is near the middle of the drop-down menu. Doing so opens the Format window.
-
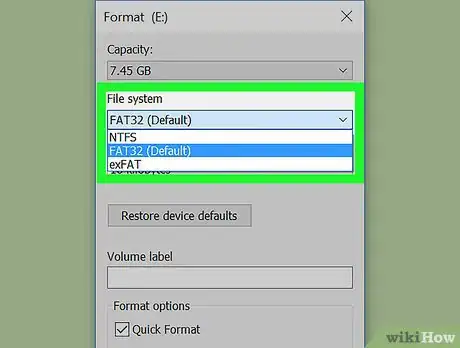
7Click the "File System" box. It's below the "File System" heading near the top of the page. A drop-down menu will appear with the following options:
- NTFS - The default Windows operating system format. If you're using your drive as a secondary Windows drive, you'll need to choose this option.
- FAT32 - The most widely compatible format. Works with most computers and gaming consoles.
- exFAT - Similar to FAT32, but designed for external hard drives (e.g., flash drives) and quicker use. It's a universal format that is most common across Windows, Linux, and Mac.
-
8Click a format option. The option you pick will depend on what you plan on using the drive for. For example, choose FAT32 if you're formatting the flash drive for use with a gaming console, or choose NTFS if you're creating a Windows-only backup drive.
- If you've formatted your drive before and you're positive that it isn't broken, you can also check the Quick Format box.
-
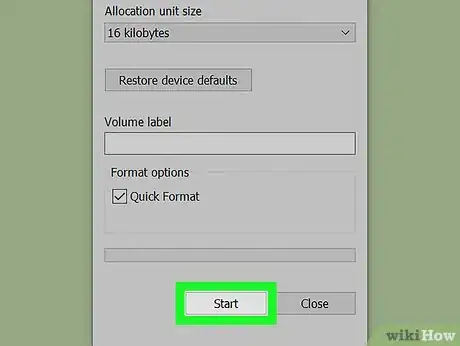
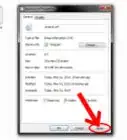
9Click Start, then click OK. Doing this will cause Windows to begin formatting your flash drive for you.
-
10Click OK when prompted. Your flash drive has successfully been formatted.
Mac
-
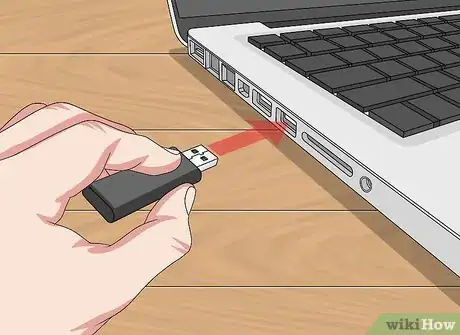
1Connect the USB flash drive to your computer. To do so, plug it into one of your Mac's USB ports, which resemble thin, rectangular slots on your computer's housing.
- Some Macs don't have USB ports, so you'll need to purchase an adapter.
-
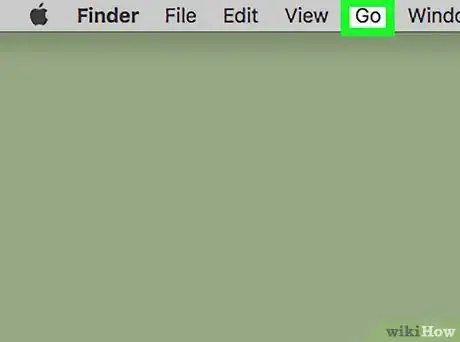
2Click Go. It's a menu item in the top-left side of the menu bar.
- If you don't see Go, first click the Finder icon, which resembles a blue face in your Mac's dock.
-
3Click Utilities. This option is in the Go drop-down menu.
-
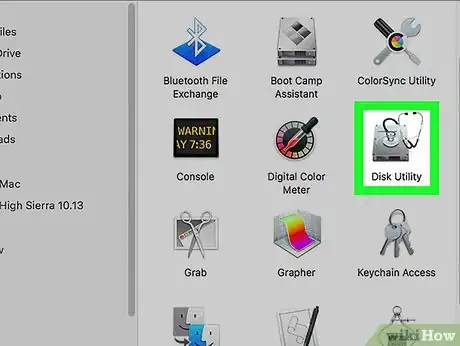
4Double-click Disk Utility. You'll likely find this option in the middle of the Utilities page.
-
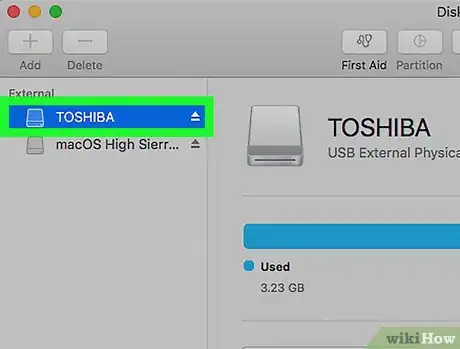
5Click your flash drive's name. It's on the far-left side of the Disk Utility window.
-
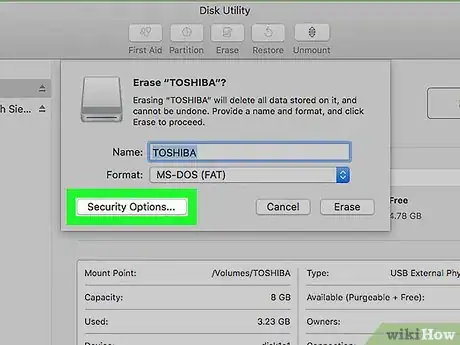
6Click the Erase tab. This option is at the top of the Disk Utility window.
-
7Click the "Format" box. It's in the middle of the page. This will bring up a drop-down menu with the following options:
- Mac OS Extended (Journaled)
- Mac OS Extended (Journaled, Encrypted)
- Mac OS Extended (Case-sensitive, Journaled)
- Mac OS Extended (Case-sensitive, Journaled, Encrypted)
- MS-DOS (FAT)
- ExFAT
-
8Click a format option. You'll generally use one of the Mac OS options for a Mac-only flash drive (e.g., a backup drive), though you'd choose MS-DOS (FAT) or ExFat for greater compatibility.
-
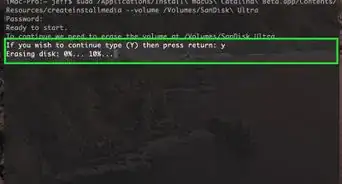
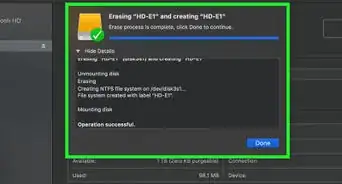
9Click Erase, then click Erase when prompted. This will begin the formatting process. Once the formatting is complete, you'll see an icon for your flash drive appear on your Mac's desktop.
Community Q&A
-
QuestionHow do I do this in Windows 10? There is no Format option when I right click on my flash drive. I've tried clicking almost everything and can't find anything that changes the format. I can't make an system image until I can change my format to NTFS.
 Community AnswerSearch for "My PC" in the bottom LHS search window. W10 responded with "This PC" and displayed a schematic which will be familiar to you. Right click on the USB drive icon and select format from the tabulation.
 -
QuestionWhere is the delete or format option located?
 Community AnswerA format option should appear on your screen once you plug in your flash drive and it needs to be formatted. To delete a file on your flash drive, look at My Computer and you will see it listed in the list of Drives. Then delete it as you would any other file.
 -
QuestionI know that a "Quick Format" takes just a minute or two, but how long does a "Regular Format" usually take?
 Community AnswerIt might take up to half hour, but it depends on your USB and PC.
Warnings
- You should not re-format your computer's internal hard drive.⧼thumbs_response⧽
About This Article
1. Connect the drive to the PC.
2. Open the Windows search bar.
3. Type "this pc" and click This PC."
4. Right-click the flash drive.
5. Click Format.
6. Select a file system.
7. Check the "Quick format" box.
8. Click Start.

