X
This article was co-authored by wikiHow staff writer, Nicole Levine, MFA. Nicole Levine is a Technology Writer and Editor for wikiHow. She has more than 20 years of experience creating technical documentation and leading support teams at major web hosting and software companies. Nicole also holds an MFA in Creative Writing from Portland State University and teaches composition, fiction-writing, and zine-making at various institutions.
This article has been viewed 119,062 times.
Learn more...
This wikiHow teaches you how to add Bitmoji (personalized emoji characters) to your Facebook posts and comments.
Steps
Method 1
Method 1 of 3:
Using an Android
-
1Install the Bitmoji app. You can get it for free from the Play Store. Here’s how:
- Open the Play Store. It’s the white briefcase icon with a multicolored flag on the home screen or in the app drawer.
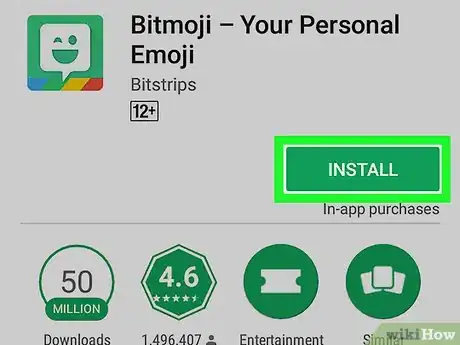
- Search for bitmoji in the search bar at the top of the screen, then select Bitmoji – Your Personal Emoji from the search results.
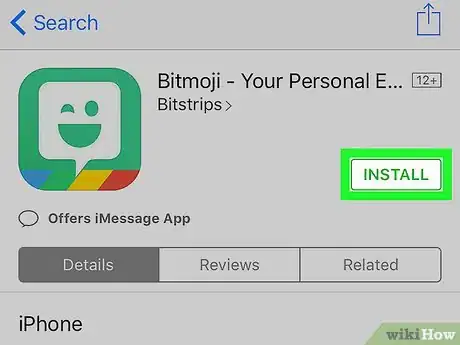
- Tap Install. When the app is installed, the “Install” button will change to “Open.”
-
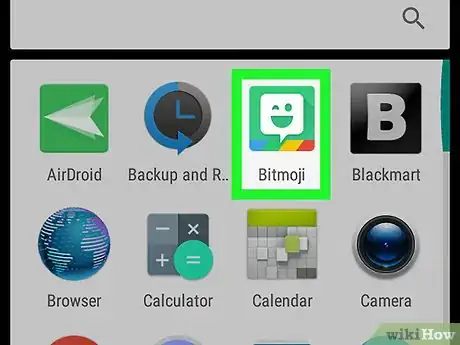
2Open Bitmoji. Tap Open on the installation screen, or tap the green chat bubble with a winking face in the app drawer.Advertisement
-
3Create an account. If you’ve already signed up for Bitmoji, tap Log In to sign in with your username and password. Otherwise, tap Sign Up With Email and follow the on-screen instructions to create your account.
-
4Create your character. Now’s your chance to be creative:
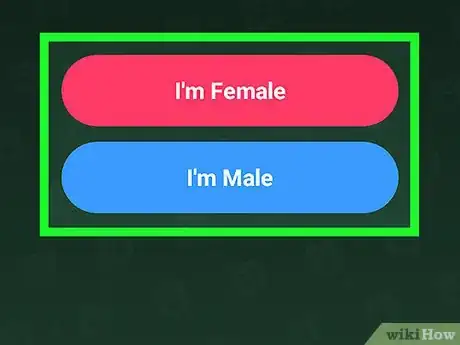
- Tap the gender of your choice.
- Choose either Bitmoji or Bitstrips-style for your character. Bitmoji characters have rounder features and look more like cartoons. Bitstrips-style is more customizable and look more realistic.
- Start by selecting a facial shape, then tap the arrow button to move to the next step. As you make selections, your character’s preview will update. After the final step, you’ll see a screen that says “Save & Pick Outfit.”
- Tap Save & Pick Outfit to show the outfit screen. Tap the outfit of your choice, then tap the white circle with an arrow at the top-right corner of the screen to save.
-
5Enable the Bitmoji keyboard.
- Open your Android’s Settings. It’s the gray gear icon in the app drawer.
- Scroll down and tap Language and Input.
- Tap Current Keyboard under “Keyboard & input methods.”
- Tap Choose Keyboards.
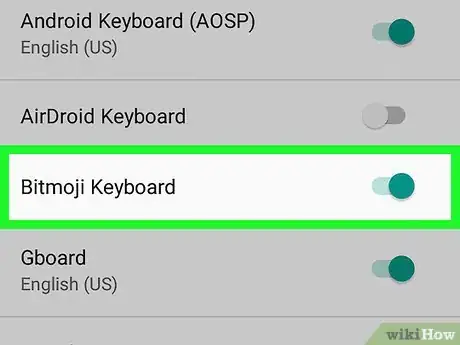
- Slide the “Bitmoji Keyboard” switch to the On (green) position.
- Tap OK to accept the security warning. You need not worry about Bitmoji harvesting your passwords.[1] The keyboard is ready.
-
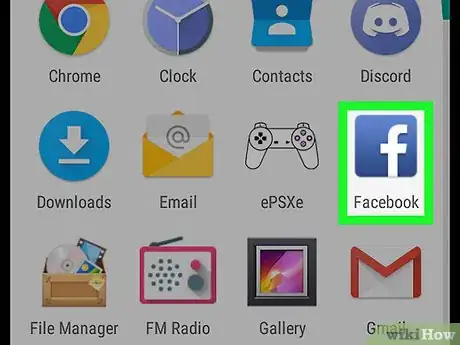
6Open Facebook. It’s the blue icon with a white “f” in the app drawer.
-
7Add Bitmoji to a new post. Here’s how:
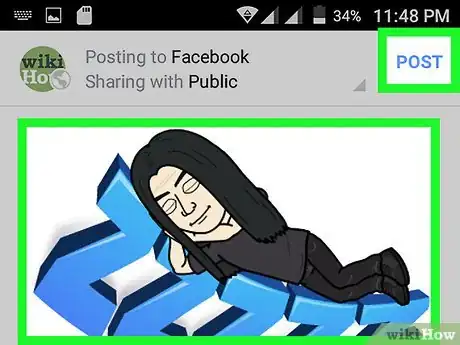
- Create a new Facebook post.
- Tap the text area to open the keyboard.
- Tap and hold the globe icon at the bottom of the keyboard. You’ll see a pop-up with a list of keyboards.
- Select Bitmoji Keyboard.
- Tap a Bitmoji to add it to your post.
-
8Add Bitmoji to a comment. This is a little trickier than adding Bitmoji to a new post.[2]
- Open the Bitmoji app (the green chat bubble icon with a winking face in the app drawer).
- Select a Bitmoji.
- Tap Save. It’s at the bottom of the screen at the end of the list.
- Go to the Facebook post on which you want to comment.
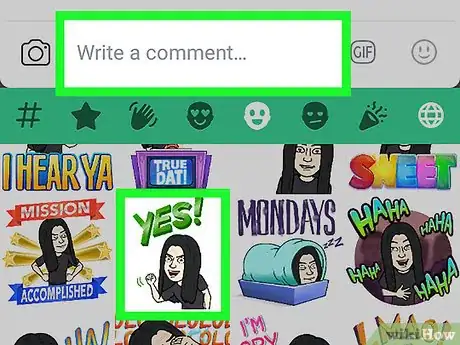
- Tap the camera icon next to the comment box and select your Bitmoji image. When you post your comment, your Bitmoji will appear.
Advertisement
Method 2
Method 2 of 3:
Using an iPhone or iPad
-
1Install the Bitmoji app. You can get it for free from the App Store. Here’s how:
- Open the App Store. It’s the blue icon with a white “A” in a circle, typically on the home screen.
- Tap the magnifying glass at the bottom of the screen, then search for bitmoji.
- Tap Bitmoji – Your Personal Emoji in the search results.
- Tap GET, then INSTALL to begin the installation.
-
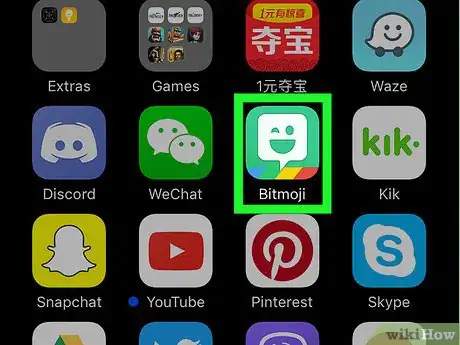
2Open Bitmoji. Tap the Bitmoji icon (a green chat bubble with a winking face) on your home screen.
-
3Create an account. If you’ve already signed up for Bitmoji, tap Log In to sign in with your username and password. Otherwise, tap Sign Up With Email and follow the on-screen instructions to create your account.
-
4Create your character. Now’s your chance to be creative:
- Tap the gender of your choice.
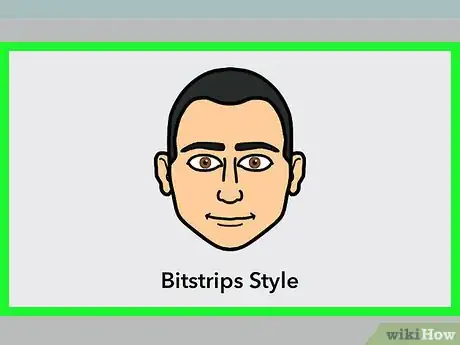
- Choose either Bitmoji or Bitstrips-style for your character. Bitmoji characters have rounder features and look more like cartoons. Bitstrips-style is more customizable and look more realistic.
- Start by selecting a facial shape, then tap the arrow button to move to the next step. As you make selections, your character’s preview will update. After the final step, you’ll see a screen that says “Save & Pick Outfit.”
- Tap Save & Pick Outfit to see the outfit screen. Tap the outfit of your choice, then tap the checkmark at the top-right corner of the screen to save.
-
5Enable the Bitmoji keyboard.
- Open your Settings. It’s the gray gear icon on your home screen.
- Tap General.
- Scroll down and tap Keyboard.
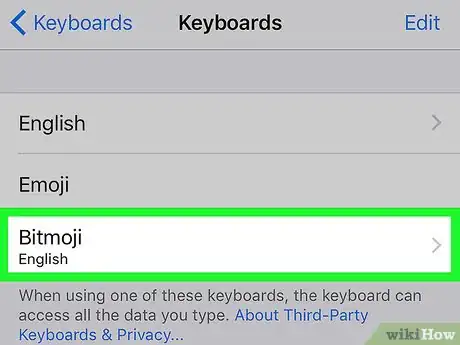
- Tap Keyboards.
- Tap Add New Keyboard.
- Tap Bitmoji.
- Slide the “Allow Full Access” switch to the On position.
- Tap Allow. The keyboard is ready.
-
6Open Facebook. It’s the blue icon with a white “f” on the home screen.
-
7Add Bitmoji to a new post. Here’s how:
- Create a new Facebook post.
- Tap the text area to open the keyboard.
- Tap and hold the globe icon at the bottom of the keyboard. It’s next to the “123” button. You’ll see a pop-up with a list of keyboards.
- Select Bitmoji.
- Tap a Bitmoji to add it to your post.
-
8Add Bitmoji to a comment. This is a little trickier than adding Bitmoji to a new post.[3]
- Open the Bitmoji app.
- Select a Bitmoji.
- Tap Save Image. It’s the first icon on the bottom row of icons.
- Go to the Facebook post on which you want to comment.
- Tap the camera icon next to the comment box and select your Bitmoji image. When you post your comment, your Bitmoji will appear.
Advertisement
Method 3
Method 3 of 3:
Using a Computer
-
1Open the Google Chrome web browser. The Bitmoji app for computers only works with Google Chrome. If you don’t have Chrome, see Download and Install Google Chrome to get it.
-
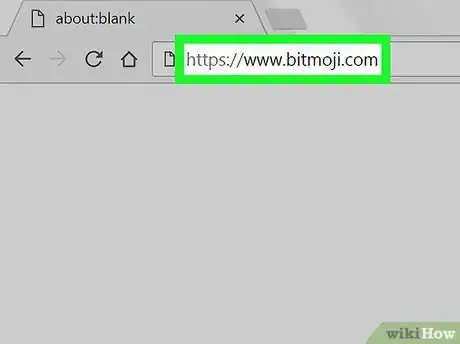
2Navigate to https://www.bitmoji.com.
-
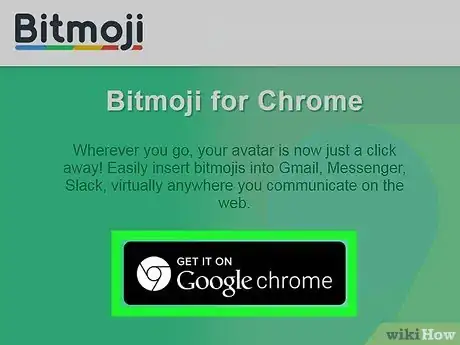
3Scroll down and click Get it on Google Chrome. It’s the black button at the bottom of the screen.
-
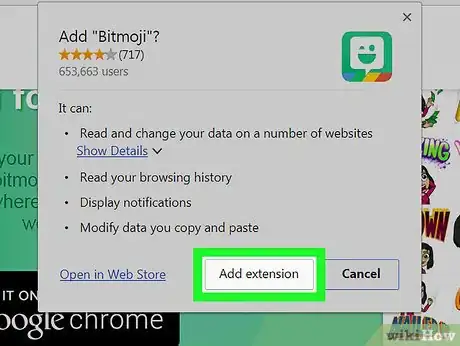
4Click Add Extension. The Bitmoji extension will now download and install. When it’s finished, a green chat bubble button with a winking face will appear in the toolbar at the top-right area of Chrome. You’ll also see a login screen.
-
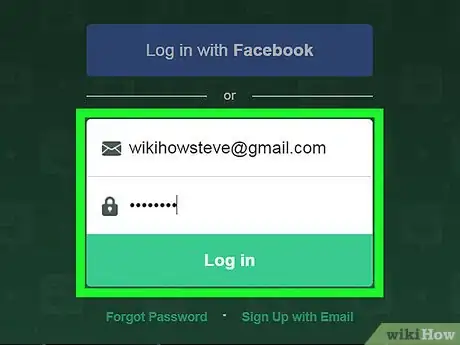
5Sign in to Bitmoji. You have a few different options:
- Click Log in with Facebook if you’ve already created an account that’s linked with Facebook.
- Click Sign up with Email to create a new account if you haven’t yet signed up for Bitmoji.
- If you have a Bitmoji username and password, enter them into the blanks and click Log in.
-
6Create your Bitmoji character. Now’s your chance to be creative:
- Click the gender of your choice.
- Click either Bitmoji Style or Bitstrips Style for your character. Bitmoji characters have rounder features and look more like cartoons. Bitstrips-style is more customizable and look more realistic.
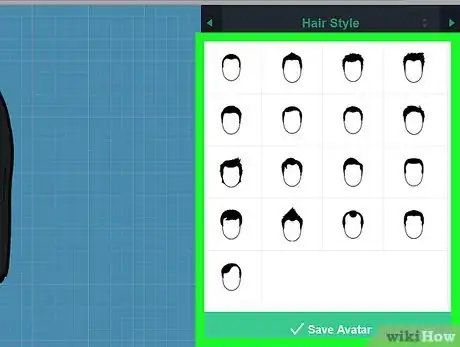
- Start by selecting a facial shape, then click the arrow (at the top-right corner of the page) to move to the next step. As you make selections, your character’s preview will update. After the final step, you’ll see a screen that says “Wow, looking great!”
- Click Save Avatar to save your work.
-
7Go to https://www.facebook.com. If you’re not already signed in, do so now.
-
8Add a Bitmoji to a post. Create a new post by clicking What’s On Your Mind? at the top of your timeline, or comment on a post by clicking the box beneath their post.
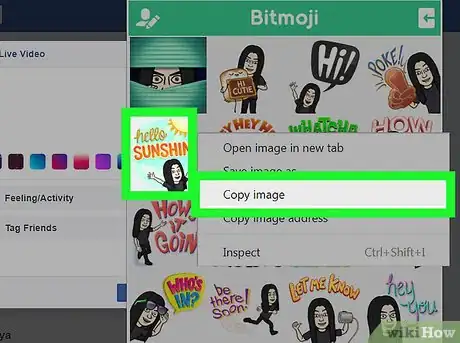
- Click the Bitmoji button in your browser’s toolbar. It’s green and has a white winking chat bubble.
- Right-click the Bitmoji you want to post. If your computer doesn’t have a right mouse button, press Ctrl as you click.
- Select Copy Image.
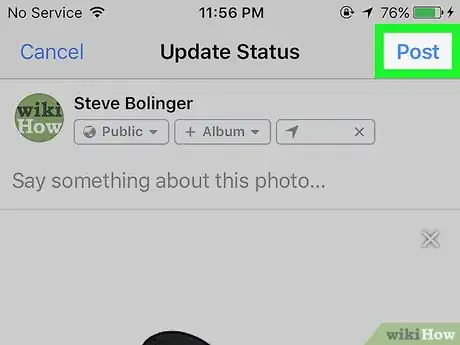
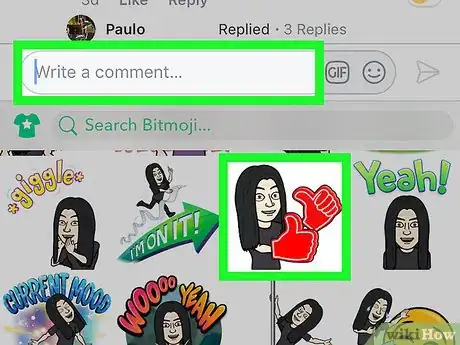
- Paste the image into your post or comment by right-clicking the box and selecting Paste. When you click post (or press Return/Enter to send your comment), your Bitmoji will appear.
Advertisement
Community Q&A
-
QuestionWhat should I do if the email signup says my email is invalid?
 Community AnswerYour Bitmoji account is your Snapchat account, so whatever you use for that is your email. You will need to make sure you're using the same email for both.
Advertisement
References
About This Article
Advertisement
