This article was co-authored by wikiHow staff writer, Nicole Levine, MFA. Nicole Levine is a Technology Writer and Editor for wikiHow. She has more than 20 years of experience creating technical documentation and leading support teams at major web hosting and software companies. Nicole also holds an MFA in Creative Writing from Portland State University and teaches composition, fiction-writing, and zine-making at various institutions.
There are 9 references cited in this article, which can be found at the bottom of the page.
This article has been viewed 177,673 times.
Learn more...
Have you found a Facebook profile that has a blue shield and keyhole icon? This icon means the user has activated a profile lock—a feature that restricts most of their content and activity to friends only. Locked profiles are only available in a handful of countries, so you might not be able to lock your own profile. But don't worry—it's easy to adjust Facebook's privacy settings to get the same effect as a profile lock. This wikiHow article teaches you how to lock and secure your Facebook profile, even if you're not in a supported country.
Steps
Understanding Locked Profiles
-
1Locking your Facebook profile is the fastest way to convert all your content to friends-only. In just a few seconds, you can restrict the bulk of your content so it's only visible to your friends.[1] When you lock your profile:
- Your past and future posts, photos, and stories are all friends-only.
- Only friends can click your profile or cover photo to see the full-sized versions.
- Profile and tag review are enabled to prevent people from adding tagged content to your profile.
- Most of the About section of your profile is only visible to friends.
-
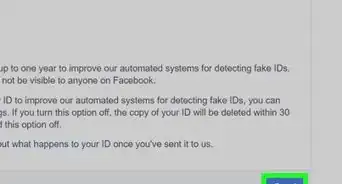
2The ability to lock Facebook profiles is limited to certain countries. Profile locking is not available in most countries, including the United States and Canada. As of May 2022, only residents of Afghanistan, Egypt, India, Iraq, Myanmar, Morocco, Pakistan, Saudi Arabia, Sudan, Turkey, UAE, and Ukraine can lock their profiles.Advertisement
-
3You can still (mostly) lock your profile, even if your country isn't supported. While you won't get that cool blue shield on your profile, you'll have all of the benefits and security of profile locking. It'll just take a little more time than clicking a single button, as you'll need to adjust many privacy settings manually. Skip to method 3 for those steps.


How to Lock a Profile
-
1
-
2Go to your profile. If you're using the mobile app, tap Profile at the bottom of the screen. If you're using a web browser, just click your name at the top-right corner of Facebook.
-
3Click or tap the three horizontal dots ••• . You'll see this icon in the upper-right corner of your profile.
-
4Select Lock Profile. If this feature is available in your country, you'll see it near the bottom of the menu. Information about locking your profile will expand.
-
5Click or tap Lock Your Profile. It's the blue button at the bottom of the info window. The content on your profile is now locked to everyone except for your friends.


If Locking Isn't Available
-
1Make your past posts friends-only. Even if you can't lock your profile, you can still make all of your past posts and photos friends-only in a few painless steps. Here's how:
- Mobile app: Tap the three-line menu and go to Settings & Privacy > Settings. Then, go to Posts > Limit who can see past posts. Tap Limit Past Posts, and then tap it again to confirm.[3]
- Computer: Click the menu at the top-right and go to Settings & Privacy > Settings. Click Privacy, select Limit Past Posts, then click Limit Past Posts twice more to confirm.
-
2Make future posts friends-only. This ensures that the new posts you create on Facebook are also only available to your friends. If you're using a phone or tablet, you'll also be able to make your future reels (which are just like Instagram reels) friends-only:
-
Mobile app:
- Tap the three-line menu and go to Settings & Privacy > Settings. Then, go to Posts > Who can see your future posts? and select Friends.[4]
- To make future reels are private, tap the three-line menu and go to Settings & Privacy > Settings. Then, go to Posts > Who can see your future reels? and select Friends under "Reels default audience."
- Computer: Click the menu at the top-right and go to Settings & Privacy > Settings. Click Privacy, click Edit next to Who can see your future posts? and choose Friends.
-
Mobile app:
-
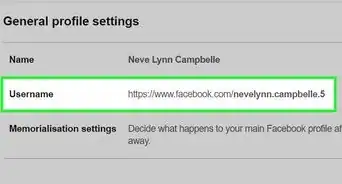
3Hide the information on your profile. By default, information like your location and relationship status are visible to the public or friends-of-friends. If you could use Lock Profile, your whole profile would instantly convert to friends-only. But you can also make these conversions manually:
- Go to your Facebook profile on your computer, phone, or tablet.
- Click or tap About and select Contact and Basic Info.
- Click or tap the pencil icon next to each bit of information, then set the privacy to Friends or Only me.
- Click or tap Save when you're finished.[5]
- Unlike locking your profile, non-friends can still see your profile photo and cover photo at full size. This is one of the few differences between profile-locking and making these changes manually.
-
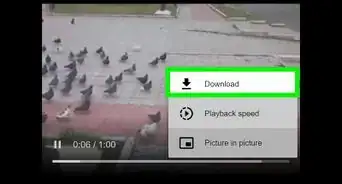
4Make future stories friends-only. The stories you create on Facebook and in Messenger might be public. The only way to make future stories friends-only is to change your privacy settings the next time you share a story. After uploading or recording a photo or video for your story, tap the gear icon or the word Privacy at the bottom, then choose Friends.[6]
-
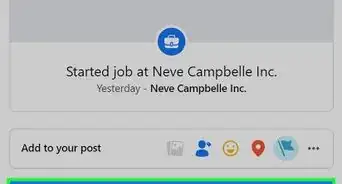
5Turn on Profile and Tag Review. These two features give you control over which tagged posts and photos will display on your profile. You'll get a notification when someone tags you in a photo or post—you can then opt to show the post or photo on your profile or hide it.
- Mobile app: Tap the three-line menu and go to Settings & Privacy > Settings > Profile and Tagging. Set all options under "Viewing and Sharing" and "Tagging" to Friends, then turn both "Reviewing" options On.
- Computer: Click the menu at the top-right and go to Settings & Privacy > Settings > Privacy > Profile and tagging. Go through all options on the page and set them all to Friends, then switch the two "Reviewing" sliders to On.
-
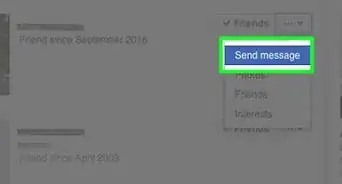
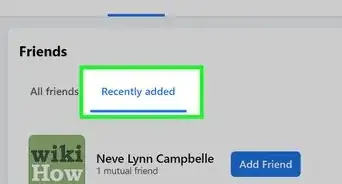
6Control who can add you as a friend. This feature lets you limit who can send you friend requests to only friends of current friends. Here's how to do it:
- Mobile app: Tap the three-line menu and go to Settings & Privacy > Settings > How People Find and Contact You > Who can send you friend requests? and choose Friends of friends.[7]
- Computer: Click the menu at the top-right and go to Settings & Privacy > Settings > Privacy. Click Edit next to Who can send you friend requests? and choose Friends of friends.
-
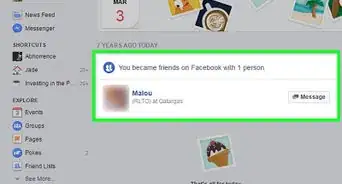
7Prevent people from finding your profile. By default, Facebook makes it easy for people to find your profile by phone number and email address.[8] People can also see your friends list even if they aren't friends with you, which makes it possible for strangers to contact unsuspecting friends. Here's how to lock down these features:
- Mobile app: Tap the three-line menu and go to Settings & Privacy > Settings > How people find and contact you. Tap each option in the list, then choose Friends or Only me. To prevent people from finding your profile by Googling you, set the final option to No.
- Computer: Click the menu at the top-right and go to Settings & Privacy > Settings > Privacy. In the How people find and contact you section, set all possible options to Friends or Only me. To prevent people from finding your profile by Googling you, set the final option to No.


References
- ↑ https://www.facebook.com/help/196419427651178?cms_platform=www&helpref=platform_switcher
- ↑ https://www.facebook.com/help/196419427651178
- ↑ https://www.facebook.com/help/236898969688346/?cms_platform=android-app&helpref=platform_switcher
- ↑ https://www.facebook.com/help/336801584336688
- ↑ https://www.facebook.com/help/276177272409629
- ↑ https://www.facebook.com/help/208964522901975
- ↑ https://www.facebook.com/help/217125868312360
- ↑ https://www.facebook.com/help/131297846947406
- ↑ https://about.fb.com/news/2017/06/giving-people-more-control-over-their-facebook-profile-picture/
About This Article