X
This article was co-authored by wikiHow Staff. Our trained team of editors and researchers validate articles for accuracy and comprehensiveness. wikiHow's Content Management Team carefully monitors the work from our editorial staff to ensure that each article is backed by trusted research and meets our high quality standards.
This article has been viewed 115,895 times.
Learn more...
This wikiHow teaches how to re-enable an iPad that has been disabled due to too many incorrect passcodes.
Steps
Method 1
Method 1 of 3:
Using iTunes
-
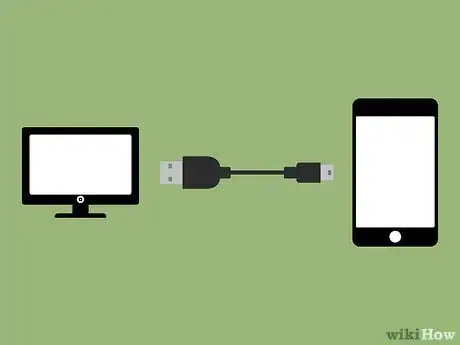
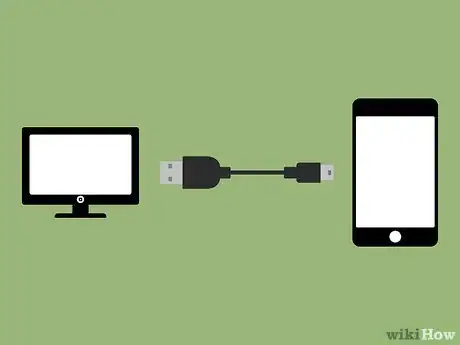
1Connect the iPad to a computer you've synced with via USB. You can use iTunes to re-enable an iPad if you have previously synced the iPad with that computer.
- If you don't have access to a computer you've synced with but you were signed into iCloud on your iPad, you can re-enable using iCloud and Find My iPad.
- If you don't use iCloud, you'll need to put the device into Recovery Mode.
-
2Open iTunes. You'll need to have previously synced your iPad using iTunes on this computer.
- If you're prompted to enter your passcode on your iPad, but can't because it is disabled, you'll need to use Recovery Mode.
Advertisement -
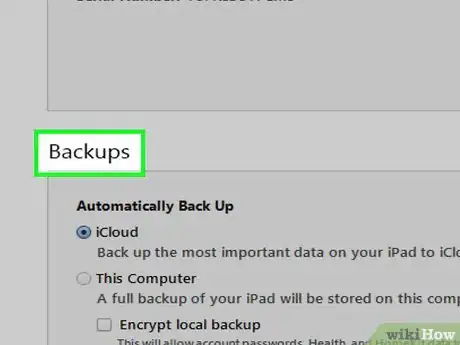
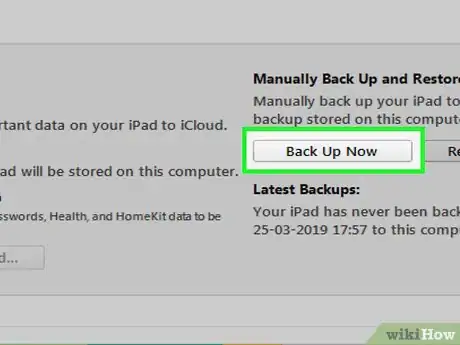
3Wait for the sync and backup to complete. This may take a few minutes. You can monitor the progress at the top of the iTunes window.
- If your device does not sync or does not appear in iTunes, you'll need to use Recovery Mode.
-
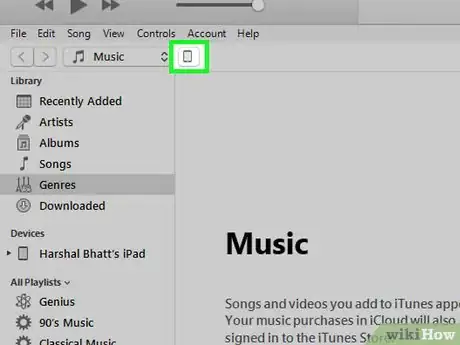
4Click the iPad icon. You'll see this at the top of the iTunes window next to the library selection menu.
-
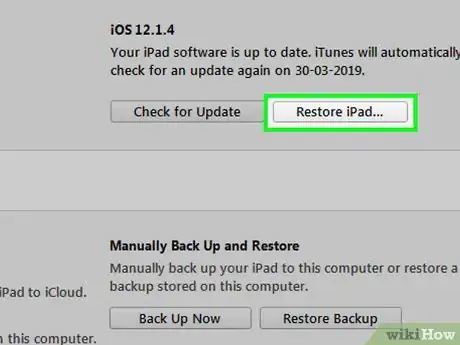
5Click Restore iPad. Click "Back Up" if prompted and iTunes didn't perform a backup automatically.
-
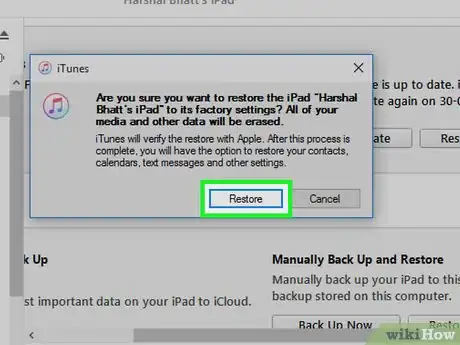
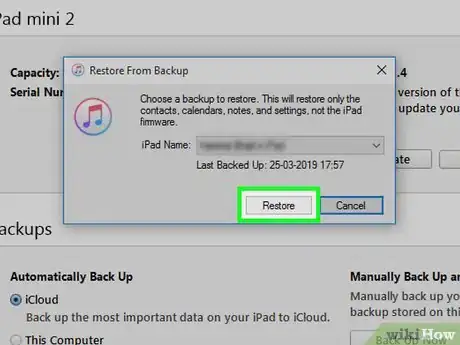
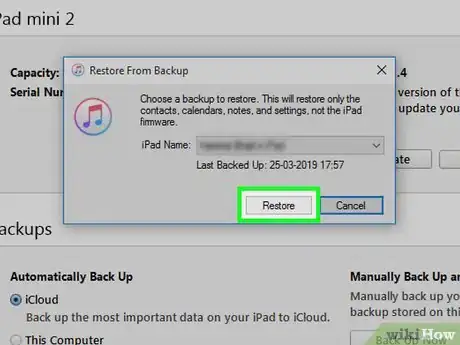
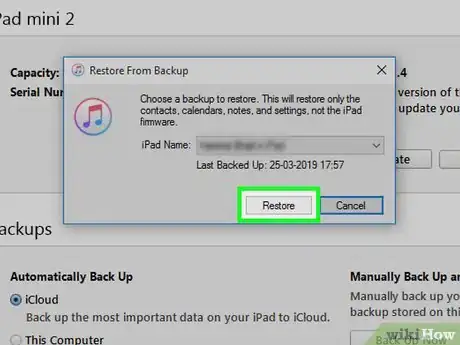
6Click Restore to confirm.
-
7Wait for your iPad to restore. This could take about 20 minutes to complete.
-
8Start the Set Up process. This is the guided process that starts when the device is first used.
-
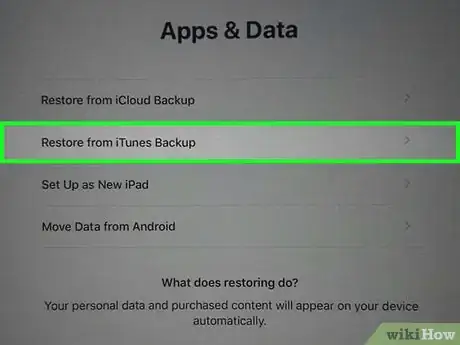
9Tap Restore from iTunes backup when prompted.
-
10Click the backup list that appears in iTunes.
-
11Click the backup that you want to restore. Use the date and time of the backup to determine the one to use.
-
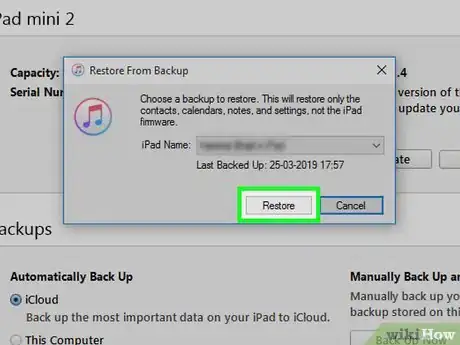
12Click Restore to apply the backup.
-
13Wait for the restore process to finish. The data from the backup will be applied and you'll be able to access the iPad again.
Advertisement
Method 2
Method 2 of 3:
Using iCloud
-
1Open the web browser on another computer or device. If you were signed into your iCloud account on your iPad and had Find My iPad enabled, you can use the iCloud website to restore your iPad.
- If you weren't signed into iCloud or didn't have Find My iPad enabled, you'll need to use Recovery Mode.
-
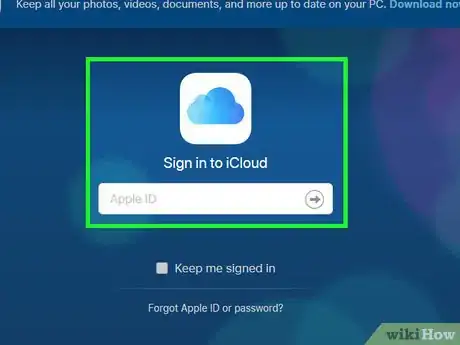
2Visit icloud.com/find.
-
3Sign in with your Apple ID and password. Make sure it's the same account you are signed in with on your iPad.
-
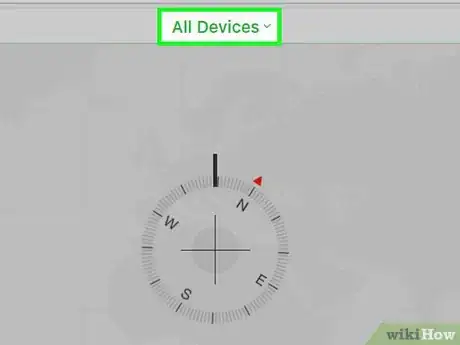
4Click the All Devices menu. You'll find this at the top of the website.
-
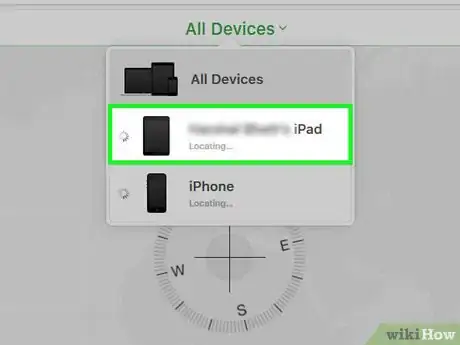
5Click your iPad. This will center the map on your iPad's last known location and show the options for it.
- If your iPad is not connected to Wi-Fi or a cellular network, you'll need to use Recovery Mode instead.
-
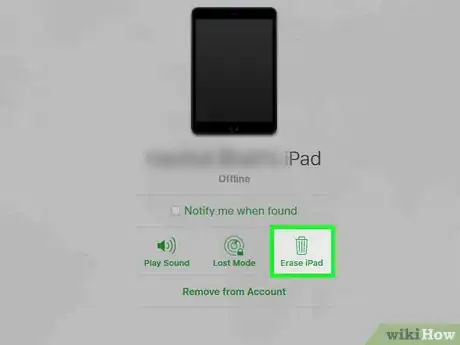
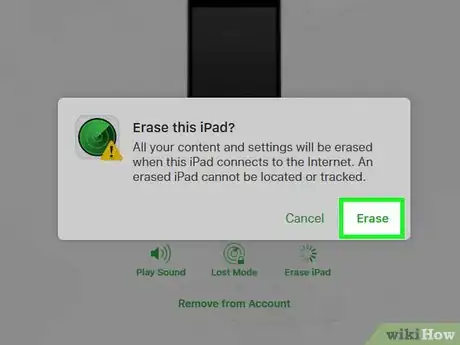
6Click Erase iPad. This is in the bottom-right corner of the iPad's card on the screen.
-
7Click Erase to confirm.
-
8Wait for your iPad to erase. This may take a few minutes to finish.
-
9Start the iPad Set Up process. Once the iPad has been erased, you'll be taken through the new device set up process. Swipe to start and then follow the prompts.
-
10Restore a backup (if possible). If you had previously backed up your device to iCloud, you can restore the backup during the setup process. Otherwise, just proceed as if the device is new.
- You'll still be able to redownload all of your apps and iTunes Store content, as well as recover your mail and messages, by signing in with the same iCloud account.
Advertisement
Method 3
Method 3 of 3:
Using Recovery Mode
-
1Connect your iPhone to any computer via USB. If you aren't signed into iCloud on your iPad or don't have Find My iPad enabled, or you have never synced to iTunes, you can use Recovery Mode to restore your disabled iPad.
- This will delete all of the data.
-
2Open iTunes. If iTunes is not installed, you can download it from apple.com/itunes/download.
- You do not need to have previously synced with the computer to use Recovery Mode.
-
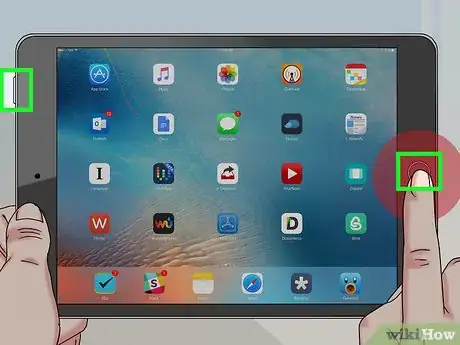
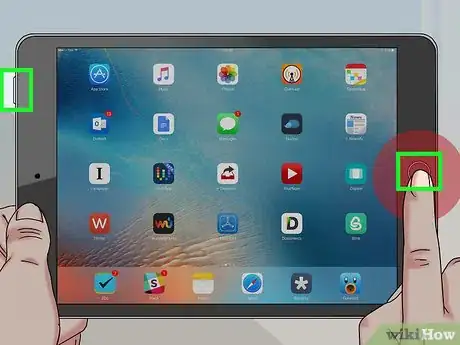
3Press and hold the Power and Home buttons. The Power button can be found along the the top edge on the right side. The Home button is in the center at the bottom.
-
4Hold both buttons as the iPad force restarts. You'll see the screen go dark and then the Apple logo appear. Keep holding both buttons.
-
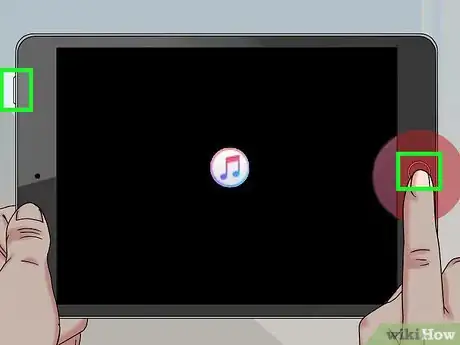
5Continue holding both buttons until the iTunes logo appears. You'll see the iTunes logo and a USB cable appear on the iPad's screen. This means the iPad is in Recovery Mode. You can now release the buttons.
-
6Click Restore in iTunes. You'll see this option in the window that appears when the iPad enters Recovery Mode.
-
7Wait for the restore process to complete. This may take a few minutes. You'll see a progress bar underneath the Apple logo on the iPad's screen.
-
8Start the iPad setup process. Follow the prompts to set up your iPad as if it were new.
-
9Restore from a backup (if possible). If you have a previous backup available in iCloud, you can restore from it during the setup process.[1]
Advertisement
Community Q&A
-
QuestionHow long does it take to undisable an iPad?
 Natalie DugganCommunity AnswerThe time needed ranges from 4-10 minutes. If you use recovery mode, it will take only a couple of minutes but if you use iTunes it will take a little longer.
 -
QuestionCan I get my photos back?
 Community AnswerYou can get your photos back with the iCloud backup. If you didn't backup your iPad, the photos usually are erased.
 -
QuestionIs there any way to un-disable my iPad Mini without iTunes?
 Community AnswerNo there is not. Take it to an Apple store but they would probably have to erase all data.
Advertisement
wikiHow Video: How to Undisable an iPad
References
About This Article
Article SummaryX
1. Connect the iPad to a computer with iTunes.
2. Open iTunes.
3. Click the iPad icon.
4. Click Restore iPad.
5. Click Restore.
6. Set up your iPad as new.
Did this summary help you?
Advertisement
