This article was co-authored by Ricardo Mitchell. Ricardo Mitchell is the CEO of CN Coterie, a fully licensed and insured Lead EPA (Environmental Protection Agency) Certified construction company located in Manhattan, New York. CN Coterie specializes in full home renovation, electrical, plumbing, carpentry, cabinetry, furniture restoration, OATH/ECB (Office of Administrative Trials and Hearings/Environmental Control Board) violations removal, and DOB (Department of Buildings) violations removal. Ricardo has over 10 years of electrical and construction experience and his partners have over 30 years of relevant experience.
This article has been viewed 1,351 times.
Broken electronics can be very difficult to repair without knowing how to figure out what component(s) have failed. By knowing what to look for it may be possible to repair your electronics saving you money and keeping waste materials out of landfills.
Steps
Doing a Visual Inspection
-
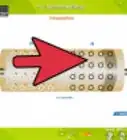
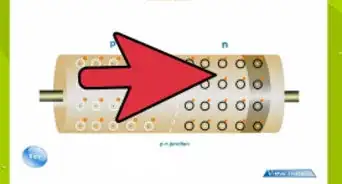
1Identify the circuit board components. Before you can begin troubleshooting a circuit it is best to know what components you are looking at, some electronics may have diagrams displaying what and where some of the components are other times you may need to inspect every component, and many websites may be helpful in identification[1] .
-
2Look for burnt, eroded, or broken components. Many times when a component fails it is due to overheating or electrical spikes which can cause burn marks to become visible on them, any components with burn marks, erosion, or being broken open are likely the source of a failure.Advertisement
-
3
-
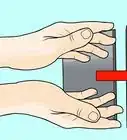
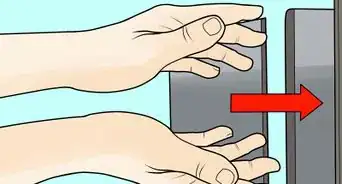
4Look for missing components. If you are especially unlucky entire components may be completely missing from the electronics due to manufacturing error or just former misuse..


Making In-Circuit Tests
-
1Identify the circuit board components. Before you can begin troubleshooting a circuit it is best to know what components you are looking at, some electronics may have diagrams displaying what and where some of the components are, other times you may need to inspect every component, many websites may be helpful in identification[2] .
-
2Calculate expected voltages. To figure out what components have failed it is necessary to know what voltages you can expect to measure across the components when it is plugged in, a good method of calculating voltages is using Kirchhoff's circuit laws[3] , further calculations may be necessary when working with inductors and capacitors[4] .
-
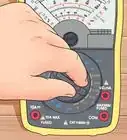
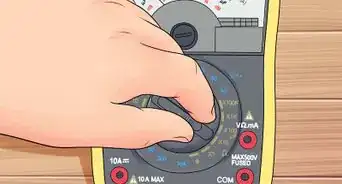
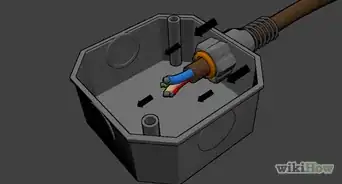
3Check the input voltage and voltage across the components with a multimeter using the proper multimeter technique [5] . Often the issue may not be with the electronic components themselves but the power source or the cable leading to the components, it is always a good idea to make sure that the circuit is receiving the proper voltage and then check all the components to see if the voltages match their calculated values.
-
4Calculate values to expect if components are not working. Measuring an unexpected voltage across a component does not necessarily mean that component is not working, therefore when unexpected voltages are measured it may be necessary to recalculate to see what would be expected across components if a chosen component has failed.
-
5Check signals with an oscilloscope. If the circuit is working with alternating currents or is working with small signals an oscilloscope should be used to check the circuit at the inputs and outputs of the circuit and of each component to identify any distortion and track it to the point where the signal is not distorted.


Making Out-of-Circuit Tests
-
1Identify the circuit board components. Before you can begin troubleshooting a circuit it is best to know what components you are looking at, some electronics may have diagrams displaying what and where some of the components are, other times you may need to inspect every component, many websites may be helpful in identification[6] .
-
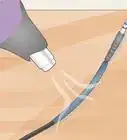
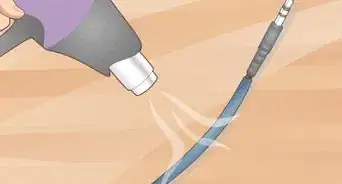
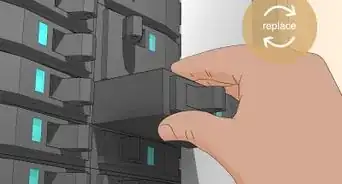
2Remove components from the circuit. Carefully use a soldering iron or a heat gun to heat the solder on the terminals of the components and remove the component with a pair of needle nose pliers.
-
3Test with a multimeter using proper technique[7] . Simple indications of failed components can be found with an ohm meter, resistors should match their coded values, capacitors should have near infinite resistance, a diode should have near infinite resistance with the ohm meter connected in one direction and near-zero resistance with the terminals flipped and an inductor should have near-zero resistance.


Warnings
Things You'll Need
- Multimeter
- Soldering iron/heat gun
- Oscilloscope
- Needle nose pliers


References
- ↑ https://en.wikibooks.org/wiki/Electronics/Component_Identification
- ↑ https://en.wikibooks.org/wiki/Electronics/Component_Identification
- ↑ https://www.electronics-tutorials.ws/dccircuits/dcp_4.html
- ↑ https://www.homemade-circuits.com/capacitor-inductor-calculations/
- ↑ https://www.instructables.com/How-to-Use-a-Multimeter-Basics/
- ↑ https://en.wikibooks.org/wiki/Electronics/Component_Identification
- ↑ https://www.instructables.com/How-to-Use-a-Multimeter-Basics/
- ↑ https://www.asc.ohio-state.edu/physics/p616//safety/fatal_current.html
- ↑ https://ehs.research.uiowa.edu/electrical-safety-laboratory
About This Article