This article was co-authored by wikiHow staff writer, Nicole Levine, MFA. Nicole Levine is a Technology Writer and Editor for wikiHow. She has more than 20 years of experience creating technical documentation and leading support teams at major web hosting and software companies. Nicole also holds an MFA in Creative Writing from Portland State University and teaches composition, fiction-writing, and zine-making at various institutions.
The wikiHow Tech Team also followed the article's instructions and verified that they work.
This article has been viewed 68,017 times.
Learn more...
This wikiHow teaches you how to send encrypted email from the iPhone or iPad mail app. You must have already exchanged certificates with a recipient to send an encrypted message.
Steps
-
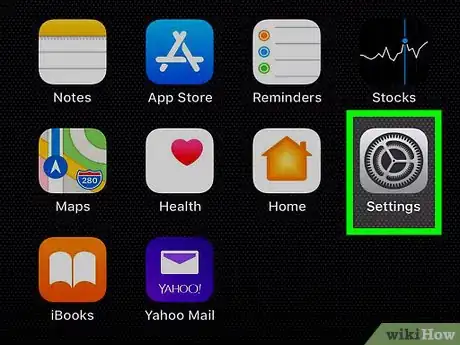
1
-
2Tap Accounts & Passwords.Advertisement
-
3Select your email account. Your accounts appear under the “ACCOUNTS” header.
-
4Tap your account name. It’s at the top of the screen.
-
5Tap Advanced. It’s at the bottom of the screen.
-
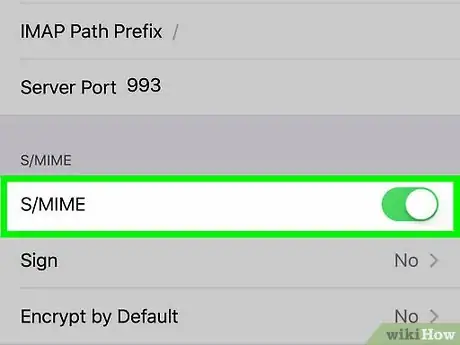
6
-
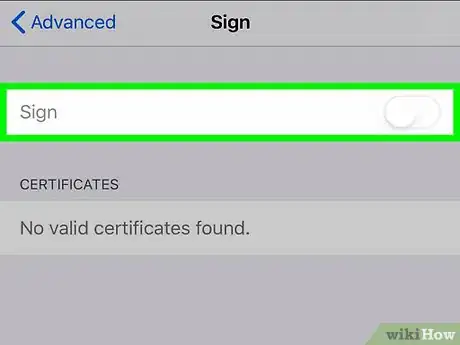
7Tap Sign.
-
8
-
9Tap the back button to return to the Advanced menu.
-
10Tap Encrypt by default.
-
11Slide the “Encrypt by Default” switch to . You are now ready to send an encrypted email message to someone with whom you’ve shared certificates.[1]
- If you see more than one certificate, select the one with the most distant expiration date.
-
12Open the Mail app. It’s the envelope icon that’s usually at the bottom of the home screen.
-
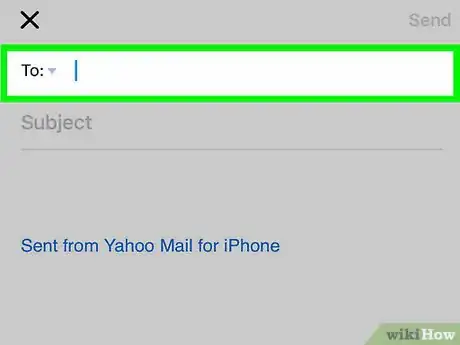
13Compose a message to the desired recipient.
-
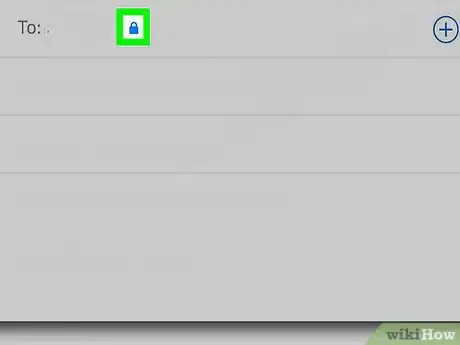
14Tap the “To:” field again. An unlocked blue lock will appear to the right of their name or email address.[2]
-
15Tap the blue lock. This tells the Mail app to encrypt the message you are about to send.
- If the lock was already locked, don’t tap it—this will just disable encryption.
-
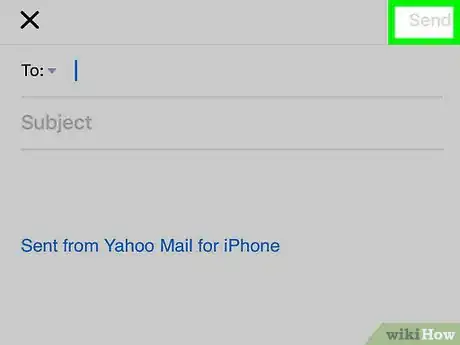
16Write your message and tap Send. The encrypted message will be delivered to the recipient. Only the recipient will be able to access the message, as they have your public key.
wikiHow Video: How to Send an Encrypted Email on iPhone or iPad
References
About This Article
Before you can send an encrypted email on your iPhone, you'll need to install your S/MIME certificate. To do this, open the email containing the link to your certificate, which would usually come from your employer or a certificate authority provider, and then tap the link to open the "Install Profile" window. Now, tap "Install" at the top-right corner and enter your iPhone's passcode. Next, enter the password for your certificate, tap "Next," and then tap "Done." Now you can set up encryption for any account you have connected to the Mail app. Open the Settings app, select "Mail," and then tap "Accounts." Tap the mail account you want to use to send encrypted email, then tap "Account" at the top of the screen. Tap "Advanced" at the bottom to open additional settings. Now, tap the S/MIME switch to turn it on. Then, tap "Sign," toggle on the switch, and tap the back button. You'll also need to tap "Encrypt by default" and toggle that switch on as well. Now, open the Mail app, and select the contact you want to email. As long as this contact has sent you their own digital signature, you'll see a blue padlock next to their name in the "To" field. If the padlock is open instead of closed, the contact hasn't yet sent you their digital signature. In this case, send them an email asking them to install their own certificate and send you a signed message so you can exchange signatures. When you see the blue padlock next to the recipient's name, you'll know the message you send will be end-to-end encrypted.
