X
This article was written by Luigi Oppido and by wikiHow staff writer, Darlene Antonelli, MA. Luigi Oppido is the Owner and Operator of Pleasure Point Computers in Santa Cruz, California. Luigi has over 25 years of experience in general computer repair, data recovery, virus removal, and upgrades. He is also the host of the Computer Man Show! broadcasted on KSQD covering central California for over two years.
This article has been viewed 60,155 times.
Do you want to save what's on your screen to show someone later? Fortunately, there are a ton of ways to capture screenshots on your Lenovo computer, laptop, and tablet. This wikiHow article shows you a few different ways you can take screenshots on your Lenovo.
Steps
Section 1 of 4:
Using the Print Screen Key
-
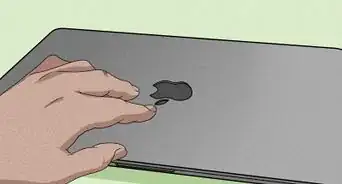
1Press the ⊞ Win and ⎙ PrtScr keys at the same time. Depending on the model Lenovo laptop you have, the Print Screen key could be in the upper right corner (next to the Delete key) or in the lower right (next to the arrow keys).
- This is the fastest and easiest method for taking screenshots on Lenovo. You can do this if you have Windows 10 or 11 and on any Lenovo computer or laptop.
-
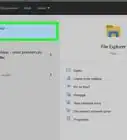
2Find your screenshots in the Pictures folder. Screenshots captured with the Win + Prtsc keys are in a location like "
C:\Users\username\Pictures\Screenshots."- If you don't see it there, try opening a program like Paint and pressing Ctrl + V to paste the image that's copied to your clipboard.
- Use Alt + PrtSc if you want to take a screenshot of your current window. Next, open Paint and paste the screenshot. Finally, save by going to File > Save.
- If you press PrtSc without the Win key, you'll open the Snip & Sketch tool instead (that's a Lenovo-only feature that you may have accidentally discovered).[1]


Advertisement
Section 2 of 4:
Using the Snipping Tool with Shortcuts
-
1Simultaneously press ⊞ Win+⇧ Shift+S. This will prompt the Windows Snipping Tool to open so you can capture the screen.
-
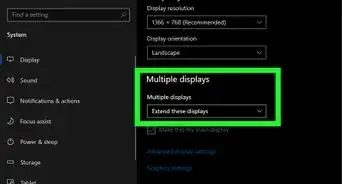
2Use your mouse to select the entire screen (if you want to capture everything on your screen). If you don't want to capture the entire screen, you can just select the portion that you want to screenshot.
-
3Open Paint and press Ctrl + V to paste the capture. Then you can save it by going to File > Save.[2]


Advertisement
Section 3 of 4:
Using the Snip & Sketch Tool
-
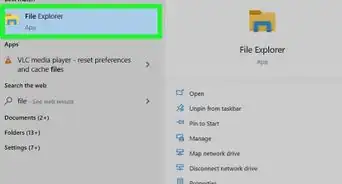
1Open Snip & Sketch. To do this, press the Win key and type "Snip & Sketch," then click the app search result.
- The Snipping Tool opens with a warning window that prompts you to use the new "Snip & Sketch" app instead. "Snip & Sketch" features a sketch tool that will be super useful if you want to markup the screenshot before sharing it.
-
2Click New. This will move the Snip & Sketch window so you can capture a screenshot.
- If you aren't ready immediately for the screenshot, you can click the down arrow next to New and select an option like Snip in 10 seconds.
-
3Select a mode. At the very top of your screen, you'll see 5 icons: Rectangular snip, freeform snip, window snip, fullscreen snip, and close snipping. Click a mode to use it.
-
4Take the screenshot. Depending on the mode you picked, you'll take screenshots in different ways. For the rectangular and freeform snip, use your mouse to select the area of the screen that you want to screenshot; for window and fullscreen snips click the screen you want to capture.
- Your screenshot will appear in the Snip & Sketch window so you can edit and save it.
-
5Edit and save your screenshot. You can use the icons above your screenshot preview to edit it by highlighting areas, drawing on it, or cropping the image.
- Click the save icon (it looks like a floppy disk) from the lower right corner. From there, you'll need to choose a save location in your File Explorer and save it.


Advertisement


References
About This Article

Luigi Oppido
Computer & Tech Specialist
This article was written by Luigi Oppido and by wikiHow staff writer, Darlene Antonelli, MA. Luigi Oppido is the Owner and Operator of Pleasure Point Computers in Santa Cruz, California. Luigi has over 25 years of experience in general computer repair, data recovery, virus removal, and upgrades. He is also the host of the Computer Man Show! broadcasted on KSQD covering central California for over two years. This article has been viewed 60,155 times.
How helpful is this?
Co-authors: 3
Updated: February 19, 2023
Views: 60,155
Categories: Laptops
Advertisement